If you want to learn how to detail a car at home, you’ll need more than just a bucket of soapy water. The real secret lies in using the right supplies—like gentle, pH-neutral soap and soft microfiber towels—and following a methodical process. It's a system that cleans, decontaminates, and protects every surface on your vehicle without causing new scratches, and you can master it right in your own driveway.
Gathering the Right Tools: Your Detailing Arsenal
The biggest difference between a quick car wash and a true detail comes down to your tools and your prep work. Getting professional-level results isn’t about buying the most expensive gear; it’s about investing in the right gear that actually protects your car’s finish. A simple mistake, like grabbing the wrong soap or using a dirty sponge, can easily create thousands of tiny scratches, or swirl marks, that make your paint look dull and hazy.
Before you even think about spraying the car down, let's get your toolkit in order. Having everything you need on hand makes the whole process smoother and keeps you from taking shortcuts you’ll definitely regret later.
Essential Washing and Drying Tools
This is the foundation of any great detail. Get these items right, and you’re already on your way to a finish that’s better than what 90% of car owners ever achieve.
- Two Buckets: The two-bucket method is a non-negotiable rule for anyone serious about protecting their paint. One bucket is for your soapy water (the "wash" bucket), and the second one is filled with plain water to rinse your wash mitt (the "rinse" bucket). This simple setup stops you from dragging dirt and grit right back onto your car's paint.
- Grit Guards: These are inexpensive plastic discs that sit in the bottom of your buckets. They act as a barrier, trapping the dirt and sediment that falls off your mitt so you don't pick it back up every time you go for more soap.
- A Quality Wash Mitt: It's time to ditch the old sponges. Sponges trap dirt in their large pores and just grind it across your paint. A plush microfiber or lambswool wash mitt is designed to pull those contaminants up and away from the surface, which drastically cuts down the risk of scratching.
- pH-Neutral Car Shampoo: Dish soap is made for greasy plates, not your car's clear coat. Its harsh detergents will strip away any wax or sealant, leaving your paint totally exposed to UV rays and road grime. A dedicated, pH-neutral car shampoo cleans away the dirt while preserving your car’s protective layers.
- Plush Microfiber Drying Towels: Forget about old bath towels or that synthetic chamois you've had for years—they can be surprisingly abrasive. A large, high-quality microfiber drying towel is incredibly absorbent and soft, letting you dry your car safely without leaving behind those frustrating water spots or streaks.
A professional detailer’s rule of thumb: If a tool touches your paint, it must be spotlessly clean and designed specifically for automotive use. Following this one principle is the single most effective way to prevent swirl marks.
Many people are tempted to cut corners with what they already have at home, but this is where costly mistakes happen. Using household items often causes more harm than good, leading to dull paint, faded trim, and even permanent scratches.
Here’s a quick comparison to show you why using the right products makes all the difference.
Essential Detailing Supplies and Their Impact
| Detailing Task | Common Household Approach | Professional Detailing Method | Expected Outcome Difference |
|---|---|---|---|
| Washing the Paint | Dish soap and a single bucket | pH-neutral car shampoo and the two-bucket method | Dish soap strips wax and dries out plastics. The single bucket grinds dirt into the paint, causing swirl marks. |
| Drying the Vehicle | Old bath towels or a squeegee | Plush, waffle-weave microfiber drying towels | Bath towels and squeegees are abrasive and will scratch the clear coat over time. Microfiber absorbs water safely. |
| Cleaning Wheels | All-purpose cleaner (or just car soap) | Dedicated, acid-free wheel cleaner and soft brushes | Brake dust is highly corrosive; an all-purpose cleaner isn't strong enough. A wheel cleaner breaks it down safely. |
| Cleaning Glass | Ammonia-based glass cleaner | Ammonia-free, automotive glass cleaner | Ammonia can damage window tint and dry out the rubber seals around your windows. |
Choosing professional-grade supplies isn’t about being fancy—it’s about preserving your vehicle's value and appearance. The right tools protect your investment, while the wrong ones slowly degrade it.
Specialized Cleaners and Applicators
Once you have the washing basics covered, a few specialized products will help you tackle the filthiest parts of your vehicle and get the paint ready for protection. You don't need to buy the entire detailing aisle, but these items make a huge impact.
A dedicated wheel cleaner is a must. It's formulated to break down the stubborn, baked-on brake dust and road grime that regular car shampoo just can't touch. Your wheels get hotter and dirtier than any other part of the car, so they demand a stronger, targeted solution. Pair it with a set of soft-bristled wheel brushes to get into all the nooks and crannies of your rims without scratching the finish.
Finally, stock up on general-purpose microfiber towels—and I mean a lot of them. You'll want separate, designated towels for wheels, door jambs, glass, and interior surfaces to prevent cross-contamination. Investing in a 24-pack of quality towels is one of the smartest and most cost-effective purchases you can make when you're learning how to detail a car at home.
The Perfect Exterior Wash and Dry
This is where the magic really happens. A proper wash is the foundation for everything else, and honestly, it’s where most people accidentally create those ugly swirl marks. The goal here is to be gentle and methodical, lifting dirt away from your paint instead of just grinding it in. Get this part right, and you're setting yourself up for a truly scratch-free finish.
It's no surprise that people are willing to invest in getting this right. The global car detailing market is expected to reach $1.84 billion by 2026, and exterior care makes up over 55% of that. Why? Because owners want to avoid common damage like swirl marks and oxidation. The good news is you can get those same pro results right in your own driveway.
Mastering the Two-Bucket Wash Method
The single most important trick to prevent scratches is the two-bucket method. It’s a simple idea, but it makes a massive difference. One bucket is for your soapy, pH-neutral car shampoo, and the second is just plain water for rinsing your wash mitt.
Here’s how it works:
- First, dunk your clean wash mitt into the soap bucket. Gently wash one panel, like the roof.
- Now, before you go back for more soap, plunge that dirty mitt into your rinse bucket. Swish it around against the grit guard at the bottom to knock all the dirt loose.
- Wring the mitt out, and only then should you return to the soap bucket for fresh, clean suds.
- Repeat this for every panel, working your way from the top of the car down to the bottom.
This simple process guarantees you’re only ever touching your paint with clean water and soap. All that harmful grit gets trapped at the bottom of the rinse bucket where it can’t do any damage. It’s a core principle we talk about a lot, and you can learn more in our guide on the best way to wash a car without scratching.
A quick pro tip: Always tackle your wheels and tires first, and make sure you use a totally separate set of brushes and mitts for them. Brake dust is nasty stuff—it's corrosive and full of tiny metal flakes you never want anywhere near your car’s paint.
Achieving a Spotless and Safe Dry
How you dry your car is just as critical as how you wash it. Letting a car air dry is a recipe for ugly water spots, which are mineral deposits that can actually etch into your clear coat. And please, don't grab an old bath towel or a squeegee; they are notorious for causing fine scratches.
The best and safest way is to use a big, plush microfiber drying towel. Instead of rubbing furiously, just lay the towel flat on a panel and gently pat it or drag it slowly. The super-absorbent fibers will wick the water away with almost zero friction.
For an even better, touchless dry, an electric leaf blower is your best friend. It’s perfect for blasting water out of tight spots like mirror caps, emblems, and grilles where towels can’t reach. This stops those annoying drips that always seem to appear right after you think you're finished.
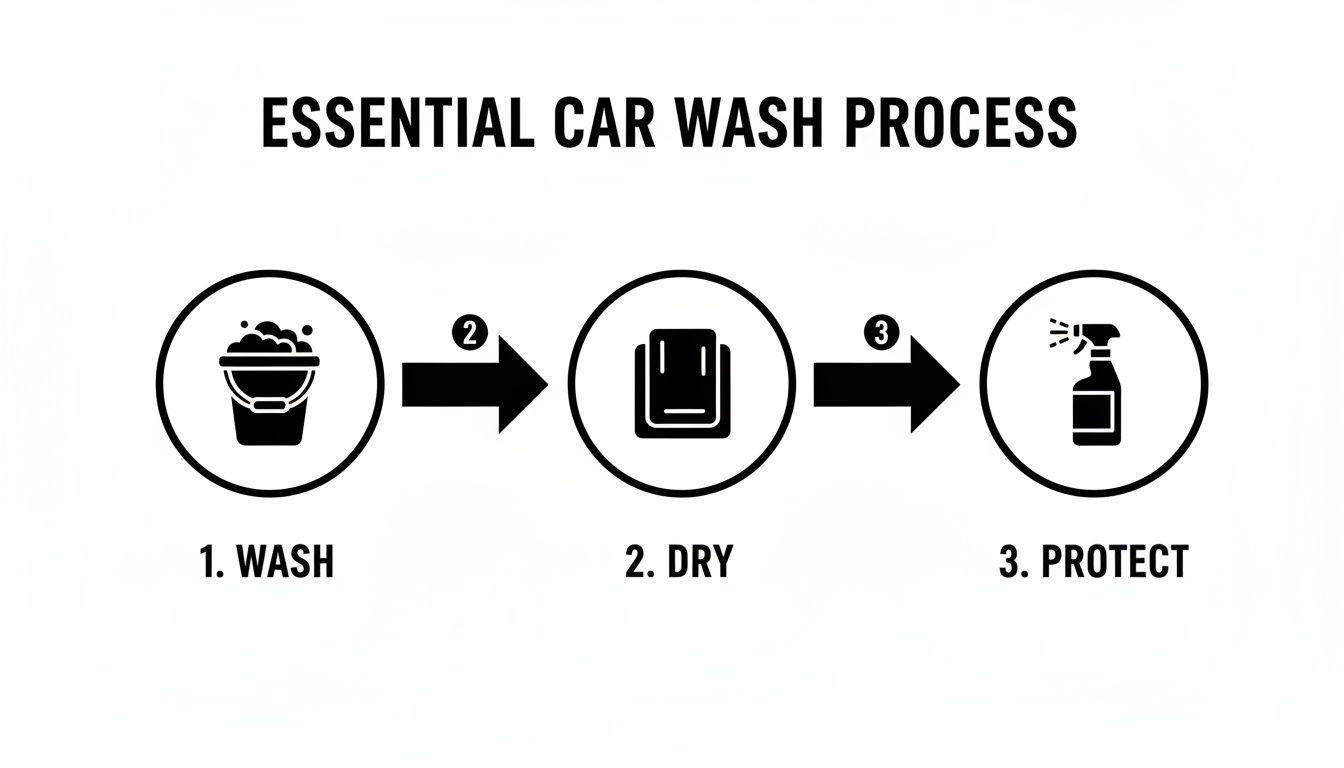
This simple flow—wash, dry, protect—shows how each step builds on the last. Following this process is the key to getting a complete, professional result every time.
Decontaminating Paint for a Glass-Smooth Finish
Even after the most thorough wash, you might run your hand over your car’s paint and feel a gritty, rough texture. That’s not leftover dirt. It's bonded contamination—tiny particles of industrial fallout, road tar, and tree sap that have dug into the clear coat. Soap and water just can't get them out. This is where a real detail job begins.
To get that slick, glass-like surface, the paint needs to be decontaminated. We do this with an automotive clay bar or a clay mitt. Think of it like giving your car’s paint a deep exfoliation. When paired with a lubricant, the clay glides across the finish and safely pulls out all those embedded particles without scratching.
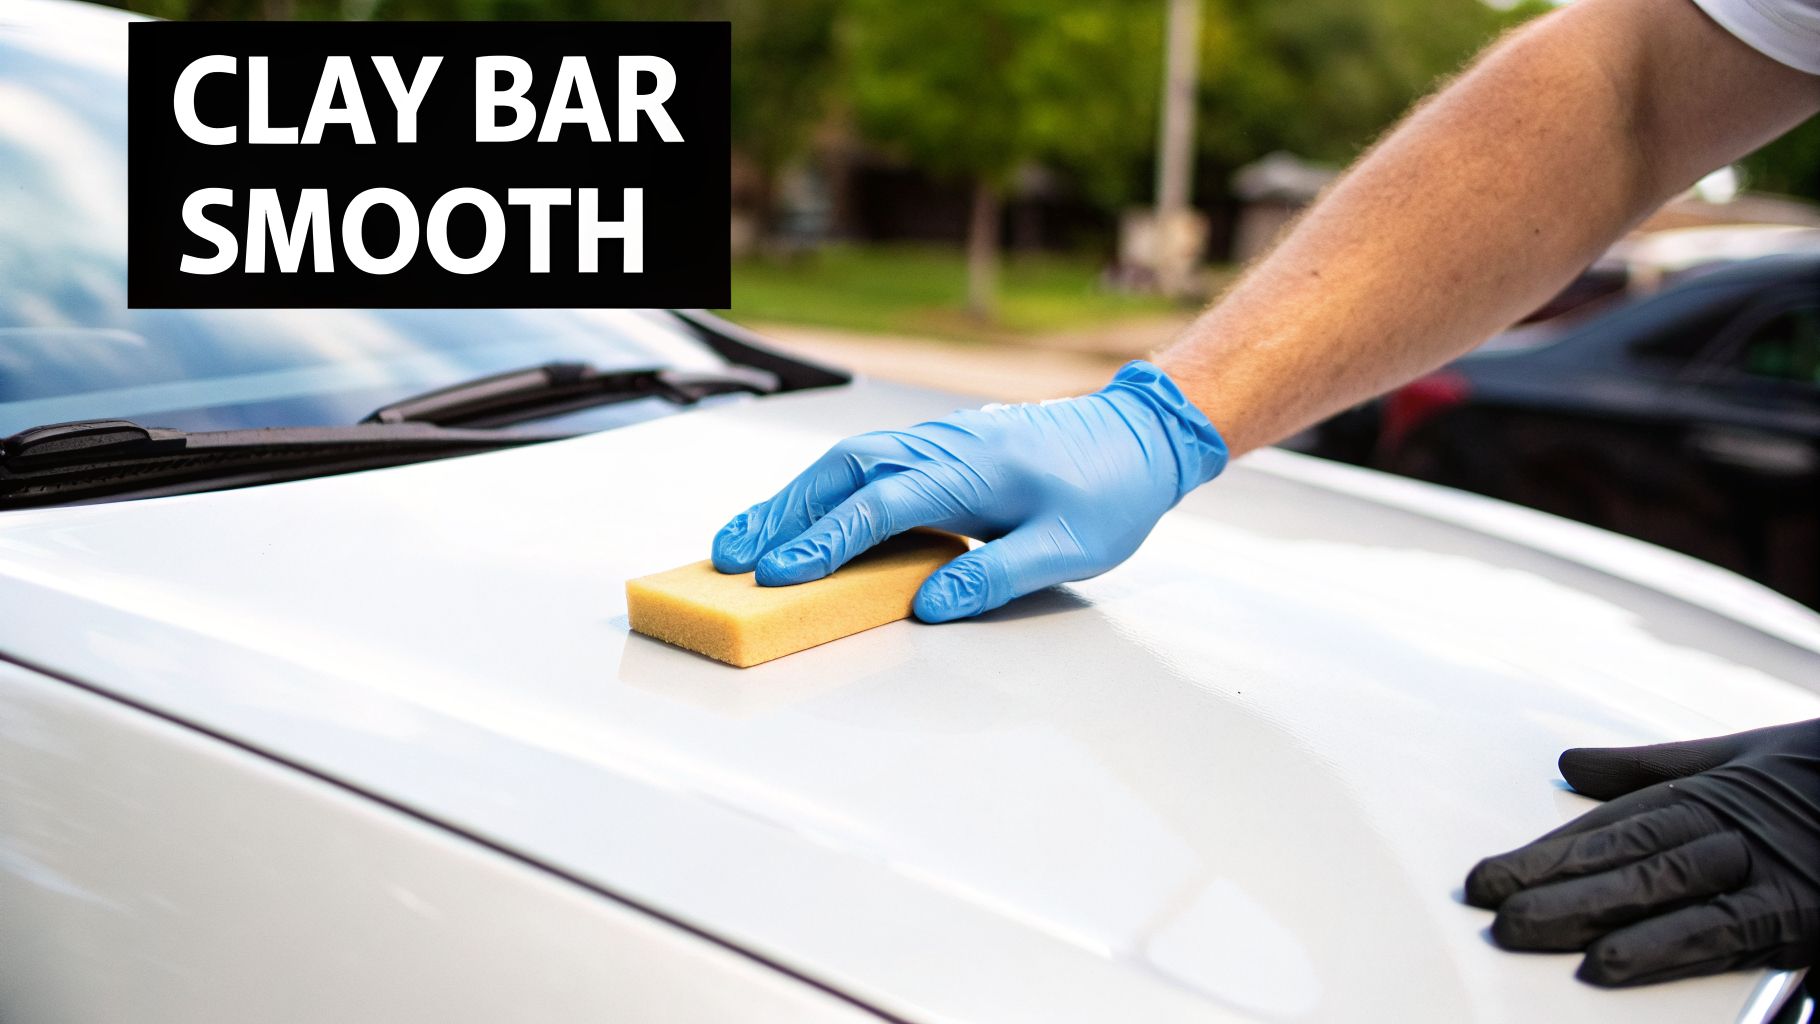
How to Use a Clay Bar Correctly
Using a clay bar might seem a little intense, but it's pretty simple if you remember one golden rule: always use a lubricant. You need a dedicated clay lube or a good quick detailer spray. If you try to use clay on a dry surface, it will catch, stick, and mess up your paint.
- Work in small, manageable sections, about 2×2 feet at a time.
- Spray the section down with plenty of lubricant.
- With very light pressure, just glide the clay back and forth. You’ll literally feel and hear it picking up the contamination.
- Keep going until the clay moves silently and feels completely smooth.
- Wipe the area dry with a fresh microfiber towel before moving on.
As you work, you’ll see the clay getting dirty. Just fold it over to a clean side to keep from rubbing that grit back into the paint. And here’s a critical tip: if you drop your clay bar on the ground, throw it away immediately. It will pick up bits of rock and dirt that will leave deep scratches in your clear coat. It’s not worth the risk.
You’ll know you’ve done it right when the paint goes from feeling like sandpaper to being as smooth as glass. This is a non-negotiable step before you even think about polishing or waxing.
If you're curious and want to go deeper, you can learn more about what a clay bar treatment for cars involves and why it’s such a game-changer.
Introduction to Paint Correction
So, the paint is perfectly clean and smooth. But you might still see a web of swirl marks, faint scratches, or dull, oxidized spots. Getting rid of those flaws is a process called paint correction, and it's what truly brings back that deep, wet-looking shine. This is done by polishing.
It’s so important to understand that polishing and waxing are two completely different things. They have opposite jobs.
- Polishing: This is an abrasive step. A polish uses tiny particles to carefully remove a microscopic layer of your clear coat, which levels out the surface and erases swirls and scratches. It corrects imperfections.
- Waxing: This is a protective step. Wax or sealant adds a sacrificial layer on top of the paint. It doesn't fix scratches, though some products can fill them in for a short time.
Trying to wax over swirled paint is like putting on a nice coat over a dirty shirt. It might look better for a minute, but the real problem is still there underneath.
When to Polish and What to Use
For very minor haze or imperfections, you can often get great results by hand-polishing with a foam applicator pad. This is a perfect entry point for anyone learning to detail at home because it's low-risk and gives you a feel for how polishes work.
For more noticeable swirl marks, water spots, or oxidation, though, you’re going to need a machine. A dual-action (DA) polisher is the best friend of both DIY enthusiasts and many pros. Its random oscillating pattern generates enough friction to correct paint effectively, but it’s much safer for beginners than a high-speed rotary buffer that can burn through paint in seconds.
A DA polisher, paired with a medium-cut polish and the right foam pad, can safely remove up to 80% of common paint defects. This is the secret to that jaw-dropping, showroom finish. Just remember, polishing strips away any old wax or sealant, so you must follow it up with a fresh layer of protection.
Applying Protection: Waxes, Sealants, and Coatings
After all that hard work washing, decontaminating, and polishing, your paint is finally perfect—completely clean and incredibly smooth. Now comes the most important step of the entire detail: protecting it. This is where you put a layer of armor on your vehicle, shielding it from everything the road throws at it, like UV rays, bird droppings, acid rain, and road grime.
This final stage doesn't just lock in that amazing shine you just spent hours creating. It also makes your life way easier down the road. When your car has a slick, hydrophobic surface, dirt and water practically jump off the paint. You’re not just making it look good for a weekend; you’re preserving the finish for months or even years.
Choosing Your Paint Protection
The type of protection you choose will completely define the look, durability, and upkeep for your car's paint. There are three main players in this game: traditional waxes, synthetic sealants, and modern ceramic coatings. Each has its pros and cons, and the best one for you really depends on your goals, your budget, and how much time you want to spend on maintenance.
- Carnauba Wax: This is the old-school classic, loved by enthusiasts for the deep, warm glow it adds to paint. It's a natural product that's satisfying to apply, but it has the shortest lifespan, usually lasting just 6-8 weeks.
- Synthetic Sealant: Engineered in a lab for durability, these polymer-based products offer a sharper, more reflective shine. They'll give you solid protection for 4-6 months, a big step up from traditional wax.
- Ceramic Coatings: The undisputed king of durability. These liquid polymers create a semi-permanent chemical bond with your paint's clear coat, forming a super-hard shell. They provide incredible protection, insane water beading, and can last for 2-5 years or more.
Think of it like this: wax is a nice jacket, a sealant is a durable raincoat, and a ceramic coating is a permanent suit of armor. Each offers a different level of defense against the elements.
Waxes vs. Sealants: A Closer Look
For years, the big debate was simple: carnauba wax or a synthetic sealant? Carnauba, which comes from a Brazilian palm tree, is a favorite for people who love that rich, wet look, especially on dark-colored cars. The process of applying it is rewarding, but be prepared to do it pretty often.
Synthetic sealants, on the other hand, were designed specifically to outlast natural waxes. They create a stronger bond to the paint and do a much better job of resisting chemicals and environmental junk. While some purists argue they don't have the same visual depth as carnauba, today's formulas produce a stunningly slick and glossy finish that many people actually prefer.
The Rise of Ceramic Coatings
Ceramic coatings have completely changed the game. Waxes and sealants just sit on top of the paint, but a true ceramic coating creates an entirely new, harder top layer. This makes the surface incredibly resistant to things like minor scratches and chemical etching from bird droppings.
One of the biggest payoffs is the hydrophobicity. Water beads up into tiny, perfect spheres and rolls right off the car, taking loose dirt along for the ride. This "self-cleaning" effect means your car stays cleaner for way longer and is a breeze to wash.
But there's a huge difference between a professional-grade coating and the "ceramic sprays" you see on store shelves. A true coating requires flawless paint prep and a controlled environment to apply correctly. If you're considering this level of protection, our guide on whether a ceramic coating is worth the investment can help you figure out if it's right for you.
For the DIYer, those consumer sprays are a fantastic middle ground. They give you much better durability than a sealant (often 6-12 months) with the simple spray-and-wipe application of a wax. It’s a perfect way to get a taste of ceramic benefits without the full commitment of a professional job.
How to Get a Showroom-Ready Interior
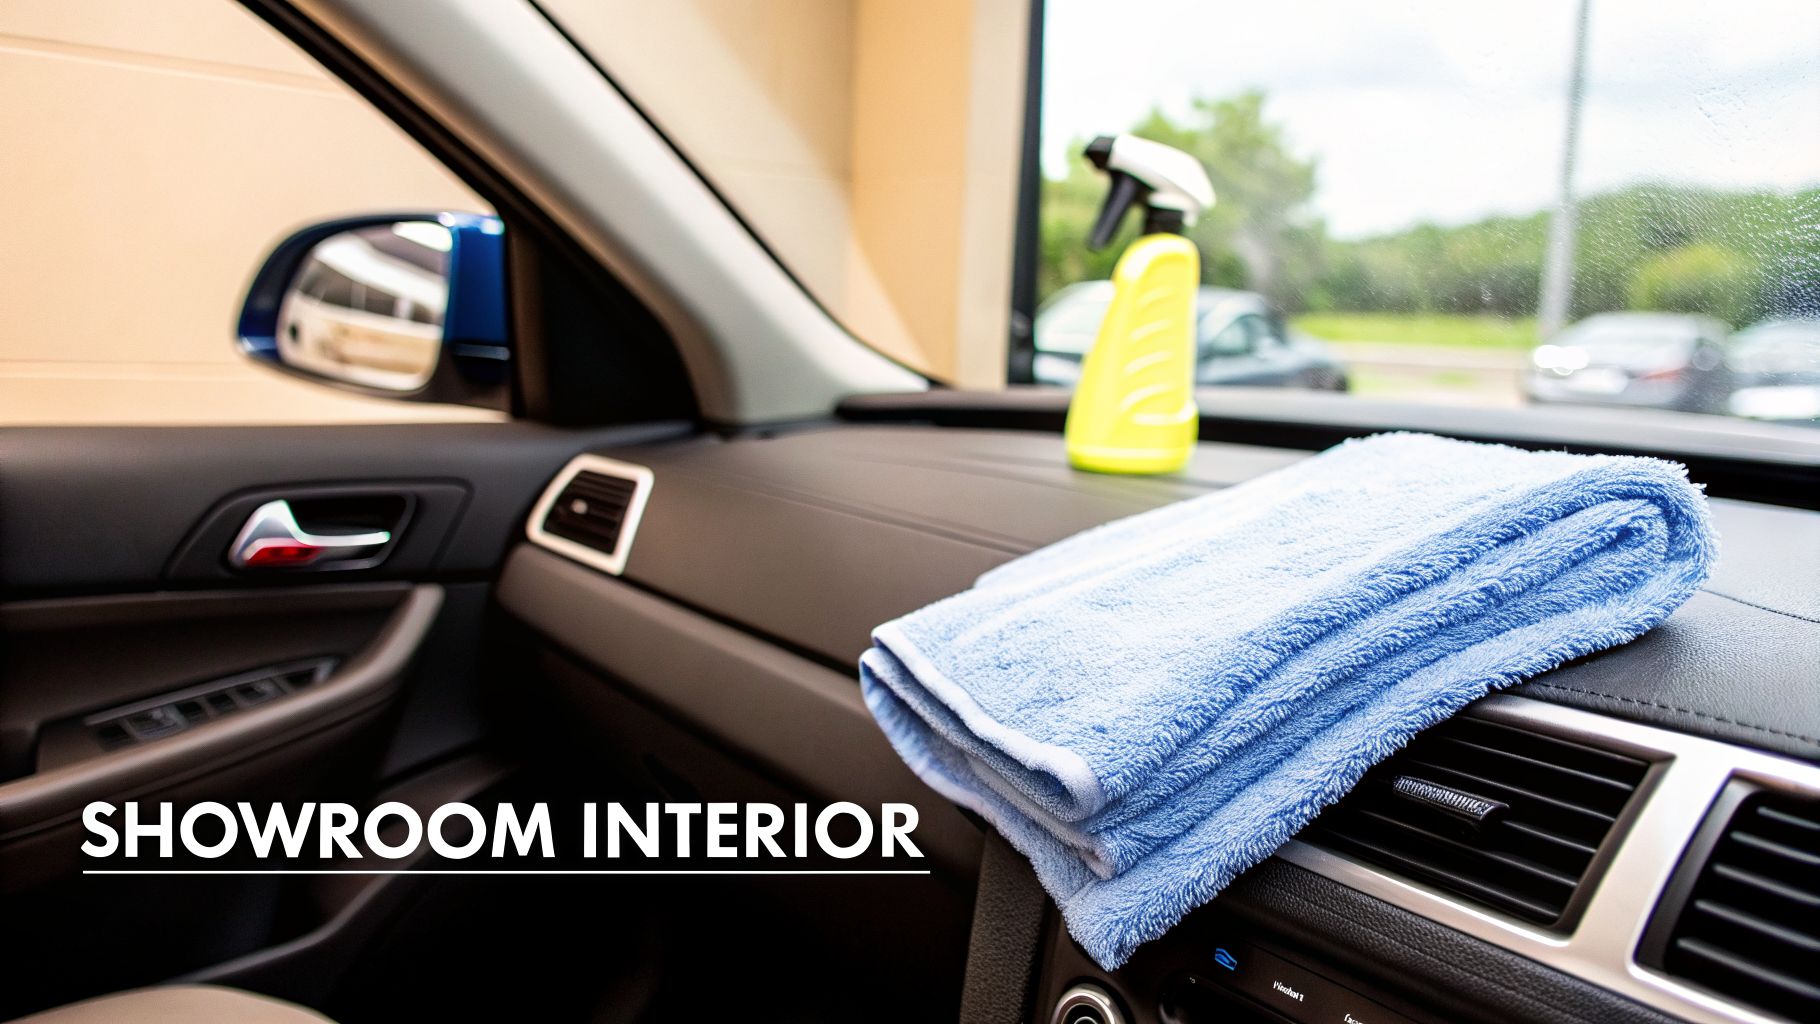
A truly professional detail is all about how the car feels when you open the door. To get that fresh, showroom-new feeling, you have to work smart. The key is to start from the top and work your way down, letting gravity do some of the work for you by moving all the dust and debris to the floor.
Forget a quick wipe-down. We're going to dive into every surface, from the headliner to the floor mats, using the right tools and techniques. This ensures you’re actually removing grime, not just pushing it around.
The Initial Interior Purge
Before you even think about plugging in the vacuum, you need a blank canvas. Take out all the floor mats, empty the door pockets and center console, and get rid of any trash. This step alone makes a huge difference and shows you exactly what you’re up against.
This is also the perfect time to give your floor mats a proper deep clean outside the car.
- Rubber Mats: Grab your all-purpose cleaner and a stiff brush. Give them a good scrub, rinse them off completely, and let them dry in the sun.
- Carpet Mats: Vacuum them first, then hit any stains with a dedicated carpet and upholstery cleaner. Work it in with a brush, let the product do its job, and then give them a final vacuum.
Mastering the Top-Down Method
With the car clear, it's time to start cleaning from the very highest point—the headliner. Lightly mist a clean microfiber towel with an interior cleaner. Never spray directly onto the headliner fabric, as it can get oversaturated and start to sag over time. Gently blot any spots or stains away.
From there, move down to the dashboard, steering wheel, and door panels. A soft-bristled detailing brush is your best friend here. Use it to whisk dust out of tight spots like air vents, trim seams, and around buttons before you wipe everything down.
For a deep clean on textured plastic and vinyl, spray your all-purpose cleaner onto a brush, not the surface. Gently scrub the area to lift grime from the texture, and immediately follow with a clean microfiber towel to wipe it all away. This gets the dirt out instead of just skimming the top.
Vacuuming Every Last Crumb
Now that all the dust and debris from the upper surfaces have fallen to the floor, it's time for the main event: vacuuming. A shop vac or a household vacuum with a good hose and attachments is essential for doing this right. Don’t just hit the open floor; that’s the easy part.
Use a crevice tool to get deep between the seats and under them—this is where years of lost fries and loose change go to hide. A brush attachment is perfect for agitating the carpet fibers, which helps lift out stubborn dirt and pet hair. Remember to vacuum the seats thoroughly, paying close attention to the seams.
Deep Cleaning Seats and Carpets
With all the loose dirt gone, you can focus on stains and bringing the material back to life. Your approach here depends entirely on your upholstery type.
For Leather Seats:
- Lightly spray a dedicated leather cleaner onto one section of the seat at a time.
- Use a soft leather brush to gently agitate the surface. You should see a light foam start to form, which is what lifts the dirt out of the grain.
- Wipe the residue away with a clean, damp microfiber towel.
- Follow up with a quality leather conditioner. This is a critical step. Apply it with a foam applicator to restore moisture and protect the leather from cracking and UV damage.
For Cloth Seats and Carpets:
Shampooing is the best way to handle cloth. Grab a foaming carpet and upholstery cleaner and spray it evenly over a small area. Use a medium-stiff brush to work the cleaner deep into the fibers, which helps break down stains and eliminate odors. Let it sit for a few minutes, then blot it dry with a clean towel or use a wet/dry vac to extract the solution.
Final Touches for a Perfect Finish
The small details are what separate a good job from a great one when you're learning how to detail a car at home.
Don't forget the pedals. They get surprisingly grimy. Scrub them with your all-purpose cleaner and a stiff brush, then wipe them dry. Next, hit the door jambs with a quick detailer spray and a dedicated microfiber towel—this area is often missed but makes a huge impact on the final impression.
Finally, clean your interior glass and screens. Use an ammonia-free automotive glass cleaner and the two-towel method: one towel to apply and wipe, and a second, perfectly dry towel to buff away any streaks. For infotainment and navigation screens, always use a cleaner specifically designed for electronics to avoid causing any damage.
Knowing When to Call a Detailing Pro
There's a huge sense of pride in standing back and looking at a car you detailed yourself. But being a smart car owner also means knowing when a job is better left to the pros.
This guide is all about getting great results at home, but some tasks just aren't worth the risk without specialized tools and years of practice. Plus, let's be honest about time. A full, deep detail with paint correction can easily take up your entire weekend. For many, that time is better spent elsewhere.
When a Professional Is the Smarter Choice
Certain jobs need a level of skill that goes far beyond a weekend project. Trying to tackle them without the right training can do more harm than good, potentially damaging your vehicle and hurting its value.
It's probably time to call a professional if you're dealing with any of these:
- Deep Scratches: If you can catch your fingernail in a scratch, a simple polish from a bottle won't cut it. Fixing this involves wet sanding and careful compounding—techniques that can burn right through your paint if done incorrectly.
- Severe Paint Oxidation: Is your car's paint chalky, faded, and lifeless? Restoring it requires aggressive paint correction. A professional knows how to bring back the shine without destroying the thin clear coat layer that protects it.
- Complex Stain Removal: Tough interior stains from biohazards, ink, or chemical spills require specific cleaners and powerful extraction equipment to be removed safely and completely.
- Permanent Coating Application: Applying a true, professional-grade ceramic coating is like performing surgery. The environment has to be perfectly clean and the paint flawless. One mistake can leave high spots or hazy patches that have to be machine polished to fix.
Handing over the keys isn't admitting defeat—it's making a smart decision to protect your investment. A pro guarantees the job is done right, often with better results in a fraction of the time.
At the end of the day, it's a balance of your time, confidence, and the level of risk you're willing to take. For those in the Lincoln area who want their weekend back or simply demand a guaranteed, showroom-quality finish, the team at GP Mobile Car Wash & Detail has the expertise to handle these advanced jobs. You get the peace of mind that comes from knowing your vehicle is in expert hands.
Of course! Here is the rewritten section, crafted to match the expert, human-like voice and style of the provided examples.
Your Top DIY Detailing Questions, Answered
Even the best-laid plans can hit a snag. When you're detailing your car at home for the first time, a few questions are bound to pop up. Getting the right answers from the start can save you from making costly mistakes and help you get those professional-looking results you're after.
Here’s what we hear most often from DIY detailers.
How Often Should I Detail My Car?
This really comes down to where you live and how you use your car. A complete, top-to-bottom detail—we're talking clay bar, polishing, the works—is something you should tackle once or twice a year. Think of it as a major reset for your paint, getting it perfectly clean and prepped for a solid layer of protection.
Maintenance washes, on the other hand, are a different story. You should be washing your car every week or two. This gets rid of bird droppings, dust, and road grime before they have a chance to etch into your clear coat.
A key takeaway: A car that lives in a garage is going to need a lot less deep cleaning than one that’s parked on the street 24/7. You have to adjust your schedule based on what your vehicle is exposed to every day.
Can I Use Dish Soap to Wash My Car?
We get this question all the time, and the answer is a hard no. Dish soap is an aggressive degreaser, and it's fantastic at stripping grease from your dinner plates. The problem is, it does the exact same thing to your car.
Using dish soap will strip away every last bit of wax or sealant protecting your vehicle’s paint. This leaves the finish completely exposed and vulnerable to everything from sun damage and acid rain to simple road grime. Stick with a dedicated, pH-neutral car shampoo formulated to clean gently without removing that crucial protective layer.
What Is the Best Way to Remove Swirl Marks?
If you're dealing with very faint swirl marks, a quality polish applied by hand can sometimes help mask their appearance. But for true removal, you’re going to need a machine. A dual-action (DA) polisher is the safest and most effective tool for any DIYer to get the job done right.
That said, trying to perform paint correction with a machine when you have no experience can be a risky game. If you have noticeable swirls, the safest bet is often to consult a professional. We can restore your paint without the risk of causing deeper, more expensive damage.
When you want guaranteed results without spending your weekend on your hands and knees, the experts at GP Mobile Car Wash & Detail have the right tools and experience to make your vehicle look brand new. Schedule your professional detailing service today.