That heart-stopping moment when a full coffee cup takes a nosedive onto your passenger seat is something we all know too well. Your first instinct might be to grab a napkin and scrub frantically, but that’s the single biggest mistake you can make. What you do in the first few minutes determines if you’re dealing with a simple cleanup or a permanent stain.
Your First Response to Any Car Interior Stain
Acting fast is everything, but acting smart is what truly saves your upholstery. The golden rule is simple: blot, don't rub.
When you rub a fresh spill, you're just grinding the mess deeper into the fabric's weave and spreading it out. Blotting, however, uses gentle pressure to lift the liquid straight up and out. Always start blotting from the outside edge of the spill and work your way in—this keeps the stain contained.
Prepare for the Inevitable
The best way to handle a spill is to be ready for it. I always recommend keeping a small "spill kit" in your trunk or glove box. It can turn a disaster into a minor inconvenience.
Your kit doesn't need to be complicated:
- Microfiber Cloths: These are incredibly absorbent and perfect for soaking up liquids before they set.
- A Small Spray Bottle of Water: Just plain water is often enough to dilute fresh water-based spills like soda or coffee, making them easier to lift. A 50/50 mix of white vinegar and water also works wonders.
- An Old Gift Card or Plastic Scraper: This is my go-to trick for scraping away thicker gunk like mud, ketchup, or melted chocolate before you start blotting.
The second a spill happens, fight the urge to panic and scrub. Take a breath, grab your kit, and gently blot. That controlled first step is what separates a quick fix from a costly, permanent problem.
Before you go any further, you need a quick-reference guide for those first critical moments. This cheat sheet covers the most common spills we see and the immediate steps to take.
Immediate Stain Response Cheat Sheet
This table is your 5-minute action plan. It’s designed to help you react correctly before a stain has time to chemically bond with the fabric.
| Stain Type | Immediate Action (Blot/Scrape) | First Liquid to Use | Crucial Tip |
|---|---|---|---|
| Coffee/Tea | Blot immediately | Cold Water | Avoid hot water, which can set the tannins in coffee. |
| Grease/Oil | Do NOT blot. Scrape off excess. | No liquid initially | Sprinkle cornstarch or baking soda on it to absorb the oil first. |
| Ink | Blot gently (don't spread it) | Rubbing Alcohol | Dab carefully with a cloth dampened with alcohol. Don't pour. |
| Blood | Blot gently | Cold Salt Water | Never use hot water, as it will cook the protein and set the stain. |
| Pet Urine | Blot thoroughly | 50/50 Water & White Vinegar | The vinegar helps neutralize the ammonia and odor. |
Once you’ve contained the initial spill, you’re ready to move on to a more targeted cleaning solution.
Identify the Stain and the Surface
Before you reach for a cleaner, you have to know what you’re fighting and where you’re fighting it. Is the stain oil-based (greasy food, makeup) or water-based (juice, coffee)? Is your interior tough cloth, delicate leather, or durable vinyl?
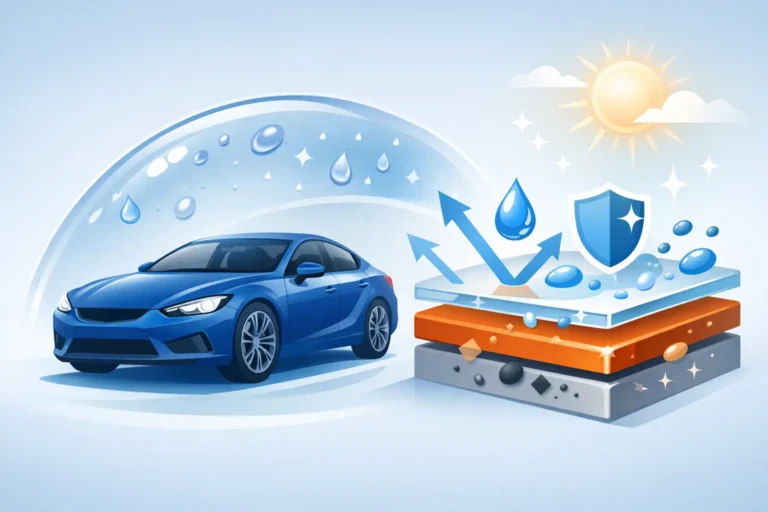
This quick assessment is non-negotiable. An oil-based stain laughs at water, and a cleaner that’s a hero on fabric could ruin a leather dashboard. There’s a reason the global stain remover market was valued at USD 24.89 billion in 2025—different messes require different chemistry. According to industry data, using the wrong product can cause 40-50% more permanent damage, especially within the first 24 hours. You can dive deeper into these stain remover market insights on FortuneBusinessInsights.com.
This is especially true for cloth upholstery, which acts like a sponge and pulls liquids deep into its fibers, making it much more vulnerable to permanent stains than non-porous surfaces like leather or vinyl.
Tailoring Your Cleaning Method to Different Surfaces
Your car's interior isn't just one material—it's a mix of cloth, leather, vinyl, and plastic. A huge mistake we see people make is grabbing one "all-purpose" cleaner and using it everywhere. That's a surefire way to cause damage.
What works wonders on a floor mat can permanently bleach a leather seat. The right approach isn't about finding a single miracle product; it's about matching your cleaning technique to the specific surface you're working on. This is where thinking like a detailer makes all the difference.
Treating Fabric and Carpet Stains
Cloth seats and carpets are magnets for stains. Because they're so absorbent, spills don't just sit on the surface—they soak deep into the fibers and padding. This is why you get those stubborn stains and funky smells that never seem to go away.
When you're tackling a stain on fabric, always start with the least aggressive method first. You'd be surprised how often a simple mix of equal parts white vinegar and water can knock out a fresh, water-based spill. The vinegar's acidity is great at breaking down the stain without harsh chemicals.
For tougher, set-in grime or oily stains, you'll need to step it up to a dedicated upholstery or carpet cleaner. But before you spray anything, the most important step is to spot test.
Pro Tip: Always test your cleaner on a hidden spot first, like under a seat or a piece of carpet in the trunk. Put a little on, let it sit for a minute, and blot it dry. If you see any color coming off or the fabric looks weird, stop immediately.
Caring for Leather Surfaces
Leather feels luxurious, but it's a natural material that needs a gentle touch. Aggressive cleaners or anything with a high pH will strip its protective coating and natural oils, leading to dryness, cracks, and discoloration.
When cleaning leather, your only safe bet is a pH-neutral leather cleaner. These are designed to lift dirt without damaging the material.
- Always apply the cleaner to a soft microfiber towel or a leather brush, never directly onto the seat.
- Gently work it into the stain with small, circular motions. No aggressive scrubbing.
- Wipe the residue away with a clean, damp microfiber cloth.
- Immediately follow up with a dry towel to get rid of any leftover moisture.
After cleaning, you absolutely must apply a quality leather conditioner. This step puts back the essential oils that keep the leather soft and protect it from future damage. Think of it as moisturizer for your car's most delicate surfaces. Our guide on how to detail a car at home dives deeper into these kinds of essential interior care steps.
Cleaning Vinyl and Plastic Trim
Vinyl and plastic cover your dashboard, door panels, and center console. They're tough, but they're prone to scuffs and that greasy film some products leave behind. Steer clear of those shiny, silicone-based "protectants"—they just create a slippery mess that attracts even more dust.
Most of the time, a few drops of mild dish soap in warm water is all you need to cut through fingerprints and daily grime. For tougher marks, an interior all-purpose cleaner and a soft-bristled brush will get the job done. The goal is a clean, matte finish, not a slick, glossy one.
This quick-glance chart helps simplify what to do when a spill happens.
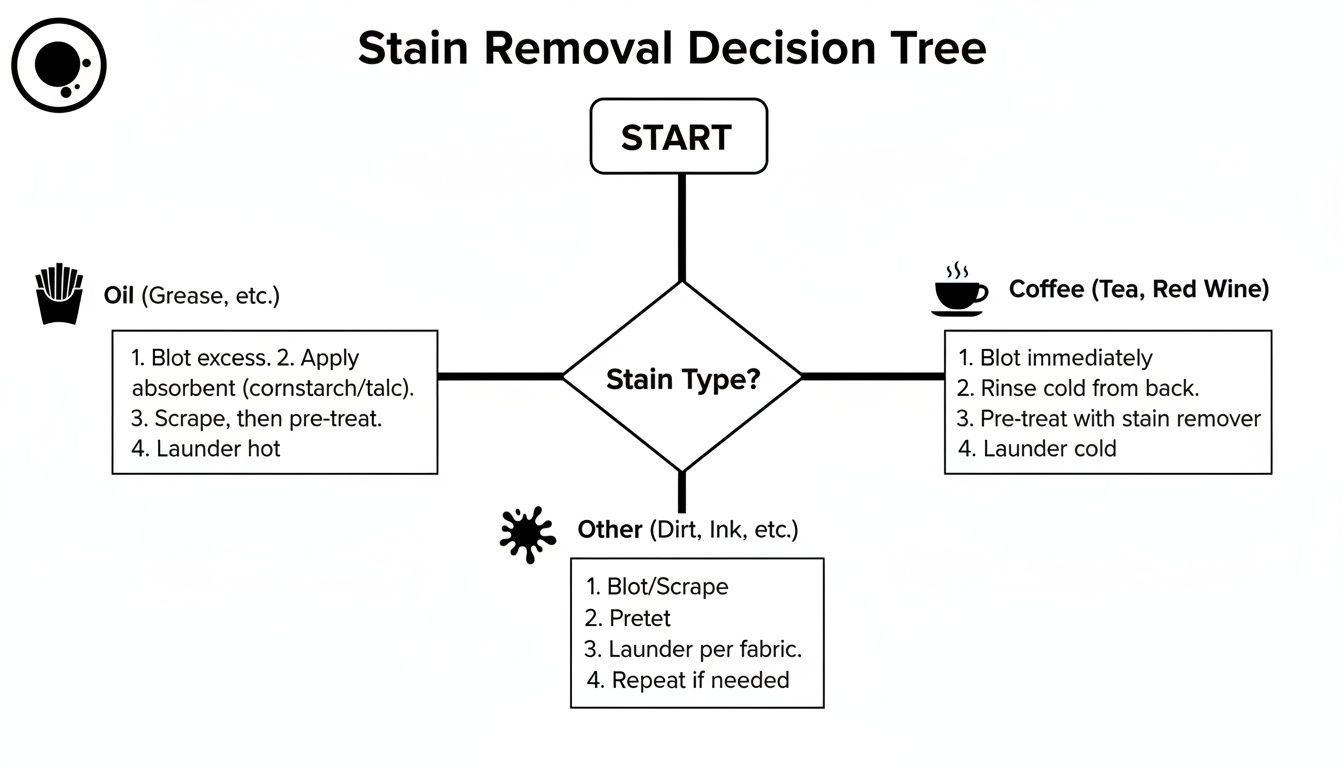
As you can see, the right first move always depends on the stain and the surface. There’s no one-size-fits-all fix.
With over 1.4 billion vehicles on the road worldwide, it's no shock that interior messes are a common headache. We estimate that 80% of car owners deal with a frustrating stain each year. This often leads people to spend 25% more on professional services, mainly to avoid the 30-40% failure rate of DIY attempts that go wrong on sensitive surfaces.
A Realistic Guide to Conquering Stubborn Stains
Some spills are easy to clean up with a quick wipe, but others seem to dig in and refuse to leave. This is where we get serious, moving past simple blotting to tackle the most common—and frustrating—stains that show up in car interiors. With the right approach, you can learn how to get these spots out of your car for good.
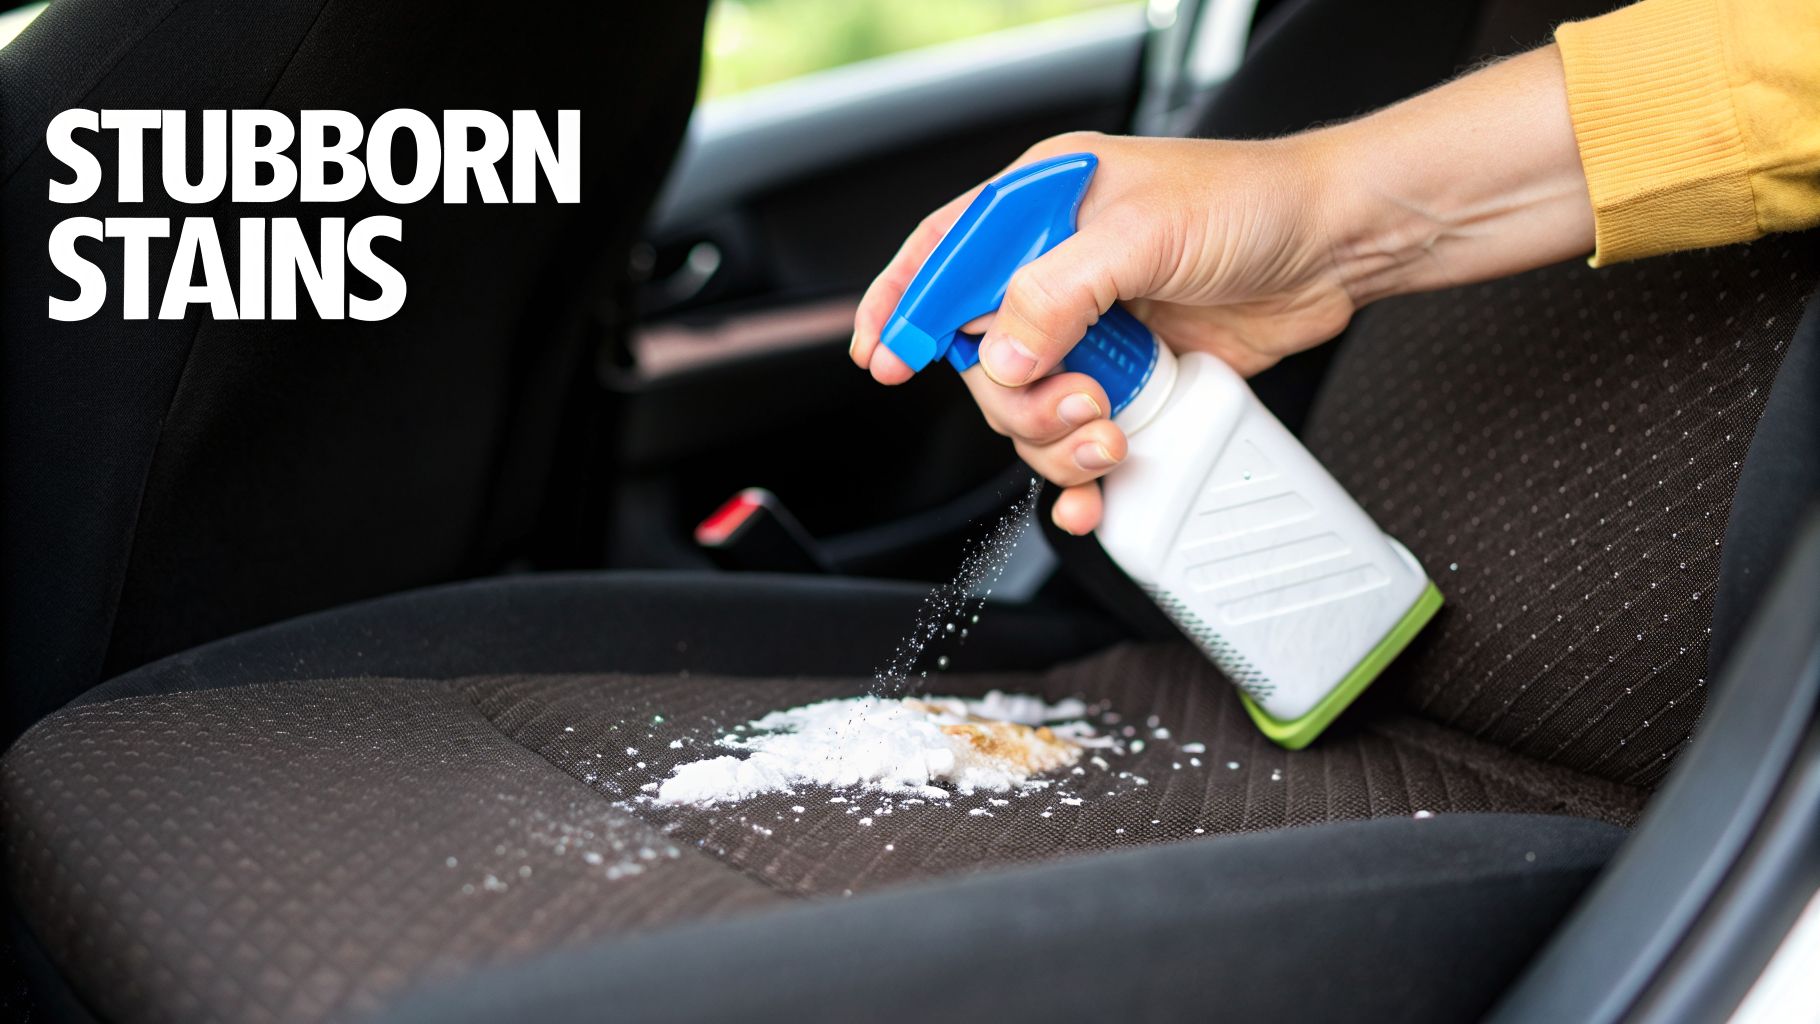
Think of it less like cleaning and more like a targeted attack. From that morning coffee spill to the oily mark from a dropped french fry, every stain has a weak spot. Let's break down exactly how to handle them.
Defeating Coffee and Soda Stains
A spilled coffee or soda does more than just leave a brown mark. The sugar creates a sticky film that attracts dirt long after you think the spot is clean, leading to a grimy area that never seems to go away.
The goal here is to tackle both the stain itself and that sugary residue. Start by blotting up as much of the liquid as you can with a clean microfiber towel. After that, lightly mist the spot with a simple solution of one part cool water and one part white vinegar.
Let that vinegar mix sit for about five minutes. This gives it time to break down the sticky sugars. Then, blot the area again with a fresh, dry cloth, pressing down firmly to lift the dissolved mess out of the fabric. If you still see a faint ring, a dedicated upholstery cleaner should finish the job.
Handling Greasy Food Mishaps
Grease and oil are a detailer's classic enemy because they repel water. Spraying a water-based cleaner on a fresh grease stain will only smear it around and push the oil deeper into your seats. The trick is to pull the oil out of the fabric before you use any liquid.
This is where a common kitchen staple comes in handy. Get some cornstarch or baking soda and sprinkle it generously over the greasy spot. You want to create a thick layer that completely covers the stain.
Let it sit for at least 20-30 minutes. The powder works like a sponge, drawing the oil up and out of the upholstery. When you vacuum up the powder, you'll be shocked at how much of the grease comes right out with it.
Only then should you treat any remaining mark. A few drops of dish soap mixed in warm water works well at this stage, since it's made to cut through grease.
The most crucial step for oil stains is absorption. Skipping the cornstarch or baking soda step is like trying to wash greasy hands with only water—it just smears the problem around. Pulling the oil out first makes the final cleaning a hundred times easier.
Erasing Dreaded Ink Marks
An exploded pen can feel like a disaster for your car's interior. But with a bit of precision and the right solvent, you can often make it disappear completely. Your go-to tool for this job is isopropyl alcohol, also known as rubbing alcohol.
The secret here is to be very careful. You don't want to soak the area, as this can make the ink bleed and spread into a bigger stain.
- Start by dampening a clean, white microfiber cloth or a cotton swab with the rubbing alcohol.
- Gently dab—don't rub—at the ink stain. You should see the ink start to transfer from the seat to your cloth.
- Keep moving to a clean section of the cloth so you aren't just putting the ink back onto the fabric.
Always work from the outside edge of the stain toward the center. This stops it from getting bigger. It's a slow process that takes patience, but it’s the best way to lift ink without creating a bigger mess. Once the ink is gone, blot the area with a water-dampened cloth to rinse out any leftover alcohol.
Tackling Biological Stains and Odors
For anyone with kids or pets, stains from blood, vomit, or pet urine are an unfortunate reality. These are organic, protein-based stains, and they require a completely different type of cleaner. Regular soaps won't work, and they definitely won't get rid of the lingering smells.
Your best weapon here is an enzymatic cleaner. These products use special enzymes that literally break down and "eat" the organic proteins that cause both the stain and the odor. It's a chemical reaction, not just a cover-up.
First, remove any solid material and blot the area. Then, saturate the stain with the enzyme cleaner. You need the cleaner to soak in just as deep as the original spill did. Let it sit for as long as the directions say—that's when the enzymes are doing their job.
After it has had time to work, just blot the area dry. For these types of accidents, this is the only method that truly solves both the stain and the smell for good.
Effective DIY Stain Removers From Your Pantry
You don't always need to buy a specialty product every time a spill happens in your car. I've found over the years that some of the best tools for fighting common stains are already sitting in your kitchen pantry, and I still rely on them for quick cleanups.
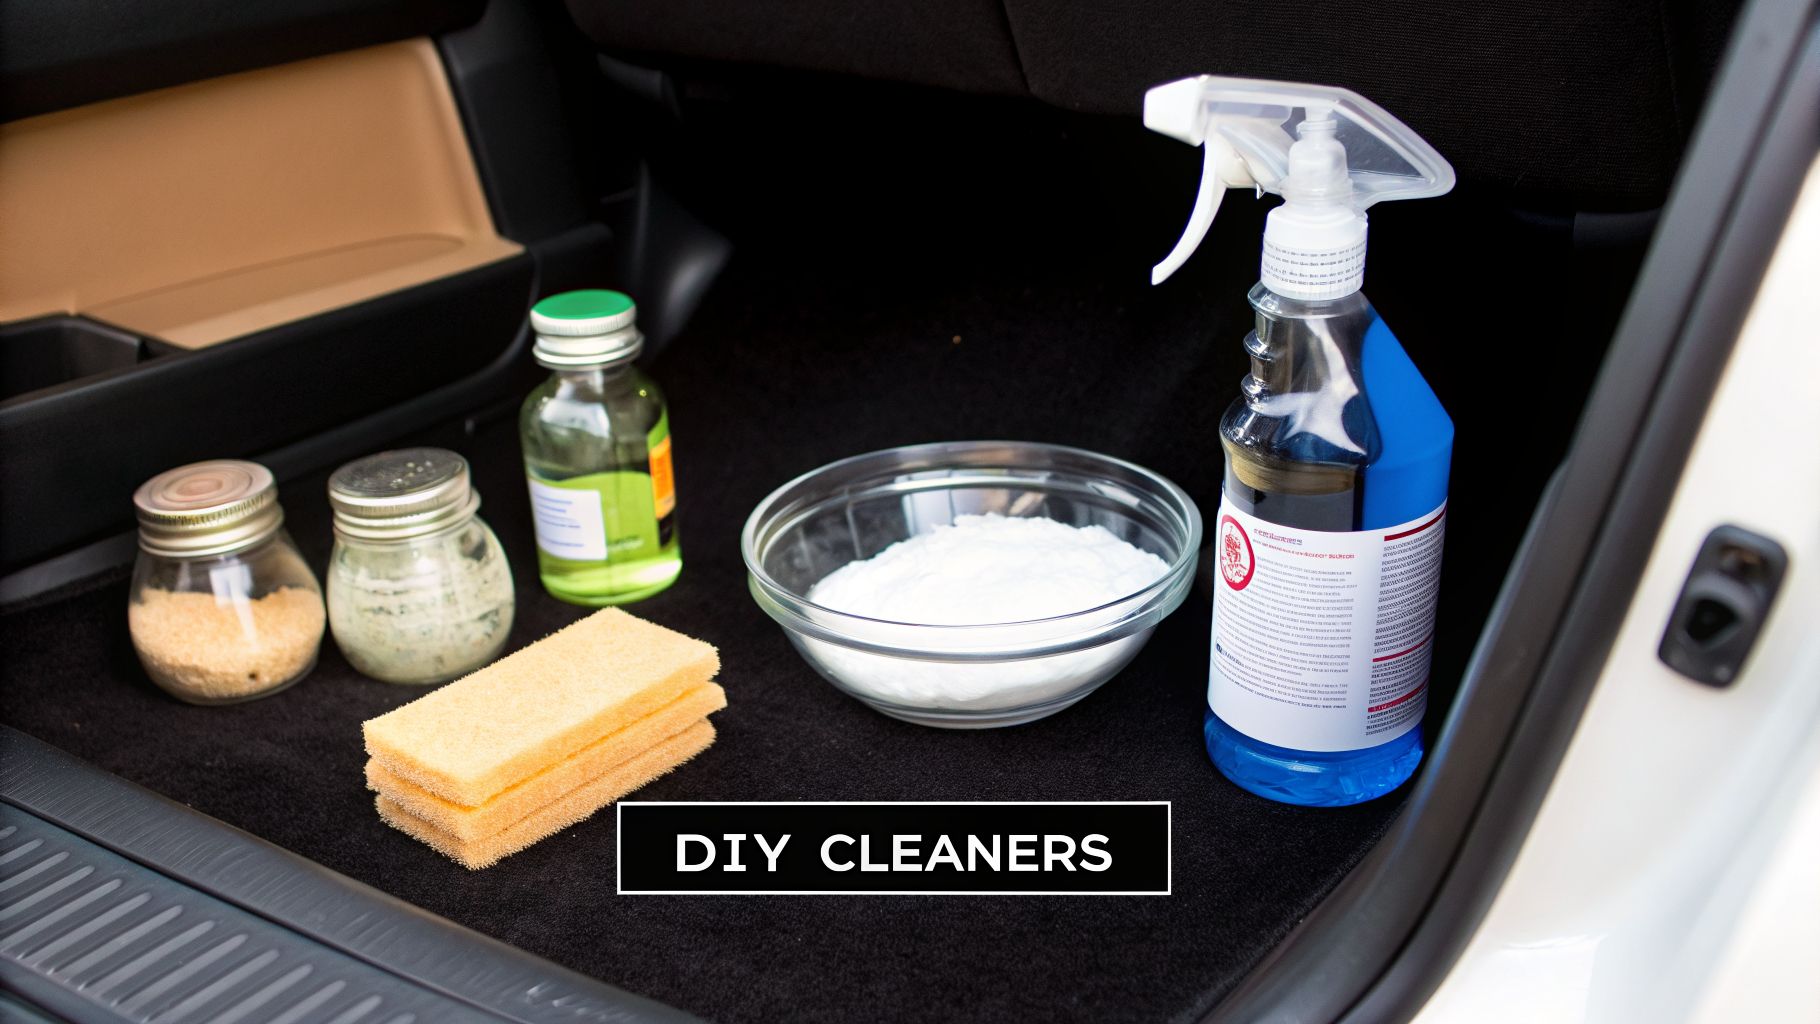
These simple, homemade cleaners are often much gentler on your car's fabrics and are perfectly safe to use around kids and pets. They’re the ideal first step for fresh spills before you reach for stronger chemicals.
The Go-To Vinegar and Water Spray
My favorite all-purpose cleaner is a basic mix of white vinegar and water. Because vinegar is a mild acid, it's brilliant at dissolving light, water-based messes like coffee rings, dirt smudges, or sticky juice spills without harming your upholstery.
Just mix equal parts white vinegar and distilled water in a spray bottle. Give the stain a light mist—you don't want to soak it—and let that sit for a couple of minutes. From there, just blot the spot firmly with a clean microfiber towel to pull the stain right out. The vinegar smell disappears completely once it's dry.
Baking Soda Paste for Ground-In Grime
For something a bit tougher, like a greasy mark or dirt that’s been worked into the carpet, baking soda is your best friend. It’s a mild, natural abrasive that lifts grime away without being too harsh on the fibers.
To make a paste, mix three parts baking soda with one part water until it has a texture like toothpaste.
- Spread the paste directly over the stain.
- Gently scrub the area in small circles with a soft-bristled brush (an old toothbrush is perfect for this).
- Let the paste dry completely, which might take an hour or so.
- Once it’s caked and dry, just vacuum up all the residue.
This trick is fantastic for getting mud and dirt out of floor mats. As a bonus, the baking soda also absorbs any musty odors.
Don’t underestimate the power of these simple ingredients. A basic vinegar spray and a small tub of baking soda paste can handle a surprisingly high percentage of everyday car interior stains, saving you money and exposure to harsh chemicals.
Knowing When to Use DIY vs. Professional Cleaners
While pantry solutions are great for many situations, it's just as important to know their limits. A dedicated professional product is sometimes the only way to get a stain out completely without damaging the material.
The table below breaks down when a simple home remedy is a good starting point versus when you need the power of a professional-grade cleaner.
DIY vs Professional Stain Removal Solutions
| Stain Type | DIY Solution | Professional Solution | When to Choose Which |
|---|---|---|---|
| Coffee/Tea/Soda | Vinegar & water spray; Club soda (for fresh spills) | Fabric & upholstery shampoo | DIY is great for fresh spills. Use a pro cleaner if the stain has set or contains sugar/milk. |
| Grease/Oil | Baking soda paste; Dish soap & water (on vinyl/plastic) | Solvent-based degreaser | DIY can handle light food smudges. For motor oil or heavy grease, you need a degreaser. |
| Ink | Isopropyl (rubbing) alcohol (use with extreme caution) | Specialized ink remover | Ink is very tough. Test alcohol in a hidden spot, but a specialized remover is much safer. |
| Blood | Cold water & a bit of dish soap | Enzymatic cleaner | Always use cold water first. An enzymatic cleaner is necessary to break down set stains. |
Ultimately, knowing which product to grab comes down to the type of stain and how long it's been there. Fresh, simple spills are perfect candidates for a quick DIY fix, while older, more complex stains almost always require a specifically formulated product to remove them safely.
Even with the best home remedies, some stains just won't budge. The global car cleaning products market is a massive industry for a reason—tough shampoos and detergents are often necessary for grease and oil, which 60% of owners say are persistent problems. In fact, data shows that DIY methods can fail on up to 70% of tough stains like ink or dye, whereas professional tools and techniques can achieve 99% success. You can find more details on these car cleaning market statistics on SkyQuestt.com.
Knowing when a home remedy is enough versus when you need to bring in a stronger solution is the key to keeping your car's interior looking brand new.
Knowing When to Call a Professional Detailer
There’s a lot you can tackle with a good cleaner and some elbow grease, but even the most dedicated car owner eventually meets their match. Knowing your limits is one of the smartest things you can do to protect your car’s interior. Pushing a home remedy too far can quickly turn a small stain into a permanent, expensive problem.
Passing the job to a professional isn't a sign of defeat. It's a strategic move to preserve your car’s value and your own sanity. Some situations just demand tools, chemicals, and expertise you won’t find in your garage.
When DIY Is Not Enough
Sometimes a stain is just too old, too big, or too stubborn for over-the-counter products. If you’re dealing with any of these scenarios, it’s probably time to call in an expert.
Deeply Set-In Stains: Did you just discover a dark spot that’s been baking in the sun for weeks? Once a stain has had time to chemically bond with fabric fibers, it’s extremely difficult to remove without damaging the upholstery.
Large Volume Spills: If a whole large soda, a full travel mug of coffee, or a container of soup soaked your seat, the problem goes way beyond the surface. That liquid has seeped deep into the foam cushion, creating the perfect environment for mold, mildew, and odors that surface cleaning will never fix.
Delicate or Specialized Materials: Are your seats made of suede, Alcantara, or another premium fabric? These materials are notorious for being easy to ruin. Using the wrong product or even just a little too much water can cause permanent water marks, discoloration, or texture damage.
The Professional’s Arsenal
When you hire a professional detailer, you’re not just paying for their time—you’re paying for their specialized equipment and hard-won experience. They arrive with an arsenal of tools designed to solve problems that home methods simply can't touch.
A hot water extractor, for example, is a total game-changer for upholstery. It shoots a high-pressure stream of cleaning solution deep into the fabric and foam, and then immediately vacuums out the dirty liquid and grime. This process flushes out the entire spill, not just the part you can see on top.
A professional detailer doesn’t just clean the stain you can see; they remove the part of the spill that soaked deep into the seat cushion. This is the only way to truly eliminate the problem and prevent future odors or mold growth.
Stubborn smells are another huge challenge. Odors from mold, heavy smoke, or old pet accidents are often impossible to get rid of with store-bought sprays. Professionals use tools like ozone generators, which fill the entire cabin with ozone (O3) gas. This gas gets everywhere—into fabrics, vents, and headliners—and chemically neutralizes the molecules causing the smell.
For organic messes, they also have access to commercial-strength enzymatic cleaners that are far more powerful than retail versions. These cleaners release active enzymes that literally break down and digest the biological source of the stain and odor until nothing is left. If you're struggling with tough messes and need expert help, looking for a deep cleaning car interior near me can connect you with technicians who have the right tools for the job.
Frequently Asked Questions About Car Interior Stains
Even with a comprehensive guide, some of those really specific, tricky questions always seem to come up. Think of this as the part of the conversation where I answer the most common things people ask me after they've tried to tackle a stain on their own.
These are the real-world problems that can make or break a cleanup. Let's get right into it.
What Is the Single Best All-Purpose Cleaner to Keep in My Car?
For a reliable cleaner to stash in your glove box, I always point people toward a high-quality, pH-neutral interior cleaner. The key is to find one that's explicitly labeled as safe for multiple surfaces, like fabric, plastic, and vinyl.
Steer clear of those common all-in-one "protectant" wipes. In my experience, they almost always leave a greasy, shiny film that just becomes a magnet for dust a few days later.
If you want a great DIY option, you can't go wrong with a simple mix of one part white vinegar to two parts distilled water in a small spray bottle. It’s fantastic for quick cleanups on cloth and hard plastics, but always remember the golden rule: test it on a hidden spot first. Always.
Can I Use a Household Carpet Cleaner on My Car's Seats?
You can, but you have to be extremely careful. Household carpet cleaners are formulated to be much stronger and more concentrated than automotive products. I’ve seen countless interiors where someone used one, and it left behind a soapy, sticky residue that ended up attracting even more dirt over time.
If you absolutely have to use one in a pinch, dilute it to at least half the strength recommended on the bottle. More importantly, you have to be ready to "rinse" the area thoroughly. That means blotting it over and over with a clean, damp cloth to pull out all that leftover soap. Automotive-specific cleaners are designed from the ground up for easy removal in the tight space of a car.
How Do I Get Rid of the Smell After Cleaning a Stain?
If you've cleaned up a spill like milk, a pet accident, or anything organic, that lingering odor is caused by bacteria. A standard cleaner might get the visible part of the stain out, but it won't touch the source of the smell.
For these kinds of messes, you absolutely have to use an enzymatic cleaner. These products use active enzymes that literally break down and consume the organic proteins causing the odor. It’s the only way to permanently get rid of the smell instead of just covering it up.
After you've cleaned the physical stain, saturate the area with the enzyme cleaner and let it sit for as long as the directions say. Don't just spray and wipe. Giving it time to dwell is what lets the enzymes do their work. For a deeper dive, our guide on how to get rid of bad smells in your car covers this in more detail.
Is It Really Possible to Make a Stain Worse?
Oh, absolutely. It happens more often than you'd think. The two biggest mistakes I see are rubbing a stain too aggressively and using the wrong type of chemical for that specific stain.
Scrubbing like crazy just grinds the stain deeper into the fabric fibers, making it a nightmare to remove later. Using the wrong product can be even worse—think an aggressive degreaser on leather, which can permanently strip the color right off the seat. Likewise, hitting a protein stain like blood with hot water will essentially "cook" it into the material, setting it for good. The key is to always start gently and only escalate your approach if necessary.
When a stain just won't budge or you want a guaranteed perfect result without the guesswork, the experts at GP Mobile Car Wash & Detail are here to help. Our professional-grade tools and eco-friendly solutions can restore your interior to pristine condition. Book your mobile or shop appointment today!