For most light hard water spots, a simple 50/50 mix of white vinegar and distilled water can work wonders. But for those stubborn, etched-in stains that feel like they've become part of the glass itself, you'll need something stronger, like a professional-grade glass polish, to truly restore clarity.
What Really Causes Those White Spots on Your Windshield
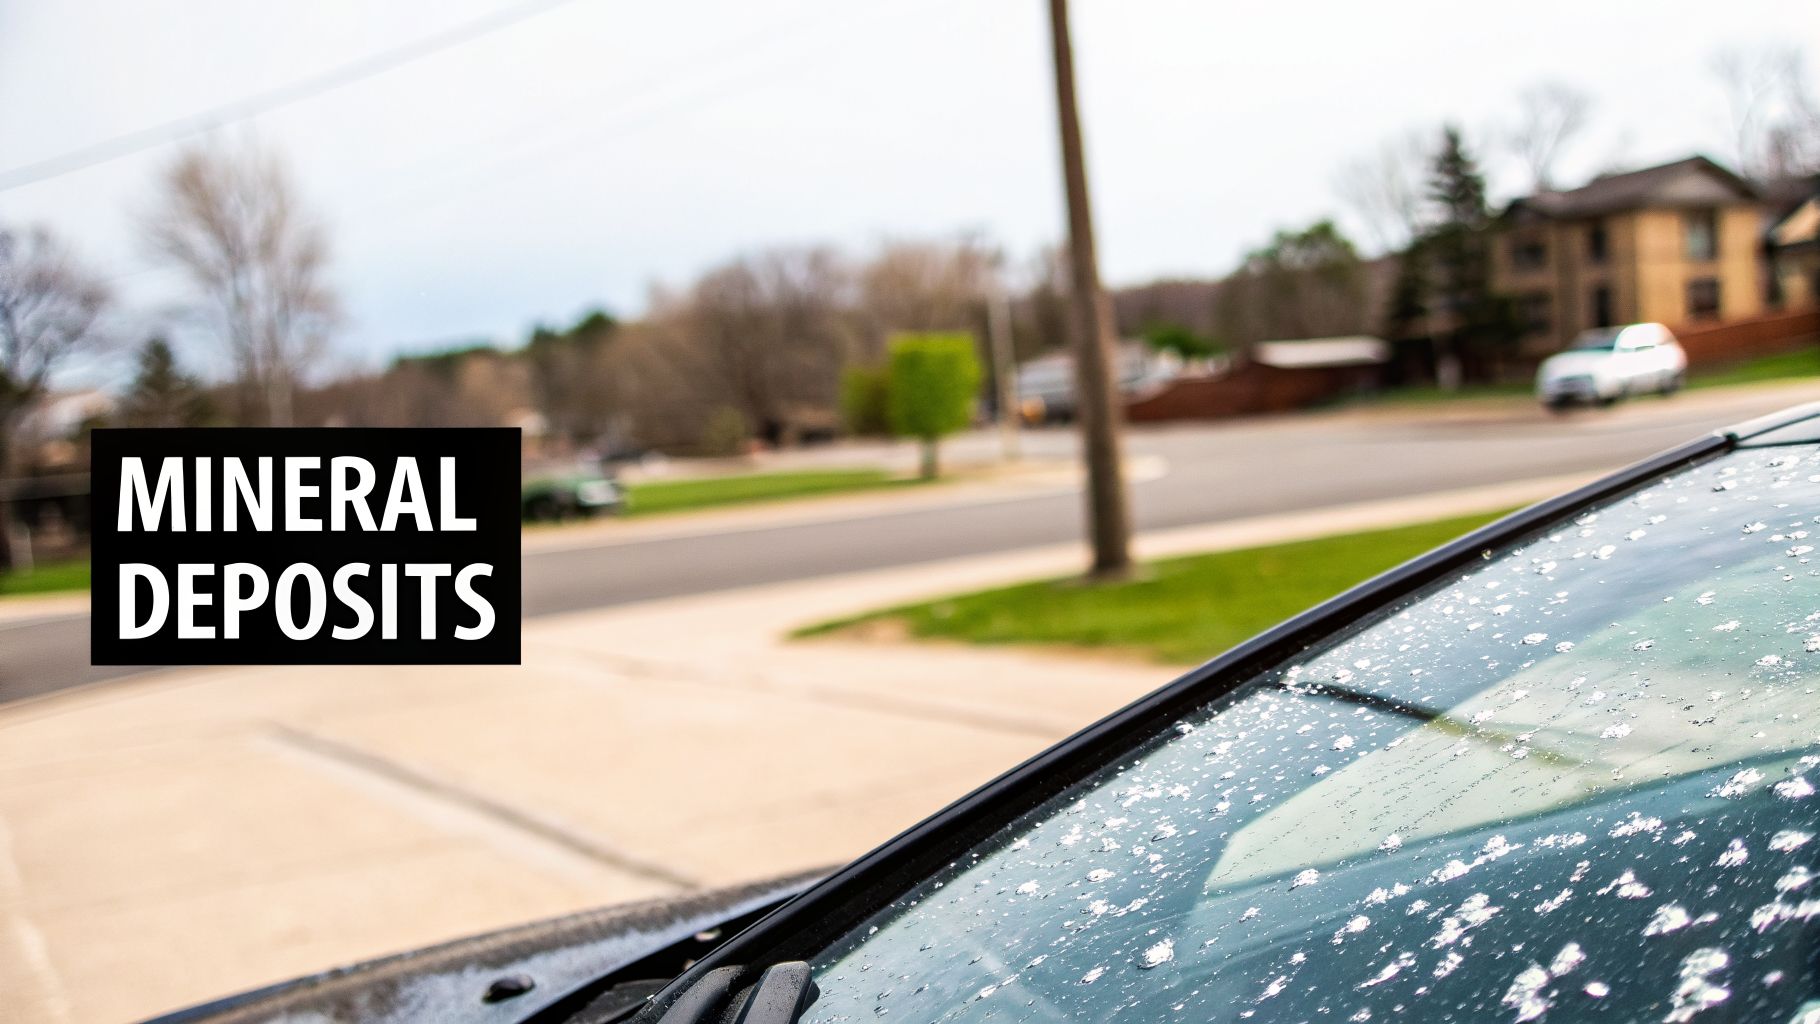
That frustrating, chalky film clouding your view isn't just caked-on dirt. It’s the mineral residue left behind after hard water evaporates, and it’s a massive headache for drivers everywhere. These deposits are mostly calcium and magnesium carbonates, minerals found naturally in groundwater.
It happens all the time. A rogue sprinkler hits your car, or a summer rain shower dries under the hot sun. The water vanishes, but the minerals stick around. They bond directly to your windshield, creating those all-too-familiar white spots. If you live in a place with especially hard water, you'll see this problem pop up a lot more often.
Surface Spots Versus Etched-In Stains
It's important to know that not all water spots are the same. Figuring out if you're dealing with a fresh deposit or a long-term stain is the key to picking the right tool for the job.
- Surface-Level Stains: These are the new guys. They sit right on top of the glass and look like a light, dusty film or distinct white rings. You can usually knock these out with a simple acidic solution.
- Etched-In Stains: When mineral spots are left to bake in the sun for too long, things get more serious. The minerals can actually react with the glass, creating microscopic pits. These stains feel rough and won't come off with a basic cleaner.
This isn't a rare problem. Hard water stains affect about 68% of vehicles in areas with high mineral content, like right here in Lincoln, Nebraska, where the groundwater hardness is high. In severe cases, these mineral deposits can reduce visibility by up to 25%. It's a real safety issue, as detailed in a great Jalopnik article on the topic.
Key Takeaway: The longer a water spot sits on your windshield, the greater the risk of it etching into the glass. Removing it quickly is your best defense against permanent damage.
Identifying the Severity
Before you start scrubbing, take a second to figure out what you're up against. Use this quick reference to identify the type of stain you're dealing with and find the best starting point for removal.
Hard Water Stain Severity at a Glance
| Stain Severity | Appearance | Recommended Solution Type |
|---|---|---|
| Light | Faint, dusty film or white circles that are smooth to the touch. | DIY Acidic Solution: (e.g., vinegar and water) |
| Moderate | Noticeable spots that feel slightly gritty or rough under your fingertips. | Specialized Water Spot Remover: (Chemical cleaner) |
| Severe (Etched) | Very rough texture, milky haze, or deep spots that obstruct vision. | Glass Polish / Compound: (Mechanical abrasion) |
The "fingertip test" is a great way to start. After cleaning and drying the glass, carefully run your fingers over a spot. If it feels totally smooth, you're dealing with light surface stains. But if you feel a gritty texture, the minerals have bonded to the glass, and you'll need a more powerful approach.
Knowing the difference saves you from wasting time with a weak cleaner or, even worse, jumping to an aggressive compound that your glass doesn't need.
Simple DIY Fixes for Light Water Spots
Before you run out and buy a specialized product, let’s see what you can accomplish with a few things you probably already have at home. When you’re dealing with fresh or light hard water stains, a simple DIY approach is often all you need.
The real secret is speed. The sooner you tackle a water spot, the less chance it has to etch itself into the glass and become a much bigger headache. A spot that’s only a few hours old is way easier to remove than one that’s been baking in the sun for a week.
The Classic Vinegar and Water Solution
This is the go-to first attempt for a reason—it just works. White vinegar is a fantastic, mild acid that’s great at breaking down the alkaline minerals that create hard water stains.
Here’s what you’ll need to get started:
- Distilled White Vinegar: This is your active ingredient for dissolving the minerals.
- Distilled Water: This is critical. Using tap water will just re-apply minerals onto the glass, defeating the whole purpose.
- A Spray Bottle: For easy and even application.
- Several Clean Microfiber Towels: You’ll want separate towels for applying and for drying to avoid streaks.
Just mix equal parts white vinegar and distilled water in your spray bottle. A 50/50 ratio gives you enough acidity to be effective while still being perfectly safe for your windshield.
Once it's mixed, spray the solution generously onto the spots. You want to completely saturate them. Let it sit and do its thing for at least 2-5 minutes. This dwell time is non-negotiable; it gives the acetic acid time to break down the calcium and magnesium deposits.
DIY enthusiasts often turn to a classic 50/50 white vinegar and water solution, which leverages vinegar's 5% acetic acid to dissolve alkaline minerals. Professional tests have even validated this approach, showing it removed 85% of light stains on tempered automotive glass without any abrasion. You can read more about these findings on how to clean hard water stains on Jalopnik.
After letting it soak, wipe the glass with a clean microfiber towel using firm, even pressure. You might need to make a couple of passes. To finish, grab a second, completely dry microfiber towel and buff the glass to a perfect, streak-free shine.
When Vinegar Needs a Boost
What happens if the vinegar doesn’t quite get the job done? Sometimes, more stubborn spots need a little bit of gentle abrasive help. This is where a simple baking soda paste can be a game-changer, providing just enough grit to lift tougher deposits without scratching your glass.
Making the paste couldn't be easier. Mix a little baking soda with a few drops of water until you get a consistency like toothpaste—not too runny, not too dry.
Apply the paste right onto the spots with your fingers or a soft applicator pad. Gently rub the area in small, circular motions. You don't need a lot of force; let the fine particles in the baking soda do the work.
Once you've scrubbed for a minute or so, rinse the windshield thoroughly with distilled water to get rid of all the paste residue. The last thing you want is to trade mineral spots for dried baking soda streaks. Dry the area completely with a clean microfiber towel to inspect your work.
Just remember, these DIY methods are great for glass, but you need to be more careful with your car's paint. While this guide focuses on the windshield, you can learn how to safely remove water spots from car paint in our detailed article.
Common Mistakes to Avoid
Even with simple home remedies, it's easy to make a few mistakes that can lead to bad results or even damage. Knowing what not to do is just as important as knowing the right steps.
Avoid These Pitfalls with DIY Methods
| Mistake to Avoid | Why It's a Problem | The Correct Approach |
|---|---|---|
| Using a Kitchen Sponge | That green abrasive side is meant for scrubbing pots and pans, not glass. It will leave behind a web of permanent, fine scratches on your windshield. | Always use soft, clean microfiber towels or applicators designed for automotive detailing. |
| Cleaning in Direct Sunlight | The sun's heat will make your vinegar solution evaporate almost instantly, well before it has time to dissolve the minerals. | Always work in the shade or on a cool, overcast day. Make sure the glass is cool to the touch before you begin. |
| Using Tap Water | Rinsing with or mixing your solution with regular tap water just puts a fresh layer of minerals right back onto the glass. | Stick with distilled water for everything—mixing your solution and the final rinse. |
| Skipping the Dwell Time | If you just spray and wipe, the vinegar won't have enough time to chemically break down the mineral bonds. | Be patient. Let that solution sit on the glass for a couple of minutes. It needs that time to work effectively. |
By using these simple household items and sidestepping these common errors, you can often get your windshield back to perfect clarity without ever buying a specialized product. It's a smart and budget-friendly first line of defense against those annoying hard water stains.
Tackling Stubborn and Etched-in Stains
So, the vinegar and water trick didn't touch those spots. That’s a tell-tale sign the mineral deposits are no longer just sitting on top of your glass. They’ve started to bond and etch into the surface itself, which means it’s time to move on from kitchen remedies to the stuff we pros use.
At this point, you’re not just trying to dissolve a bit of residue. You need to either chemically convince or physically persuade those minerals to let go. These next methods are exactly what detailers turn to when faced with spots that have dug in their heels.
Stepping Up to Chemical Water Spot Removers
Your first line of attack against tougher stains should be a dedicated automotive hard water spot remover. These aren't your average cleaners. They're formulated with a specific blend of mild acids and cleaning agents designed to be much more effective than the acetic acid in vinegar.
The goal here is to chemically break down stubborn calcium and magnesium bonds without damaging your glass or trim. The process is just as important as the product:
- Always work on a cool, clean, and dry windshield, preferably in the shade.
- Apply a small dab of the remover to a microfiber applicator pad, not directly onto the glass.
- Work the product into a small area, about 2×2 feet, using light but firm pressure.
- Crucially, wipe the residue away with a clean microfiber towel before it has a chance to dry.
The real magic is in the chemistry. These formulas are balanced to be strong enough for minerals but safe for automotive glass when used correctly. It’s always smart to test it on a small, out-of-the-way spot first, just to be safe.
This flowchart can help you visualize when it's time to escalate from a simple DIY fix to a more powerful approach.

As the graphic shows, some spots just won't budge with a simple spray and require something with more muscle.
The Professional's Trick: #0000 Steel Wool
When a chemical remover still can't cut it, the stain is likely etched into the glass. This is when you need a gentle but effective abrasive. That’s where #0000 super-fine grade steel wool comes in.
I know, it sounds crazy. Taking steel wool to your windshield? But when done right, it's a fantastic way to shear off mineral deposits without leaving scratches. The grade is absolutely critical—it must be #0000. And you must use it with plenty of lubrication. Never, ever use it dry. A soapy water mix or a dedicated clay lube is perfect for this.
Pro Tip: Think of this as exfoliating the glass. The lubricant lets the ultra-fine steel wool glide across the surface, while its fibers gently catch and slice off the raised edges of the mineral deposits bonded to your windshield.
Windshield haze from hard water is a massive problem. A 2026 EPA analysis found that 55% of urban vehicles in the U.S. show some level of hard water damage. In places like Nebraska with exceptionally hard water, this buildup can reduce light transmission through the glass by as much as 18%. Fortunately, the right technique with #0000 grade steel wool can safely remove about 85% of these etched spots. You can see more in-depth discussions on this in a detailed forum thread about hard water spots.
Using a Clay Bar for Embedded Contaminants
Sometimes, what feels like an etched stain is really a gnarly collection of bonded surface contaminants. Before you jump to the most aggressive options, a detailing clay bar is a great intermediate step. A clay bar is designed to grab and pull out tiny particles embedded in your glass, leaving it perfectly smooth.
Here’s how we use it on a windshield:
- Lubricate Generously: Mist the glass with clay lubricant or a slick mix of car wash soap and water. You can’t use too much.
- Glide the Clay: Gently slide the clay bar back and forth across the lubricated section. You’ll feel it grabbing at first. As it pulls the grit out, it will start to glide smoothly.
- Knead the Clay: Every so often, fold and knead the clay to expose a fresh, clean surface. This is key to avoid dragging the junk you just picked up across the glass.
- Final Wipe: Once you're done, wipe all the residue off with a fresh microfiber towel.
The result is an incredibly clean, smooth-as-glass surface that’s perfectly prepped for a sealant. If you’re new to claying, you might want to read our guide on what a clay bar treatment does for your car.
Remember, the golden rule for stubborn stains is to use the least aggressive method that gets the job done. Start with a chemical remover, move to a clay bar if needed, and save the steel wool for only the most severely etched glass. This progressive approach ensures you get that crystal-clear finish without causing any new problems.
When to Trust a Professional Detailer
You’ve tried the vinegar. You’ve even broken out the fine-grade steel wool, but those stubborn, hazy spots are still laughing at you. Sometimes, knowing when to put down the DIY tools is the smartest move you can make for your vehicle.
Calling in a professional detailer isn’t about admitting defeat. It’s about choosing a guaranteed, flawless result over endless frustration and the very real risk of damaging your glass. If you've hit a wall or simply want perfect clarity without the guesswork, an expert is your best bet.
Signs You Need Professional Help
It’s not always obvious when a stain has crossed the line from a simple weekend job to something that requires a specialist. If you’re seeing any of these signs, you’ve likely reached the limits of what home remedies can safely accomplish.
Keep an eye out for these indicators:
- Failed Attempts: You've already worked your way through multiple methods—from acidic solutions to off-the-shelf removers—and the stains haven't budged.
- Rough Texture: When you run a fingernail across the glass, does it feel gritty or catch on the spots? This is a tell-tale sign the minerals have started to etch into the glass surface itself.
- Visible Haziness: The stains have created a milky or cloudy film that seriously impairs your vision, especially in direct sunlight or when facing oncoming headlights at night.
Pushing forward with more aggressive DIY methods at this point can lead to permanent scratches or even distort the glass. Once the spots feel like they're part of the windshield, it's time to let someone with professional-grade equipment take over.
The Professional’s Secret Weapon: Cerium Oxide
So, what do the pros have that you don't? Often, the answer comes down to one powerful compound: cerium oxide. In the detailing world, this fine, pale powder is known as the ultimate tool for serious glass restoration.
Cerium oxide isn’t a cleaner; it’s a micro-abrasive glass polish. Paired with a machine polisher, it physically shaves off an incredibly thin, microscopic layer of the glass. This process essentially planes the surface down until it’s level with the bottom of the mineral etching, completely removing the damage and restoring perfect optical clarity.
For stubborn buildup from years of neglect, pros at shops like GP Mobile Car Wash & Detail in Lincoln recommend cerium oxide polishing, a rare-earth compound that buffs out spots accumulated over 2-5 years, restoring 95% clarity per independent detailer benchmarks. Discover more insights on how professionals tackle these tough jobs on Jalopnik.
This isn't a technique to try at home. It demands specialized tools, a precise touch, and a deep understanding of how to manage heat and pressure. Too little force, and it won't work. Too much, and you risk creating a "fisheye" distortion in the glass.
Comparing Your Options
Deciding whether to keep trying yourself or to hire a service like GP Mobile Car Wash & Detail usually comes down to a trade-off between your time, budget, and how perfect you want the results to be.
Here's a quick look at how the two approaches stack up to help you decide.
DIY vs Professional Stain Removal
| Factor | DIY Approach | Professional Service |
|---|---|---|
| Effectiveness | Best for light, fresh surface spots. Struggles with etched stains. | Highly effective on all stain types, including severe etching. |
| Risk | Moderate risk of scratching or ineffective results if done improperly. | Low risk; technicians are trained to handle glass polishing safely. |
| Tools | Household items (vinegar, baking soda), basic auto products (steel wool). | Professional-grade machine polishers and cerium oxide compounds. |
| Time Investment | Can be time-consuming, involving multiple attempts and trial-and-error. | Fast and efficient. An expert can often resolve it in a single session. |
| Cost | Low initial cost for materials, but can become expensive with multiple product purchases. | Higher upfront cost, but guarantees a perfect result without wasted money on products. |
Ultimately, choosing a professional is about buying certainty. You’re paying for their expertise, specialized equipment, and the peace of mind that comes from knowing the job will be done right the first time—leaving you with a perfectly clear and safe windshield.
Keeping Your Windshield Permanently Spot-Free

You’ve put in the work—scrubbing and polishing until your windshield is finally back to that crystal-clear, factory look. So, how do you keep it that way? Winning the battle against hard water stains is one thing, but preventing the war from starting all over again is the real prize.
The answer is all about proactive prevention, not just reactive cleaning. It comes down to building a few smart habits into your routine that stop mineral deposits before they even have a chance to dry on your glass.
Smart Habits to Prevent Water Spots
Frankly, preventing spots is far easier than removing them. The whole game is about not letting mineral-heavy water sit and evaporate on your glass. You don’t need a complex strategy, just a bit of awareness.
Here are a few practical habits we recommend to all our clients:
- Dry Your Car After Every Wash: This is a big one. After the final rinse, immediately dry the entire vehicle, paying close attention to the glass. A plush microfiber drying towel is your best tool for this.
- Watch Out for Sprinklers: Be strategic about where you park. That prime spot next to a lush lawn might seem great until the automatic sprinklers kick on, blasting your car with hard water.
- Use Filtered Water for Home Washes: If you enjoy washing your car at home, think about getting an inline water filter for your hose. This simple add-on removes most of the calcium and magnesium, so you’re rinsing with much purer water.
These simple adjustments break the cycle of mineral buildup and eliminate the main cause of those frustrating white spots.
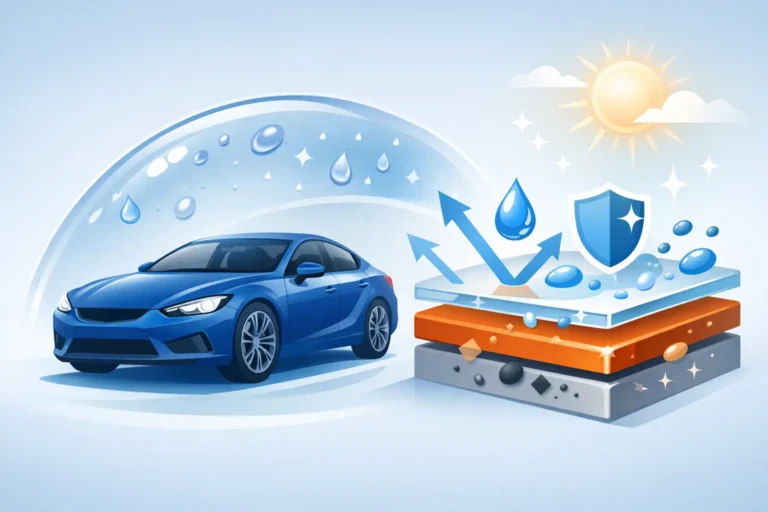
The Ultimate Defense: Glass Sealants and Coatings
While good habits are your first line of defense, the best strategy for a permanently spot-free windshield is to make the glass itself hostile to water. This is where modern protective products like glass sealants and ceramic coatings really shine.
These products create an invisible, tough, and extremely slick barrier on your windshield. We call this a hydrophobic surface. Instead of clinging to the glass, water is forced to bead up into tight droplets that roll right off.
Think of it like a freshly waxed rain jacket. Water doesn't soak in; it beads up and rolls away, taking minerals and dirt along with it. A coated windshield does the exact same thing.
This "self-cleaning" effect means that rain, sprinkler water, and even road spray are far less likely to stick around long enough to evaporate and leave minerals behind.
Ceramic Coatings: A Long-Term Solution
For maximum, long-lasting protection, nothing beats a professionally applied ceramic coating. A quality coating forms a chemical bond with the glass, creating a semi-permanent shield that’s far more durable than any wax or temporary sealant. It becomes an integrated part of the glass surface.
A professional ceramic coating creates a 9H hardness shield that can repel minerals for an incredible 2-5 years. This long-term protection not only keeps your glass pristine but also adds real value to your vehicle. Some studies show it can boost resale price by as much as 12%.
Applying a coating is the final, crucial step after a thorough cleaning and decontamination. It locks in that perfect clarity and protects your hard work from future headaches. Of course, if you've invested in a coating, you need to care for it properly. You can learn more about how to maintain a ceramic-coated car in our other guides.
This combination of daily habits and advanced protection is the most effective way to keep your windshield looking flawless, season after season.
Your Top Questions About Windshield Water Stains
Alright, let's talk about some of the questions that always come up when dealing with stubborn water spots. We've covered the methods, but a few key details can make all the difference between a perfect finish and a frustrating afternoon.
Think of this as the final briefing before you get to work, making sure you have the confidence of a pro.
Can Hard Water Permanently Damage My Windshield?
The short answer? Yes, it absolutely can. If you let hard water spots bake onto your windshield in the sun, the minerals can cause etching. It’s more than just a stain; the alkaline minerals are literally eating into the glass, creating tiny pits on the surface.
Light spots are just a visual annoyance, but etching is real physical damage. At that point, a simple cleaner won't do the trick because the problem is in the glass, not on it. Serious etching requires a professional to polish the glass with a compound like cerium oxide to carefully level the surface and restore its clarity.
Why Should I Avoid Using a Razor Blade?
It’s tempting to grab a razor blade and just scrape off a tough spot, but trust us on this one—it's a terrible idea for DIY cleaning. While a professional detailer might use a specialized blade with a very specific technique, it takes a ton of practice to get it right.
For the average person, the risk is just too high.
- Scratches are almost guaranteed: One wrong angle or a tiny piece of grit you didn't see can leave a deep, permanent scratch on your windshield.
- You can destroy factory coatings: Many modern windshields have special coatings that a blade will slice right through, causing irreversible damage.
Key Takeaway: The risk of permanent damage massively outweighs any time you might save. It's much safer to stick with chemical removers, #0000 grade steel wool (with plenty of lubricant!), or a clay bar.
How Often Should I Reapply a Glass Sealant?
How long your glass sealant lasts really depends on the product and your local environment. A basic spray sealant might give you a few weeks to a couple of months of protection. On the other hand, a professionally applied ceramic coating can last for years.
A good rule of thumb is to watch how water behaves on your windshield. When it stops forming tight, clean beads and starts "sheeting" or smearing across the glass, your protective layer is gone. For most over-the-counter sealants, plan on reapplying every 2-3 months. This regular upkeep is the best way to stop future water stains before they even start.
When DIY methods just won't cut it for severely etched glass, it’s time to call in a professional. GP Mobile Car Wash & Detail has the expert technicians and professional-grade tools, like our cerium oxide polishing system, to safely restore your windshield's perfect clarity. Book your appointment today and let us handle the tough jobs for you. Learn more at gpmobilecarwash.com.