
A carpet spill always shows up at the worst possible moment, coffee in the morning rush, red wine after guests arrive, or muddy footprints right before the weekend. The difference between a stain that disappears and one that lingers usually comes down to a few disciplined moves made in the first minute, not a miracle product. If you want to know how to remove stains from carpet without making them worse, start with technique, then match the cleaner to the stain.
The Golden Rules of Immediate Stain Response
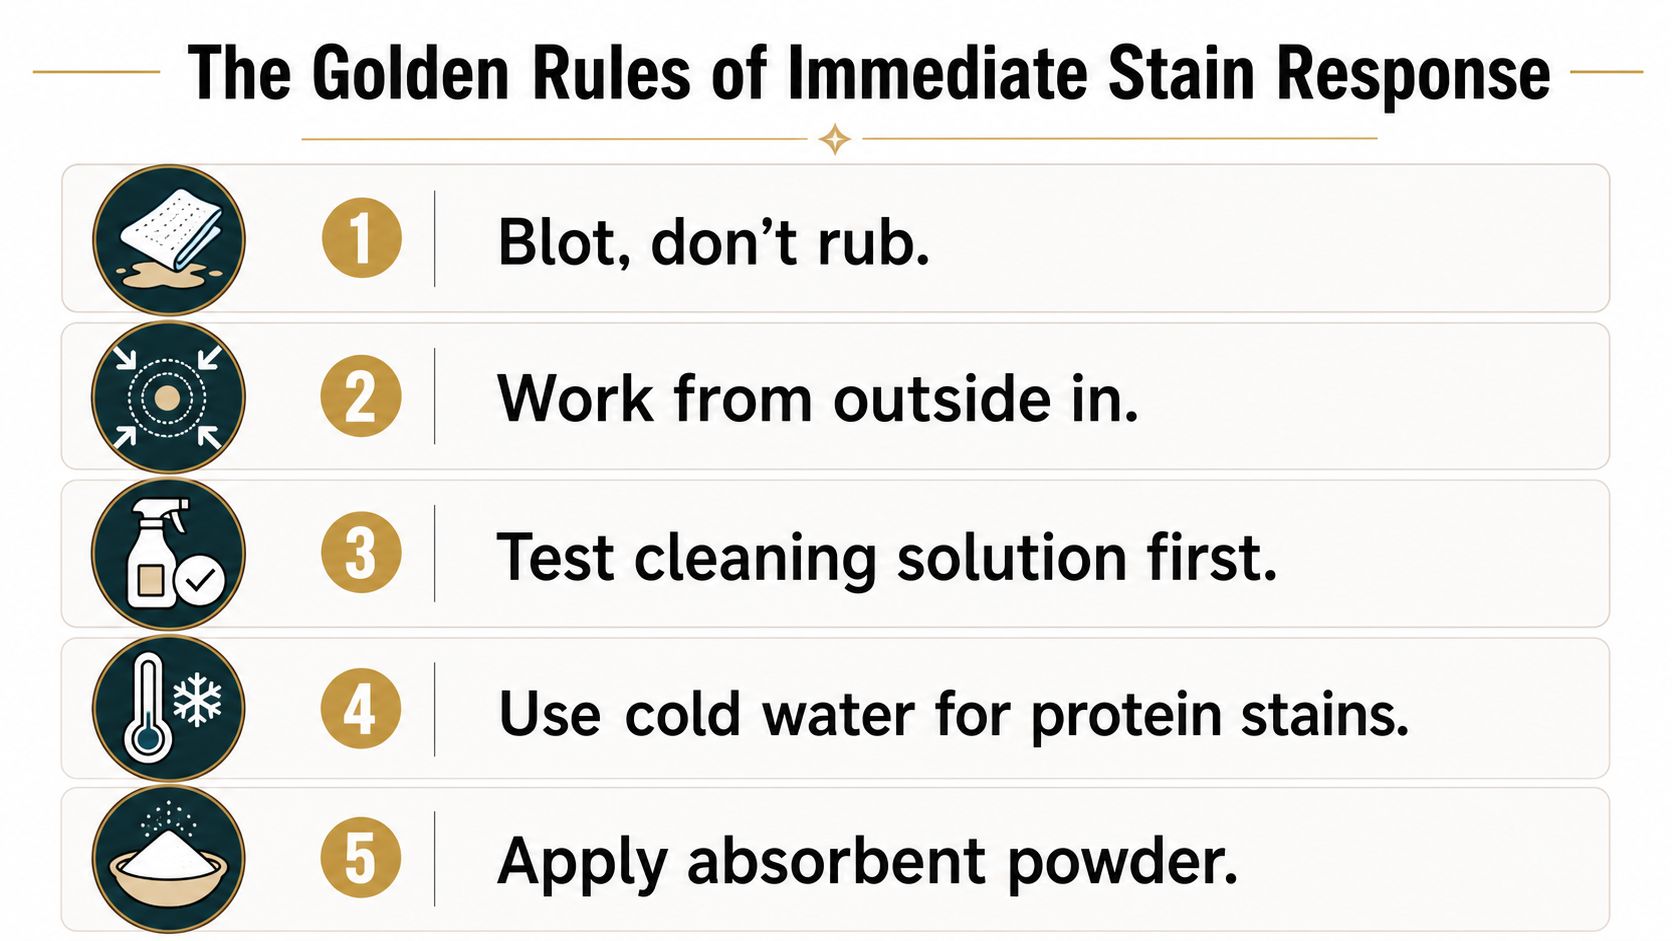
A spill that sits too long gets harder to remove, especially once it starts bonding to the carpet fibers. Act quickly, then work with control. The Carpet and Rug Institute's stain guidance emphasizes blotting, not rubbing, because rubbing pushes soil deeper into the pile and can damage the fiber structure. Carpet and Rug Institute stain best practices
Start with the safest tools
Use a white cloth or white towel, because dyed fabric can transfer color and make it harder to see what is coming out of the carpet. Cold water is the safest starting point for most fresh spills, especially when the stain type is not clear yet. That caution matters because protein-based stains, such as blood, can react badly to heat, and hot water can set protein and tannin stains instead of lifting them.
Practical rule: Blot from the outside edge inward. That keeps the spill from spreading into a larger ring.
If the spill contains solids, lift those off first before touching liquids. Then blot gently, replacing the cloth as it loads up with residue. The goal is to move contamination out of the pile, not grind it farther into the backing.
What to do in the first minute
Keep the response sequence short and repeatable. A clear first-response pattern matters because the stain is still mobile at this stage, and poor handling makes the cleanup harder later.
- Remove solids without pressing them deeper.
- Blot gently with a white cloth.
- Work from the outside in.
- Test any cleaner in an inconspicuous spot.
- Rinse and blot dry after treatment.
That sequence sounds basic, but it is a step often skipped in the panic of the moment. Immediate response is the closest thing carpet care has to a universal rule, because time works against you once the stain begins to bond with the fibers.
The Professional Stain Removal Workflow
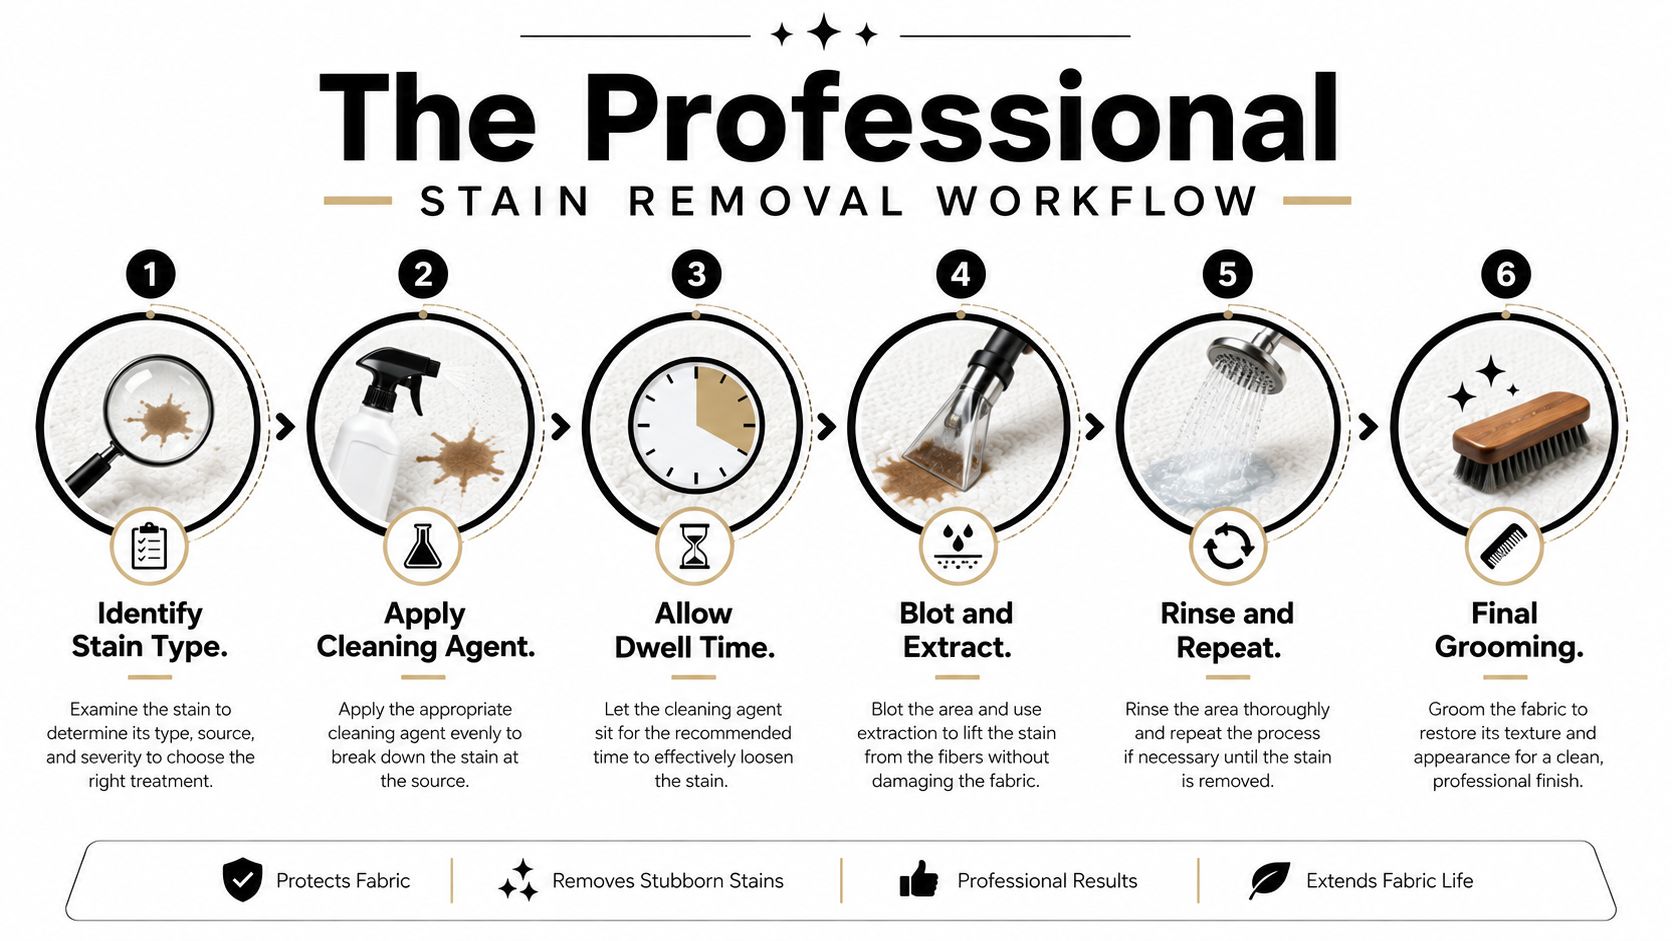
Fresh spills respond best when the work stays orderly. A professional does not jump from spill to spray bottle, because the wrong sequence can push soil deeper, spread the mark, or leave detergent behind to catch new dirt later. The cleaner matters, but the order of operations matters more. Professional carpet stain workflow guidance
Follow the right order
Start by removing any solids before you touch the liquid. Lift or scrape them carefully, then blot from the outside edge inward so the stain does not widen into a bigger ring. That basic motion protects the pile and keeps the mess localized.
Apply the cleaning agent to a cloth, not directly to the carpet. Direct spraying tends to over-wet the backing, and once the backing is soaked, residue is harder to remove cleanly. Set the cleaner on the cloth, work it into the spot with controlled pressure, and let it dwell long enough to do its job before you blot again. Professional carpet stain workflow guidance
Don't flood the spot. Surface wetness is easier to control than a soaked carpet backing.
The dwell time has to match the stain. A fast blot on a fresh drink spill may be enough, while a sticky residue may need a longer wait before extraction. In both cases, the goal is the same, move the contamination out of the fibers without grinding it deeper.
Test before you commit
Testing in an inconspicuous area is the difference between a controlled cleanup and a bigger repair job. Some carpets hold color well, others do not, and the same cleaner can behave differently on wool, nylon, polyester, or a patterned dye system. A hidden test shows how the pile reacts before you touch the visible spot.
After the dwell time, rinse lightly and extract what is left of the cleaner. Residue is a common reason a stain looks gone at first and then returns as a dull, dirt-catching patch later. Finish by blotting dry and giving the area airflow so moisture does not linger in the backing. For car interiors, the same discipline applies, as shown in this car interior stain removal workflow.
Stain-Specific Treatment Methods by Category
A coffee ring, a grease spot, and pet urine do not respond to the same treatment, and treating them like they do is how simple spills turn into set-in marks. The practical move is to classify the stain first, then choose the cleaner and method that fit the chemistry of the spill. That approach is the standard in field use because it keeps you from pushing the wrong product into the fiber and making recovery harder. Carpet stain removal guide with category-based approaches
Match the cleaner to the stain
For many food and drink stains, a mild dish soap solution is a sound starting point. Vinegar-water rinses also appear in consumer guidance for some organic residues, while ammonia-based mixes are sometimes suggested for certain soil types. The limit is clear, ammonia is not a universal helper, and standard carpet-care instructions warn against using it on coffee, tea, or urine.
Blood needs a different approach because heat can set it. Grease and oil-based stains usually call for a cleaner that can break down oily residue, while water-soluble spills need a lighter touch and faster extraction. Ink is its own problem, because strong solvent use can spread the pigment or disturb the dye in the carpet, so test first and move slowly.
Quick reference by stain type
| Stain Type | Recommended Solution | Key Warning |
|---|---|---|
| Coffee or tea | Mild dish soap or a careful rinse approach | Do not use ammonia |
| Wine or beer | Mild dish soap approach or a stain-specific cleaner | Blot before any wet treatment |
| Grease or oil | Dish soap solution suited to oily residue | Don't over-wet the area |
| Pet urine | Careful stain-specific cleaner or rinse method | Do not use ammonia |
| Blood | Cold-water first response, then targeted treatment | Avoid heat |
| Ink | Test-first solvent treatment | Watch for dye transfer |
If the same kind of stain shows up in a vehicle, the decision process stays the same even though the surface changes. This interior stain guide is useful because it follows the same practical sequence, test first, clean gently, and avoid flooding the area.
Don't treat chemistry like guesswork
The point is not memorizing a shelf of recipes. The point is knowing whether the spill is protein, oil, dye, or an unknown residue, then choosing a treatment that fits that category instead of forcing one product onto everything. That is where stain-specific discipline pays off, because the right method removes more of the contamination with less risk of spreading it, setting it, or leaving a visible ring.
Common Mistakes That Make Stains Worse
The biggest carpet damage often starts with good intentions. People try to force the spot out with hotter water, stronger chemicals, or heavy scrubbing, and each move can make the original spill harder to remove. A better response is usually slower and more controlled.
How Good Intentions Go Wrong
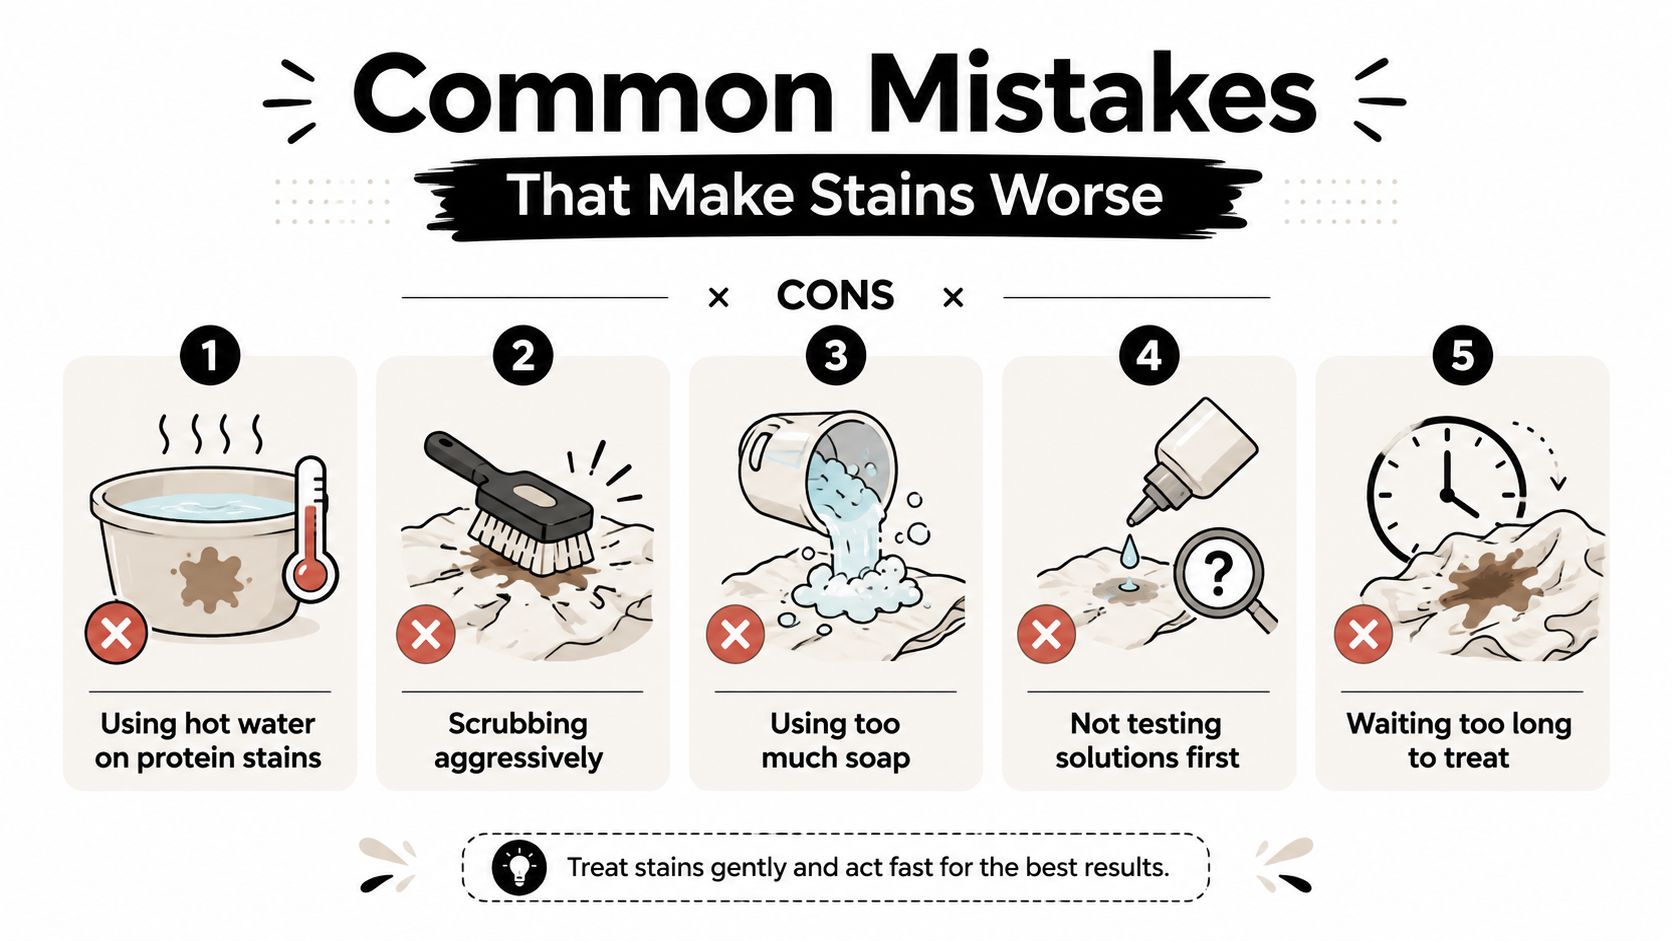
Hot water is a common mistake on protein and tannin stains. It can set the stain and turn a manageable cleanup into a much harder one. Scrubbing causes its own damage, because it frays the pile and drives soil deeper instead of lifting it out.
Pouring cleaner straight onto the carpet creates another problem. The liquid can wick into the backing, then rise back up later and leave a larger halo than the original spot. Over-wetting adds more risk, since soaked carpet takes longer to dry and can stress the backing if moisture sits too long.
Useful discipline: If a cleaner looks dramatic on contact, that does not mean it is safer or better for carpet.
Stronger isn't always smarter
Harsh solvents can strip dye or leave residues that attract new soil. For routine care, a careful approach with non-toxic cleaning products and fragrance-free formulas often makes more sense, especially on carpets you want to keep looking clean between major services. The goal is to lift one spot, not create a bigger maintenance problem.
Timing matters just as much as product choice. If the stain has already dried, slow down and reassess instead of repeating the same aggressive move. More pressure rarely fixes a method problem.
Before reaching for anything strong, review your cleaner choice and the surface you are working on. Safer product selection matters on carpets just like it does with other interior surfaces, which is why many people prefer a more cautious product profile such as the options discussed in non-toxic cleaning products.
Handling Old and Unknown Stains Safely
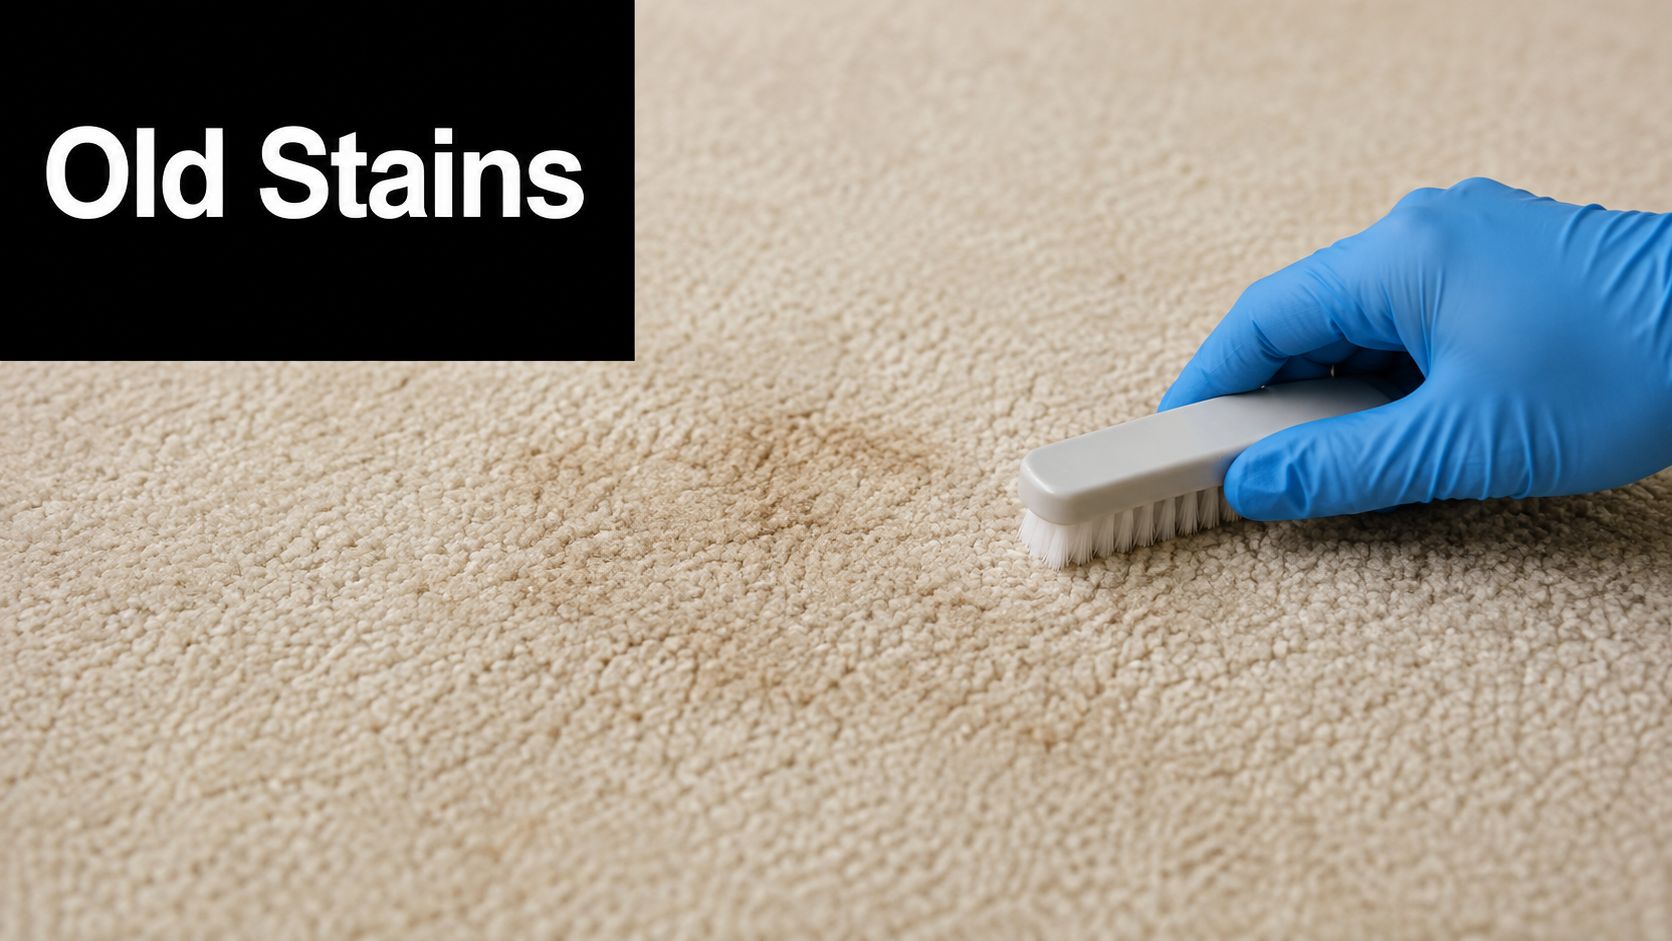
Old stains are a different job. Once a spill has dried, the residue may have bonded to the fibers, and if you do not know what caused it, the wrong cleaner can do more damage than the stain itself. The safest approach is slow, test-first, and selective. That discipline matters more here than speed.
Work from least aggressive to more selective
If you can identify the stain, start with the matching treatment. If you cannot, begin with the least aggressive method first and test every solvent in an inconspicuous area before you touch the visible spot. That kind of restraint is standard practice, including guidance that favors a neutral-pH dry-cleaning solvent for spot cleaning. Unknown stain removal guidance
For stubborn stains, hydrogen peroxide or oxygen bleach can help, but they are not risk-free. On delicate or dyed carpets, they can lift color along with the stain, so the test patch matters even more than it does on a fresh spill. Keep the area controlled, work in small passes, and avoid soaking the pile.
Test a hidden corner first. If the color shifts there, stop before the visible section gets hit.
Read the carpet as carefully as the stain
Old stains often leave behind a texture change, not just a color change. A stiff patch, a dull halo, or a crunchy feel can point to residue from earlier DIY attempts. If that is the case, repeated spot treatment can keep chasing the same problem without fully removing what is sitting in the fibers.
Unknown stains require caution because you are making two decisions at once, what the stain is and what the carpet can tolerate. A careful test in a hidden area tells you more than guesswork ever will. It also helps you match the chemistry to the soil instead of forcing one product to do every job.
Recent stain guides also point to peroxide-based or oxygen-bleach products for stubborn marks, but they still warn against soaking and against using the wrong chemistry on delicate surfaces. If the carpet has already been through several failed treatments, the safer move is usually to stop adding more product and reassess the method. For related fiber care, the same careful approach applies to professional upholstery cleaning.
When to Call a Professional Detailer
DIY works best when the spill is fresh, the carpet is healthy, and the stain is still on the surface. Once the spot has reached the pad, or you've already tried several rounds of home treatment, the job changes from stain removal to damage control. That's where professional detailers earn their keep.
Signs the job has outgrown home treatment
If the stain keeps coming back after drying, the residue is probably deeper than the surface fibers. If the area smells persistent, looks larger after cleaning, or feels wet long after treatment, the carpet may be holding contamination below the pile. Delicate or expensive carpets deserve the same caution, because a mistake can cost more than the original stain ever did.
Professional detailers bring commercial extraction equipment, stronger controlled chemistry, and the judgment to match the treatment to the fiber. They're also better positioned to handle big, messy situations, pet accidents across a large area, multiple spots from a flood, or repeated failed attempts that have left the carpet uneven. For broader fabric and interior care, the same logic applies to professional upholstery cleaning, because surface type changes the tools, not the need for careful technique.
Bottom line: If the carpet is getting worse every time you touch it, stop and escalate.
Why escalation can save the carpet
A pro can extract more effectively than a household shop vacuum or towel routine, and that matters when moisture and residue have already moved below the fibers. They can also choose cleaner strength with more precision, which reduces the risk of dye loss, over-wetting, or texture damage.
For homeowners, avoiding the spiral of repeat DIY attempts is the key advantage. Each failed pass can add residue, spread the halo, or make the pile look worn. Calling in a detailer before that happens is often the cheaper move in the long run.
If you want the carpet cleaned the right way instead of guessing through another round of spot treatment, GP Mobile Car Wash & Detail can help with careful, surface-safe cleaning built around the same discipline described here. Visit GP Mobile Car Wash & Detail to ask about professional interior care, convenient service options, and a cleaner finish that doesn't rely on risky over-treatment.