Removing tree sap from your car paint is all about dissolving it with the right solvent—like isopropyl alcohol or a quality sap remover—and gently wiping it away. You have to act fast, though. Once the sun and heat bake that sap into your paint, you’re looking at permanent damage that often requires a professional to fix.
Why Tree Sap Is Your Paint's Sticky Enemy
Parking under a shady tree on a hot day seems like a no-brainer, but it often leaves behind an unwelcome gift: sticky, stubborn tree sap. That little drip might look harmless, but it's actually a destructive blob that can wreak havoc on your car’s finish. The first step to dealing with it is understanding exactly what you're up against.
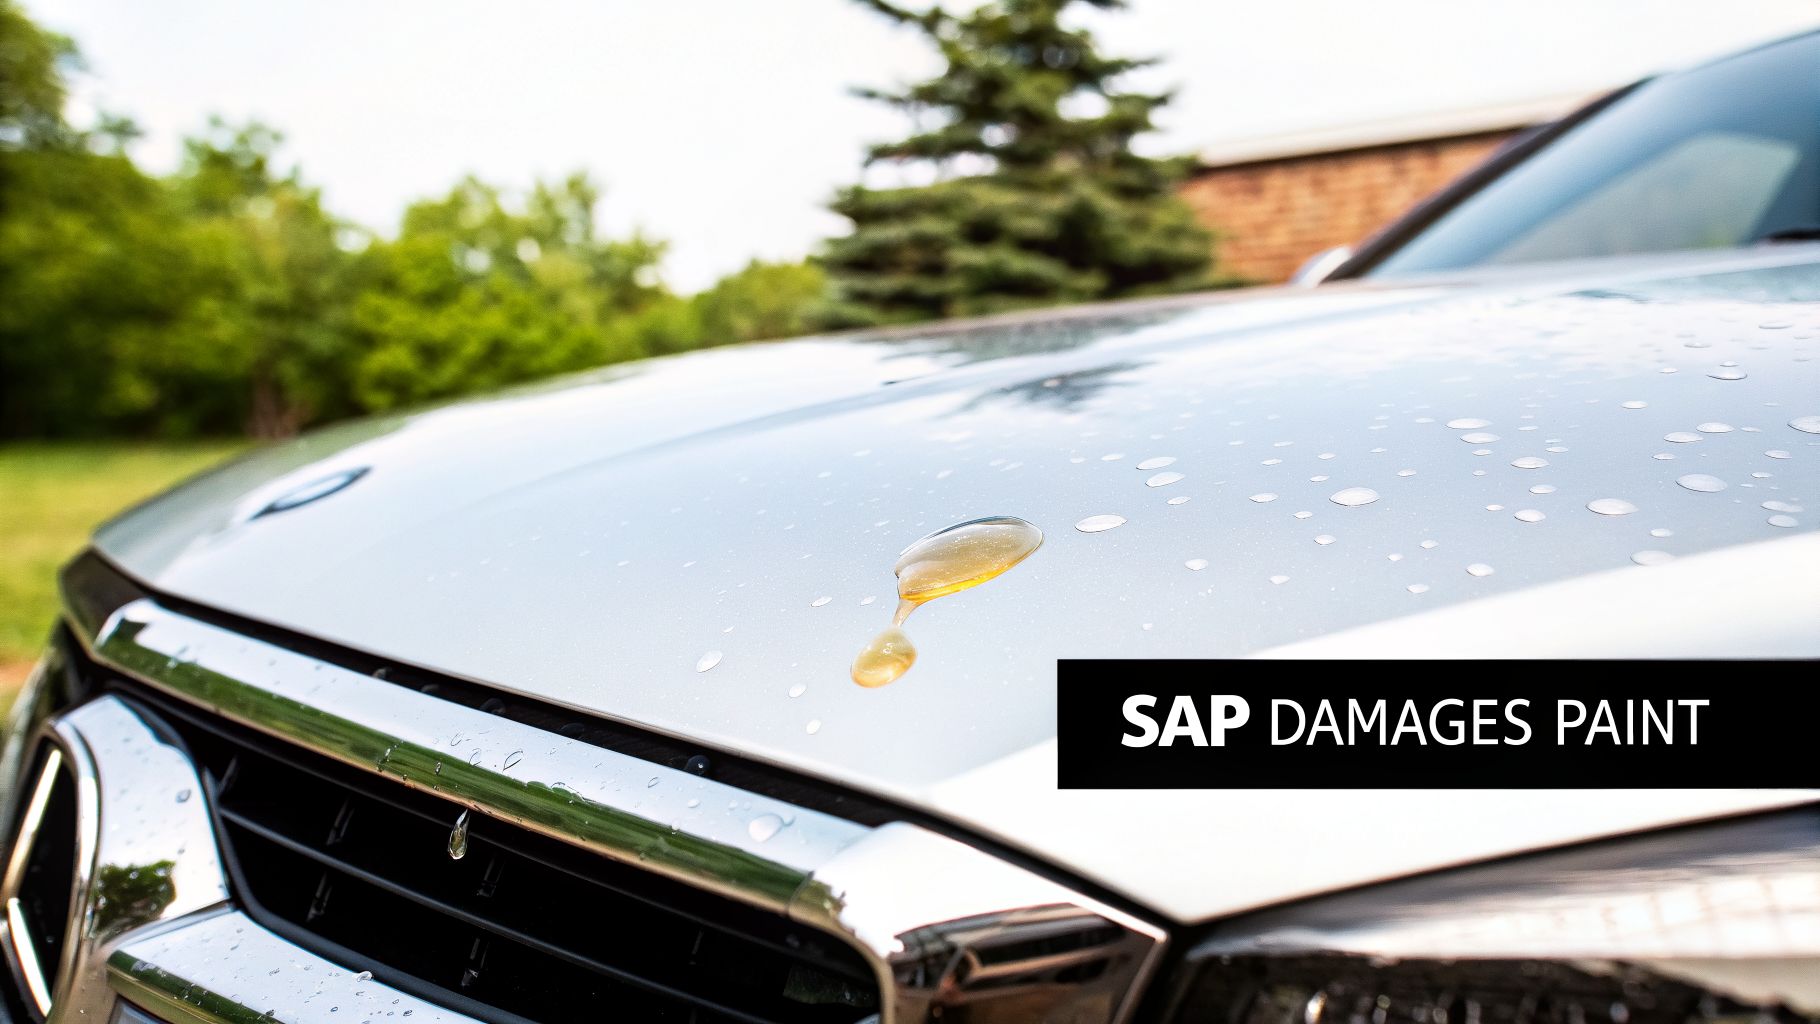
Tree sap isn't just sugar water. It’s a complex cocktail of sugars, resins, and organic acids. That acidic makeup is the real villain here. With a pH level that can be around 4-5, it's powerful enough to start eating away at your car's clear coat—the very layer designed to protect the paint underneath.
The Science of Sap Damage
As soon as a drop of sap hits your car, a chemical race against the clock begins. The sun acts as a catalyst, baking the sap right onto the surface. This process is a double-whammy:
- It causes the sap to harden, creating a chemical bond with your car's clear coat.
- It concentrates the acids, which speeds up the corrosion and etching of your paint.
This is exactly why getting it off quickly is so critical. Unfortunately, many drivers don’t realize how urgent it is. A surprising 90% of car owners put off cleaning tree sap, which dramatically increases the risk of irreversible damage. You can read more about why quick sap removal is vital for your car's paint. Even waiting just 24-48 hours, especially in the summer heat, gives the sap enough time to harden and start etching.
Fresh Sap Versus Hardened Deposits
How you tackle the problem depends entirely on the state of the sap. Fresh sap is your best-case scenario. It’s usually clear, sticky to the touch, and will probably smear if you mess with it. This is when it's easiest to dissolve and wipe away without much of a fight.
Pro Tip: If the sap is fresh and still gooey, you have a small window—maybe a day or two—to get it off before it becomes a real headache. A quick response now can save you from a costly paint correction job later on.
Once sap has been sitting on the car for a few days and baked in the sun, it becomes a hardened deposit. It will look darker—often an amber or brown color—and feel brittle. At this stage, it has likely bonded with your paint. Removing it requires a lot more care and a slightly stronger approach to avoid scratching the finish underneath.
Choosing the Right Sap Removal Method
Before you reach for the first cleaner you can find, hold on. Picking the right method is the difference between a clean car and a costly paint repair. The best approach depends entirely on the state of the sap—is it a fresh, gooey drop, or has it baked into a stubborn, amber-like shell?
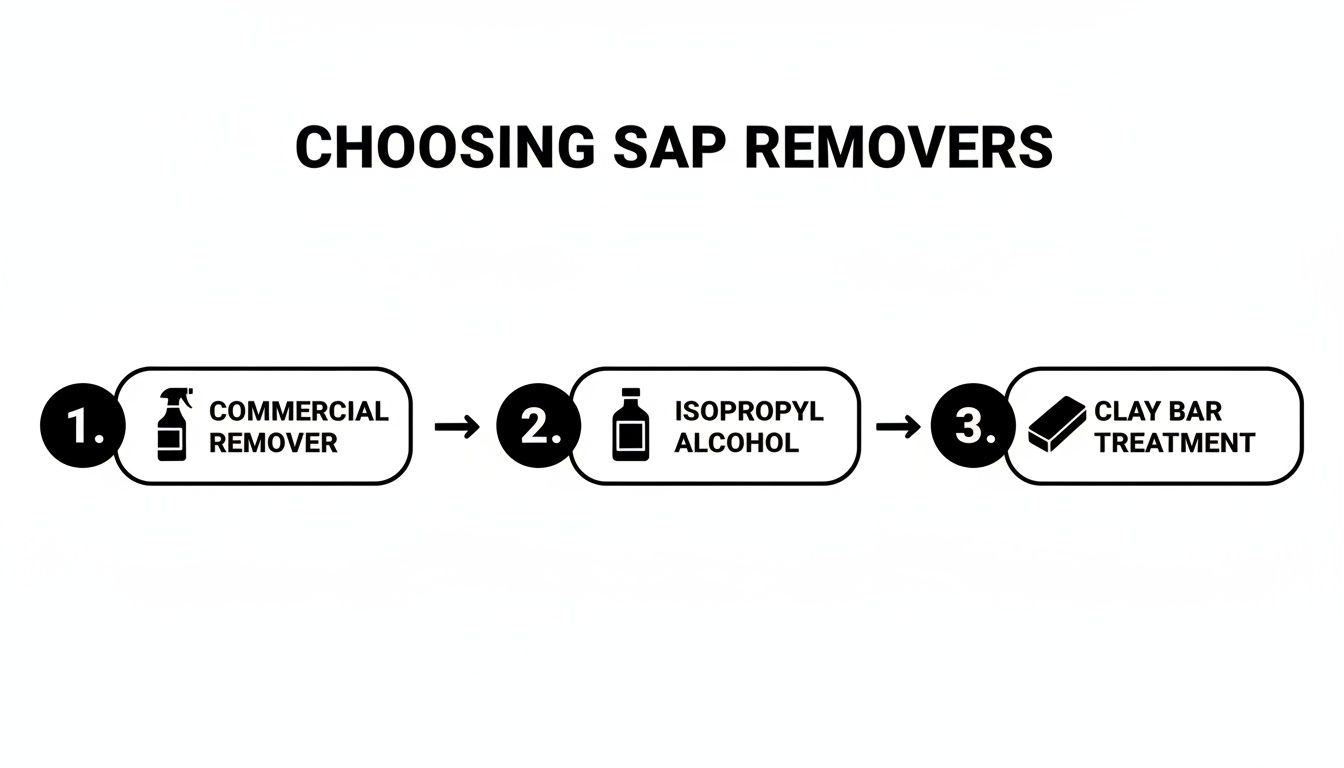
We see this all the time. A client tries a harsh household chemical and ends up with a dull, hazy spot that’s far worse than the original sap. The goal is to dissolve the sap without touching your car’s delicate clear coat. The three most reliable options we trust as professional detailers are dedicated sap removers, isopropyl alcohol, and the detailing clay bar.
Commercial vs DIY Solutions
A dedicated commercial sap remover is almost always the safest and most effective place to start. These formulas are specifically engineered to break down the sugars and resins in tree sap while being completely safe for your car's finish. It's your best bet for both fresh and moderately hardened spots.
Now, if you're facing a particularly stubborn blob, isopropyl (rubbing) alcohol is a potent and common alternative, especially a solution of 70% or higher. It acts as a powerful solvent that quickly melts the sap’s sticky structure. But be warned—it's more aggressive and can soften or even strip waxes and sealants, so you'll absolutely need to re-apply protection to that spot afterward.
For those who prioritize using environmentally safe products on their vehicles, our guide to eco-friendly car wash practices offers some great tips.
Finally, there’s the detailing clay bar. This is a specialist’s tool. We pull this out when the sap has fully hardened or left behind a gritty, bonded residue even after a chemical cleaning. The clay glides over the paint (with a lubricant, of course) and shears the contaminant right off the surface without scratching the clear coat underneath.
Crucial Takeaway: Steer clear of household "remedies" like hand sanitizer, cooking oil, or nail polish remover. Many contain oils that are a nightmare to clean off, while others have harsh solvents like acetone that will instantly eat through your clear coat and damage plastic trim.
Comparing Tree Sap Removal Methods
To make the decision a little easier, we've put together a quick comparison of the methods we use every day. This table breaks down how each one performs and where it works best.
| Method | Effectiveness | Paint Safety | Best For |
|---|---|---|---|
| Commercial Sap Remover | High | Excellent | Fresh and hardened sap; the safest first choice. |
| Isopropyl Alcohol (70%+) | High | Good (with caution) | Stubborn spots; requires re-waxing the area. |
| Detailing Clay Bar | Moderate to High | Excellent (with lubricant) | Embedded, gritty residue left after other methods. |
Ultimately, your strategy should be to use the gentlest method that gets the job done. Always start with a dedicated sap remover. If that doesn’t quite cut it, you can escalate to isopropyl alcohol for its stronger solvent power. The clay bar is your finishing move, perfect for lifting any stubborn particles left behind. This measured approach ensures you know how to remove tree sap from car paint safely every single time.
A Practical Guide to Flawless Sap Removal
Alright, you’ve picked your tool for the job. Now for the hands-on part where we get that gunk off your paint for good. We’re going to walk through this just like a professional detailer would, focusing on techniques that are both safe and effective.
The first rule of detailing is simple: never work on a dirty surface. Even a fine layer of dust can act like sandpaper once you start rubbing, creating tiny scratches and swirls. You don't need a full-blown wash, but you absolutely must pre-clean the area. A gentle rinse, a quick wipe with a microfiber towel and some car soap, and a pat dry is all it takes to prep the battlefield.
Applying Your Chosen Sap Remover
If you're using a liquid solvent like a dedicated sap remover or isopropyl alcohol, your technique is what separates a great result from a potential disaster.
- Apply to the Towel: Never spray a solvent directly onto your car’s paint. Lightly dampen a clean microfiber towel instead. This gives you total control and stops the chemical from running onto plastic trim or headlight lenses where it doesn't belong.
- Let It Dwell: Place the damp towel over the sap and just let it sit for 30 to 60 seconds. This is the most important step. That dwell time is what allows the solvent to soften and break down the hardened resins. Resist the urge to scrub right away.
- Lift, Don't Grind: After it has soaked, use a gentle dabbing or blotting motion to lift the sap. For stubborn spots, a light back-and-forth wipe is okay. You should feel the sap breaking up and transferring to the towel.
For fresh, gooey sap, this is often all you’ll need. You'll literally see the sap move from your paint to the towel. Just be sure to fold your towel to a clean section for each pass to avoid smearing sticky residue back onto the car.
This chart shows the general workflow we follow, moving from the gentlest method up to more intensive tools only when necessary.
Starting with the safest option and escalating only if you need to is the core principle of protecting your paint.
Using a Clay Bar for Embedded Contamination
So what happens if the solvent worked, but you can still feel a gritty texture? Or what if the sap is so baked-on that it won't dissolve? This is exactly when a detailing clay bar becomes your best friend. A clay bar isn’t abrasive; it works by grabbing and shearing off anything sitting on top of your clear coat.
The number one rule of using a clay bar is lubrication, lubrication, lubrication. Without it, the clay will just stick and mar your paint.
Pro Tip: Never, ever use a clay bar on a dry surface. You need a dedicated clay lubricant or a quality quick detailer spray to create a slick barrier. Be generous with it—you can't use too much lube here.
Once the area is slick, glide the clay bar back and forth over the spot using very light pressure. You will literally feel and hear the clay picking up the rough contamination. After a few passes, the surface will get quieter and smoother.
Fold the clay in on itself to expose a fresh side. This is critical to trap the gunk you just removed and prevent it from scratching the paint. When your fingers can glide over the spot and it feels as smooth as glass, you’re done. Wipe the lubricant residue away with a fresh microfiber, and you’ve just successfully tackled tree sap like a pro.
Restoring and Protecting Your Paint After Removal
Getting that stubborn tree sap off your car is a huge relief, but the job isn't quite done. Those solvents you used, while great for dissolving sap, also stripped away any wax or sealant protecting your paint. This last step is all about bringing back that shine and putting up a fresh layer of defense.

Think of it like this: you just performed a small, targeted treatment on your car's finish. Now, you need to seal the area to protect it from future problems. Leaving the paint bare is like an open invitation for UV rays, bird droppings, and—you guessed it—more tree sap to do some real damage.
Inspecting and Polishing the Treated Area
First things first, let's do a quick inspection. Run your fingers over the spot where the sap used to be. Does it feel just as smooth as the paint around it? Now, check it out from a few different angles in good lighting. You're looking for any faint dullness or haziness left behind, which can be a sign of light etching from the sap's acids.
If the surface feels and looks perfect, you can jump straight to the protection step. But if you notice a slight imperfection, a light-duty polish is your best bet. A finishing polish has super-fine abrasives that gently smooth out the clear coat, erasing minor blemishes and restoring that deep gloss without being too aggressive. Just apply a small dab to a microfiber applicator and work it in with gentle, overlapping motions until the haze is gone.
Choosing Your Layer of Protection
With the paint perfectly clean and smooth, it's time to lock in that finish. This is a non-negotiable step after using any kind of solvent on your paint. You have a few great options, each with its own level of durability and shine.
- Carnauba Wax: The classic choice for a reason. Carnauba delivers a warm, deep gloss that’s hard to beat. It's simple to apply but has the shortest lifespan, usually lasting a few months.
- Paint Sealant: This is a synthetic polymer product that creates a slick, glassy shine. A sealant offers more durable protection than wax, often lasting six months or more.
- Ceramic Coating: For the ultimate line of defense, a ceramic coating is the king. This liquid polymer forms a chemical bond with your car's factory paint, creating a semi-permanent, hardened glass layer.
A ceramic coating creates an incredibly slick and hydrophobic surface. This makes it much harder for contaminants like tree sap to bond to the paint in the first place, and future cleanups become significantly easier, often requiring just a simple wash.
Applying one of these protective layers does more than just make your car look good—it creates a sacrificial barrier. The next time you park under that same tree, the protective layer takes the hit, not your precious clear coat.
For those thinking about long-term solutions, you can learn more about how a professional ceramic coating protects your vehicle in our complete guide. Following these steps ensures you not only fix the immediate problem but also fortify your car for whatever comes next.
When to Call a Professional Detailer
While tackling a fresh sap spot yourself can be satisfying, there comes a point where the DIY approach does more harm than good. Knowing when to put down the microfiber towel and call a professional isn't giving up—it's the smartest move you can make to protect your car's finish and value.
Trying to fix a serious sap problem without the right experience can quickly turn a small annoyance into a massive, expensive headache. The most telling sign that you're in over your head is when the sap has actually etched into the paint.
After you've cleaned the surface goo away, gently run your fingernail over the spot. If you can feel an indentation or a rough edge, stop right there. That's a clear signal the damage is no longer on the surface; it’s in the clear coat.
Assessing Severe Sap Damage
Serious damage isn't just about how long the sap has been sitting there. It's about how deeply it has burned into your paint. If you see any of these signs, it's time to call in the experts:
- Paint Discoloration: The area under the sap looks dull, hazy, or is a slightly different color than the rest of the panel. This is a tell-tale sign the clear coat is compromised.
- Deep Etching: Like we mentioned, if you can feel the damage with your fingernail, it requires machine polishing, or even wet sanding, to fix.
- Widespread Contamination: Your car looks like it lost a battle with a pine forest. When you're facing dozens of hardened sap spots, the sheer time and risk of a DIY cleanup just aren't worth it.
Baked-on sap often needs aggressive correction methods like wet sanding and multi-step machine polishing to carefully level the paint. These techniques remove a microscopic layer of your clear coat and are extremely risky if you're not a trained professional. A single slip-up with a high-speed polisher can burn right through your paint in seconds.
Once sap hardens and bakes in the sun, it effectively becomes a hard plastic bonded to your paint. Trying to scrub it off at this stage will almost certainly cause deep scratches and swirl marks, leaving you with a problem that's much worse than the original sap.
The Risks of Overly Aggressive DIY Fixes
Don't underestimate how damaging stubborn sap can be. A 2023 report found that over 65% of vehicles parked under trees for more than a week ended up with hardened sap deposits.
When left untreated, the acids in this sap can weaken the clear coat's integrity by 20-25%, opening the door for rust and corrosion. The same report noted that DIY attempts to remove this kind of damage resulted in noticeable swirl marks in 40% of cases. You can read more about it in this in-depth analysis of sap-related paint damage.
If you’re up against petrified sap that just laughs at your bug and tar remover or isopropyl alcohol, it's time to get a quote. A professional detailer has the right tools and, more importantly, the experience to know exactly how to approach the problem without causing more damage.
When you look at our various car detailing packages and pricing, you’ll see that a professional correction is far more affordable than a trip to the body shop for a repaint.
Common Questions About Tree Sap Removal
Alright, let's tackle some of the common questions I hear all the time from car owners dealing with sap. Think of this as a quick-fire round from a detailer's perspective, designed to clear up any confusion and give you the confidence to get the job done right.
Can I Use WD-40 or Goo Gone?
I get this one a lot. While it's tempting to grab something like WD-40 or Goo Gone from the garage shelf, I strongly advise against it. These are heavy-duty solvents, but they were never meant for your car's delicate paint job.
They are packed with harsh petroleum distillates that can do more harm than good. At best, they’ll strip your wax or sealant. At worst, they can leave behind an oily mess that’s a nightmare to clean up or even permanently stain your clear coat and plastic trim. Stick with products made for cars—a good bug and tar remover or even a simple mix of isopropyl alcohol are much safer bets.
Will a Regular Car Wash Remove Fresh Tree Sap?
Unfortunately, a simple car wash just won't cut it. The sugars and resins in tree sap aren't water-soluble, which means your car soap and a stream of water will just slide right over the sticky spots without breaking them down.
A car wash is still a crucial first step, though. You have to get all the loose dirt and grit off the surface before you start rubbing any kind of solvent on it. Just know that you'll absolutely need to follow up with a specialized product to actually dissolve the sap itself.
Key Insight: A solvent’s job is to chemically break the bond between the sap and your paint. Since soap and water can't do that, you need a targeted chemical approach for any hope of a safe and successful removal.
How Can I Prevent Tree Sap in the First Place?
An ounce of prevention is worth a pound of cure, especially with tree sap. The easiest tactic is simply to be mindful of where you park. Avoid parking directly under trees if you can, particularly notorious drippers like pines, maples, and birches, especially in the spring and summer.
If you can't avoid the trees, your best defense is a solid layer of protection on your paint.
- Wax or Sealant: A high-quality paint sealant is a great start, creating a slick barrier that can last for six months or more.
- Ceramic Coating: For the ultimate defense, a professional ceramic coating creates a hard, semi-permanent shield that is incredibly resistant to contaminants.
With a protective coating, it's much harder for sap to get a good grip on your paint. Most of the time, any sap that does land on a coated car will wash away with very little effort, saving you a huge headache down the road.
If you're dealing with a sap situation that feels overwhelming, or you're ready to give your car the best protection available with a professional ceramic coating, GP Mobile Car Wash & Detail has you covered. Our technicians use proven, surface-safe methods to restore your paint and keep it protected. Book your mobile or in-shop appointment today at https://www.gpmobilecarwash.com.
Enhanced by the Outrank tool