If you want to wash your car the right way—without leaving a mess of fine scratches and swirls—the secret lies in a simple, proven technique. It all comes down to the two-bucket method, a plush microfiber wash mitt, and a pH-neutral car shampoo. This approach stops you from dragging tiny bits of dirt across your paint, which is exactly how those frustrating swirl marks are created. Ditching old sponges, bath towels, and harsh dish soap is the first real step toward keeping your car’s finish looking flawless.
Why Your Car Wash Method Is Causing Scratches
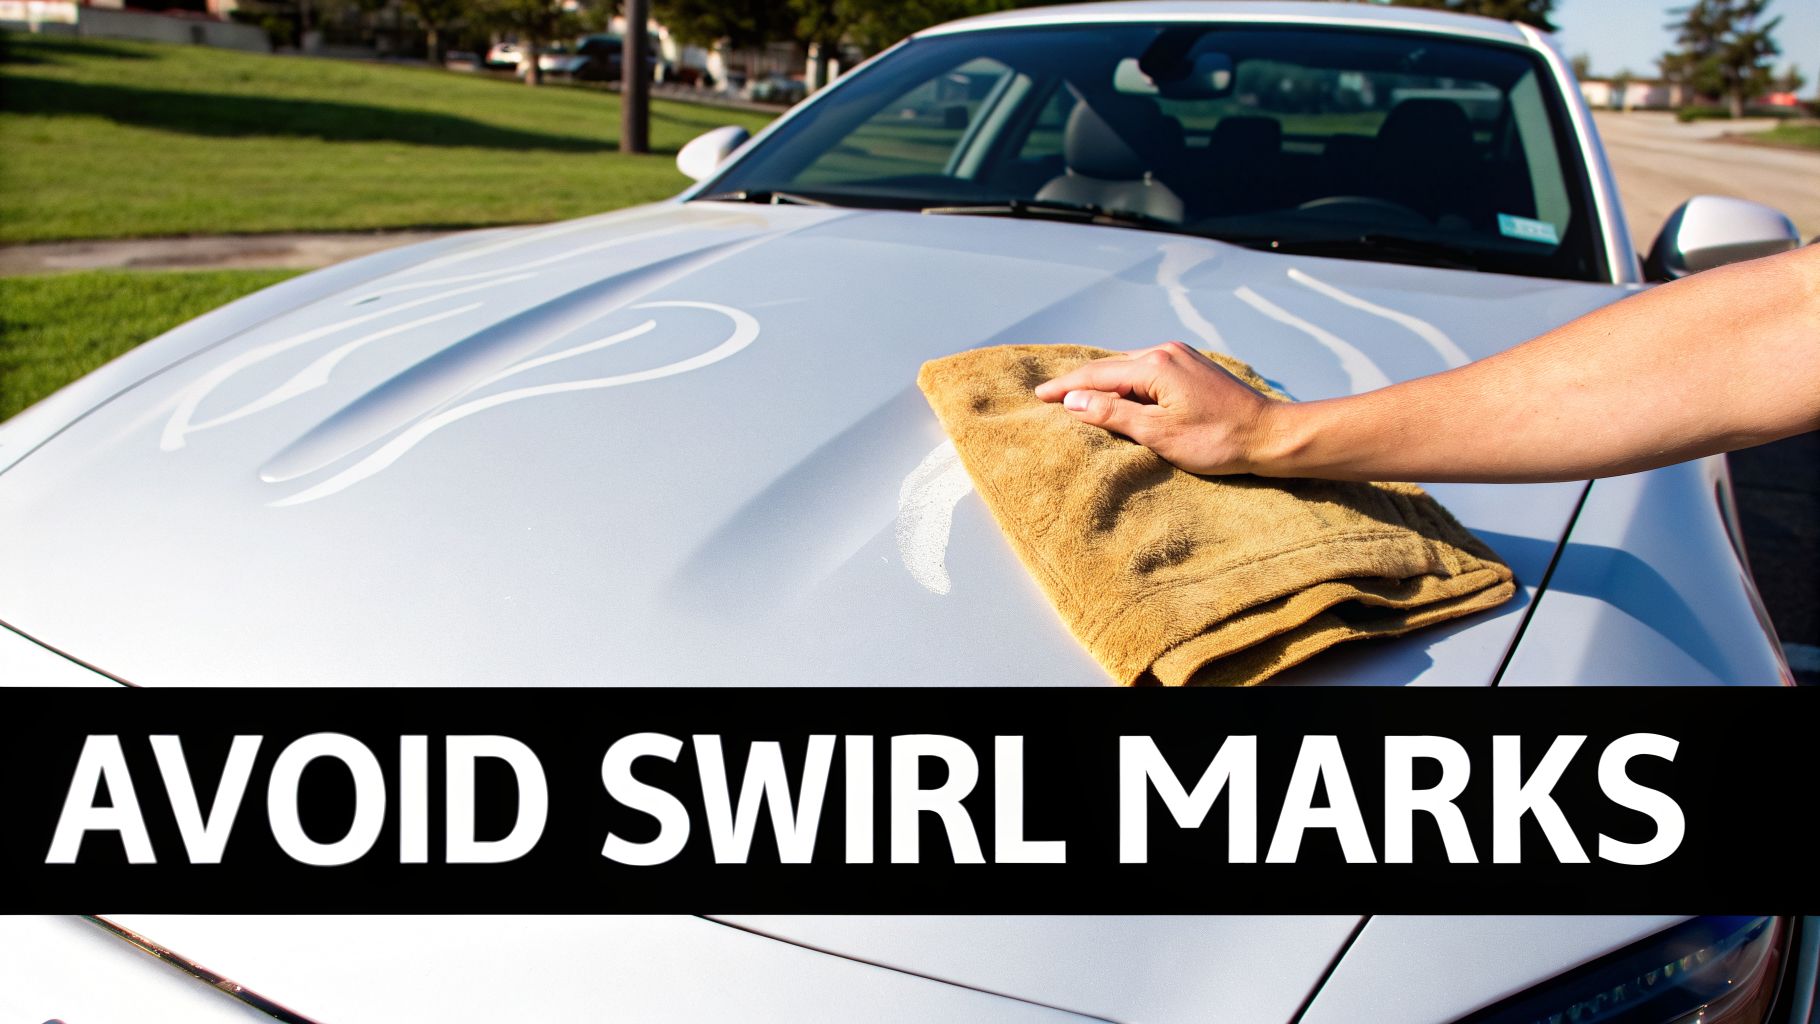
It’s a terrible feeling. You spend an hour washing your car, only to step back and see a new network of web-like swirls glinting in the sun. You meant well, but the finish somehow looks worse than before. The hard truth is that most common washing habits are the direct cause of this damage.
This is a heartbreaking reality for countless car owners. A shocking 85% of paint scratches happen because of improper DIY washing. This is usually from using aggressive dish soap that strips away your car's protective wax or from rubbing a dirty sponge all over the paintwork. In stark contrast, industry studies show that professional detailers using the two-bucket method can slash the risk of micro-scratches by 70-80% compared to a typical home wash.
The Science Behind Paint Damage
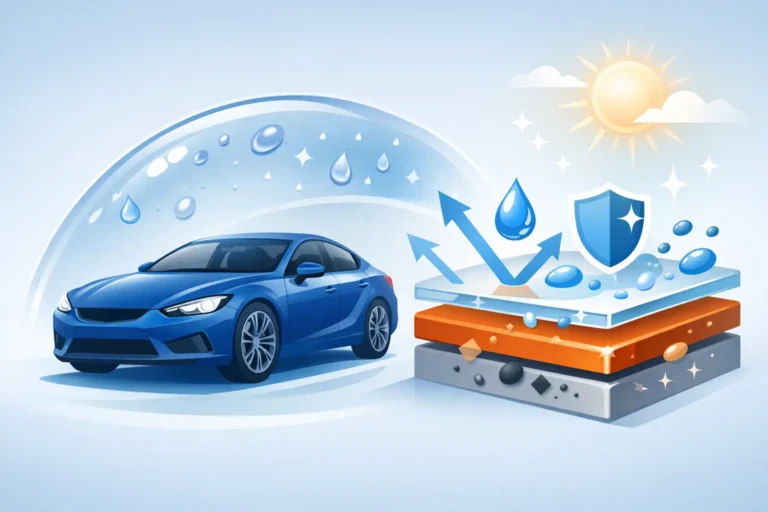
Your car’s paint is far more delicate than it looks. It's made of several layers: a primer, the color coat, and a final clear coat on top. That clear coat is what gives your car its deep gloss and shine, but it’s also incredibly easy to scratch. When you grab a single bucket and an old sponge, you're basically creating the perfect recipe for a disaster.
Here’s a breakdown of where things go wrong:
- Contaminated Wash Water: Every time you dip a dirty wash mitt back into your only bucket of soapy water, you’re just reloading it with the grit and grime you just removed.
- Abrasive Tools: Old-school sponges and rough towels are notorious for trapping dirt particles on their surface. This effectively turns your wash tool into a piece of fine-grit sandpaper.
- Improper Motion: Washing in circles is the number one cause of those distinct, spider-web swirl marks that show up so clearly in direct sunlight.
The most common way swirls and scratches get into a car's finish comes directly from how we wash and dry it. The things we rub over the paint—the wash mitt and drying towel—are the culprits.
Recognizing Harmful Habits
Many car owners damage their paint without even realizing it. Those seemingly harmless habits are often the biggest offenders. For example, grabbing a regular bath towel to dry your car can leave behind thousands of tiny scratches because cotton fibers are surprisingly abrasive on a modern clear coat.
Even if you have a protective layer like a ceramic coating, using the wrong maintenance routine can still cause damage. You can check out our guide on if ceramic coatings prevent scratches to better understand how to protect your investment. The first step to achieving a perfect, scratch-free wash is recognizing and replacing these flawed methods.
Building Your Scratch-Free Car Wash Arsenal
To wash your car the right way and avoid scratches, you have to start with the right tools. Using household items like dish soap or old bath towels is a surefire way to create swirl marks and a dull, lifeless finish.
Building a dedicated car wash kit isn't about spending a fortune. It’s about investing in specific items designed to protect your vehicle's delicate clear coat. The goal is to lift dirt away, not grind it into the paint.
Think of it this way: a cheap kitchen sponge is flat and abrasive, pushing grit across your paint like sandpaper. A quality microfiber wash mitt, however, has a deep pile that pulls those sharp dirt particles deep into its fibers, keeping them safely away from the surface you're trying to clean.
The Core Components for a Safe Wash
Your initial setup doesn't need to be complicated, but it absolutely needs to be correct. The biggest and most important upgrade you can make is switching to the two-bucket method. This simple system is a total game-changer for preventing scratches.
You'll need two buckets, ideally labeled so you don't mix them up, with Grit Guards placed at the bottom of each one.
- Wash Bucket: This one holds your soapy car shampoo solution.
- Rinse Bucket: This is filled with plain, clean water. You'll use it to rinse your dirty mitt after every single panel.
Those Grit Guard inserts are the secret weapon here. They are simple plastic grates that sit at the bottom, creating a barrier. When you dunk your dirty mitt in the rinse bucket, the heavy grit and sand fall through the grate and get trapped underneath. This stops you from picking that same grit back up and dragging it all over your paint.
The two-bucket method is more than just a fancy technique; it's a simple filtration system. By rinsing your wash mitt in a separate bucket before reloading it with soap, you stop cross-contamination in its tracks. You avoid turning your clean wash water into a gritty, abrasive soup that damages your paint.
Choosing the Right Soap and Mitt
Beyond the buckets, two other items are completely non-negotiable for a scratch-free wash. The first is a proper, pH-neutral car shampoo. Unlike harsh dish soaps that strip away your protective wax and sealants, a dedicated car soap is made to gently lift dirt while preserving the protective layers on your paint.
The second critical item is your wash media. A plush, high-quality microfiber wash mitt is essential. Its long, soft fibers are perfect for trapping dirt and are so much safer than an old sponge or a raggedy towel.
For extremely dirty vehicles, many pros (including us) even use a multiple-mitt method. We'll use a fresh, clean mitt for each major section of the car—one for the roof and glass, another for the upper body panels, and a third for the dirty lower sections. This completely eliminates the risk of dragging grime from one part of the car to another.
To make it clear, here is a quick comparison of the right tools versus their damaging, household-item counterparts.
Essential Tools for a Scratch-Free Wash vs Damaging Alternatives
| Tool Category | The Safe Choice | The Damaging Alternative | Why It Matters |
|---|---|---|---|
| Wash Media | Plush Microfiber Mitt | Kitchen Sponge or Old Towel | Microfiber lifts dirt into its deep fibers; sponges trap grit on their flat surface and drag it across the paint, causing scratches. |
| Cleaning Solution | pH-Neutral Car Shampoo | Dish Soap or Household Cleaners | Car shampoo is formulated to protect your car's wax and sealants; dish soap is a harsh degreaser that strips them away, leaving your paint exposed. |
| Water Management | Two Buckets with Grit Guards | Single Bucket | The two-bucket system isolates dirt and grit, preventing you from dunking your mitt back into contaminated, scratch-causing water. |
Switching to these professional-grade tools is the single most effective step you can take to protect your vehicle’s finish. It’s the foundation of a safe wash and the key to keeping your car looking its absolute best.
Putting It All Together: The Scratch-Free Wash Process
Alright, you’ve got the right tools. Now it's time to bring it all together. The best way to wash a car without scratching it isn't about speed—it’s about having a deliberate, professional process from start to finish. This is where your technique and tools work together to create a truly flawless finish.
We're going to walk through each phase, from the first rinse to the final drying method. By focusing on one step at a time, you'll feel confident and in control, just like an expert detailer.
The core of the process is simple. It all comes down to your two buckets, a quality wash mitt, and a good car soap.
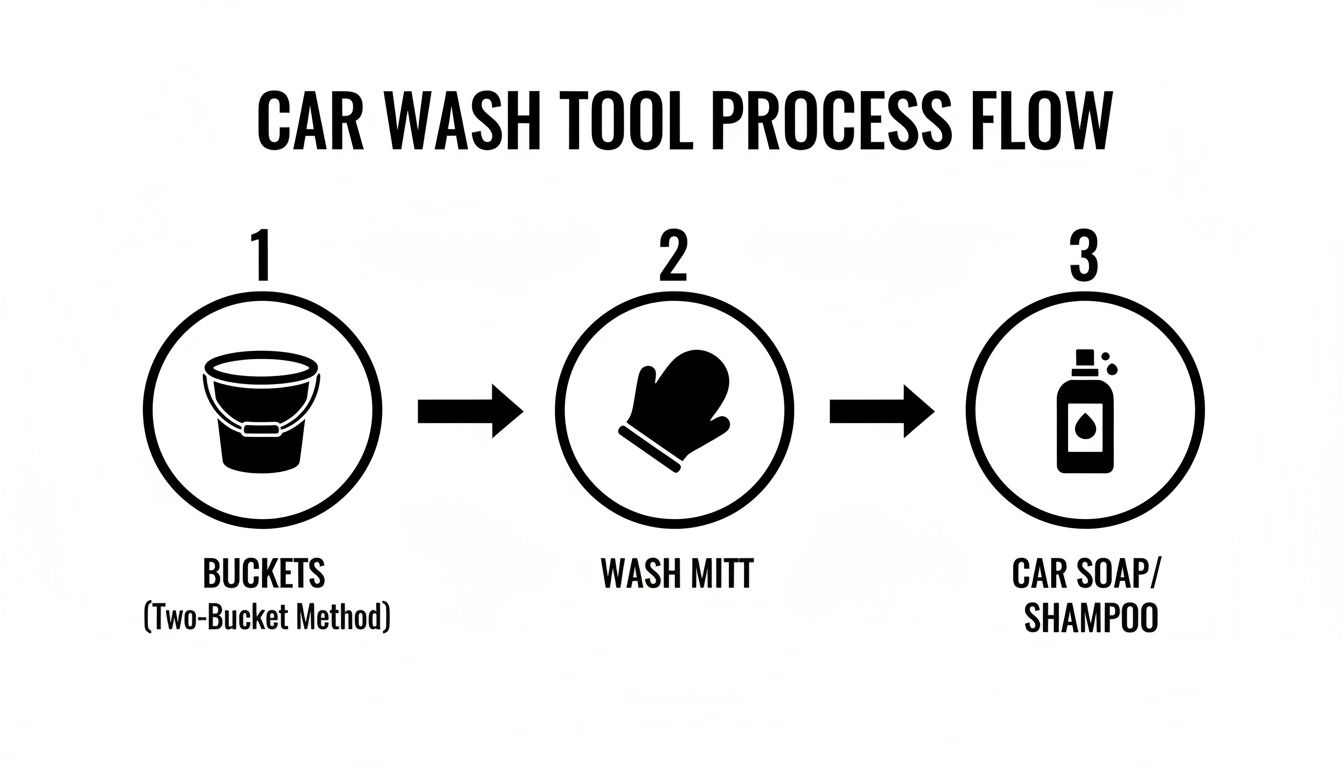
This simple diagram shows the fundamental workflow: keeping clean and dirty water separate (the buckets), using a safe wash tool (the mitt), and relying on slick, pH-neutral lubrication (the soap).
The Crucial Pre-Rinse and Pre-Soak
Before your wash mitt even thinks about touching the paint, your first job is to get rid of as much loose dirt and grit as you can. A thorough pre-rinse with a garden hose or a pressure washer is non-negotiable. Always start at the roof and work your way down, letting gravity do the heavy lifting.
This is exactly where a foam cannon proves its worth. Applying a thick blanket of suds and letting it sit for a few minutes is what we call a pre-soak. The foam clings to the car, and its cleaning agents go to work breaking down stubborn grime and road film. This makes the next step—the contact wash—dramatically safer.
The mobile car wash and detailing market skyrocketed to $126.3 billion in 2025, and a huge part of that growth is tied to scratch prevention. Washing at home with a garden hose can blast grit at 40-60 PSI, which can embed particles into the paint and is responsible for a reported 65% of visible swirls. In contrast, professional mobile units like GP Mobile Car Wash & Detail use pre-soak solutions and foam cannons at a controlled 15-25 PSI, lifting dirt safely and cutting the risk of scratches by an estimated 90%. You can explore more on these market trends and their impact on future market insights.
Tackle Wheels and Tires First
Always, always wash your wheels and tires before you touch a single painted panel. They are by far the dirtiest parts of your vehicle, coated in nasty, abrasive brake dust and road grime.
Here’s why this order matters so much:
- Prevent Cross-Contamination: You stop brake dust and filth from splashing from the wheels onto the clean paint you just worked on.
- Dedicated Tools: You must use a separate bucket, brushes, and even a separate wash mitt just for your wheels. This prevents you from ever transferring those sharp metallic particles to your paint mitt.
Once the wheels are done, give them a final rinse and put your wheel-cleaning tools far away from your wash area. Now you're ready for the main event with a clean slate.
"I always tell my clients: wash your wheels first, or you're just making more work for yourself. It’s the single easiest way to keep brake dust—which is basically tiny metal shavings—away from your clear coat."
The Two-Bucket Contact Wash
With the car pre-soaked and rinsed, it’s time for the contact wash. The secret here is to be methodical and gentle.
- Start at the Top: Begin with the cleanest parts of the car, which are almost always the roof, glass, and hood. This keeps your wash mitt from getting contaminated too quickly.
- One Panel at a Time: Work in small, manageable sections. Dip your mitt in the Wash Bucket, and gently glide it over a single panel. Always use straight lines, never aggressive circles.
- Rinse the Mitt: Before you even think about getting more soap, dunk your now-dirty mitt into the Rinse Bucket. Vigorously scrub it against the Grit Guard at the bottom to knock all the trapped dirt loose.
- Reload with Soap: Only after the mitt is clean should you dip it back into your Wash Bucket for fresh suds. Then, you can move on to the next panel.
This disciplined cycle is the absolute heart of the two-bucket method. It’s your guarantee that you’re only ever touching your paint with a clean, soap-loaded mitt. As you work your way down the car, save the dirtiest lower sections—like the rocker panels and bumpers—for the very end.
Finally, give the entire vehicle a thorough final rinse, again working from the top down. Check around emblems, trim, and in the panel gaps where soap loves to hide. Once it's fully rinsed and dripping, you’re ready for the final, and equally important, step: drying it safely.
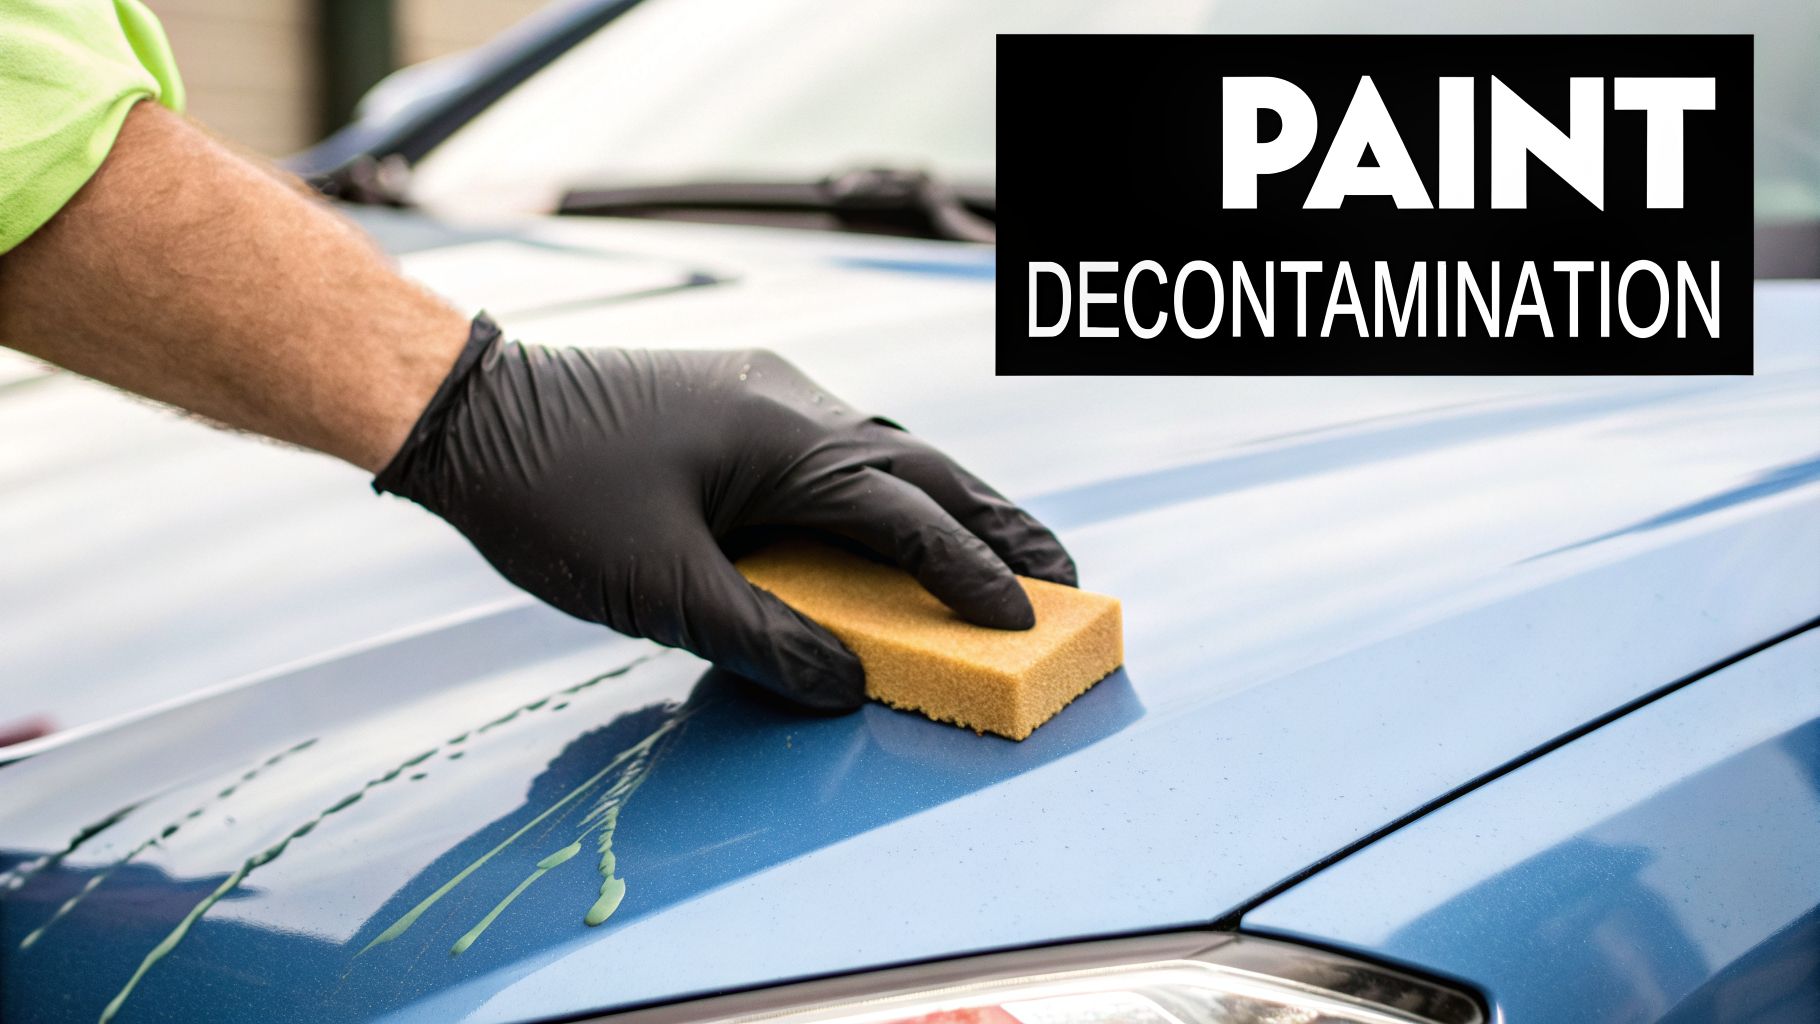
Advanced Techniques for Paint Decontamination
A proper wash gets rid of loose dirt, but what about that gritty feeling left behind? This is where paint decontamination comes in. It’s the critical step that separates a simple wash from a true detail. After you’ve finished your two-bucket wash, gently run your fingertips over the paint. If it doesn’t feel perfectly smooth like glass, it’s time to get serious.
That roughness comes from tiny particles like industrial fallout, tree sap, and road tar that have bonded to your car’s finish. A normal wash just can’t break them down. If you ignore them, they can cause long-term damage, much like how water spots can etch into the clear coat over time. You can learn more about how to handle these types of blemishes in our guide on removing water spots from car paint.
Using a Clay Bar or Synthetic Clay Mitt
The classic tool for this job is a clay bar. More recently, synthetic clay mitts or towels have become popular because they're a bit easier to handle. Both tools do the same thing: they gently lift and shear off those bonded contaminants, leaving the paint surface silky smooth. But there’s one secret to using them safely—lubrication.
You can never, ever use a clay bar on a dry surface. It’s a recipe for scratches. You absolutely must use a dedicated clay lubricant or a quality quick detailer spray. This creates a slick, protective layer that lets the clay glide instead of drag.
Here’s how we get it done without a single scratch:
- Focus on a small 2×2 foot section at a time. This gives you total control.
- Spray the area generously with your lubricant. Don't be shy with it.
- Gently glide the clay bar or mitt back and forth in straight lines. You’ll actually feel and hear the grit being picked up.
- Keep gliding until the surface feels completely smooth, then wipe the lubricant off with a fresh microfiber towel.
The key to claying is to let the tool do the work, not your muscles. If the clay starts to stick or drag, stop right away and spray more lubricant. This is the single most important rule to prevent marring your paint.
Post-Decontamination Protection
After you’ve decontaminated the paint, it’s completely stripped bare and vulnerable. It needs protection right away. This is the absolute best time to apply a high-quality spray wax or paint sealant.
This final step brings back that deep gloss, adds a slick feel, and creates a hydrophobic barrier that repels water. It also makes future washes a whole lot easier. Just spray the product onto a clean microfiber towel, spread it evenly across the panel, and use a separate dry towel to buff it to a mirror shine. Your paint will not only look amazing but will also be shielded from whatever the road throws at it.
When to Call in a Professional Detailer
Even if you’ve mastered the perfect at-home wash, some jobs are just too big for the driveway. Knowing when to put down the wash mitt and call in a professional detailer is just as critical as knowing how to wash a car without scratching it. Sometimes, an expert’s touch is the only way to get a truly flawless finish and protect your investment.
A good rule of thumb is the fingernail test. If you find a scratch that’s deep enough to catch your nail, that’s a clear signal the damage has gone past the clear coat. A simple wash or wax won’t fix that. Trying to buff it out yourself with aggressive products can easily burn right through the paint, creating a much bigger, permanent problem. This is where a pro’s training and specialized tools become essential.
Fixing Serious Paint Imperfections
Heavy swirl marks, cloudy holograms from a buffer gone wrong, or oxidation that makes your paint look chalky are all issues that call for paint correction. This isn't just a fancy wax job; it’s a highly skilled, multi-stage process. A detailer uses a variety of polishing machines, pads, and compounds to meticulously level the clear coat, permanently erasing those flaws.
Think of it as a true restoration of your car’s gloss and depth, not a temporary cover-up. Trying this without experience often causes more harm, leaving you with an uneven finish or even worse swirl marks than you started with.
A professional detailer can accurately diagnose the depth of your paint defects and select the precise combination of tools to remove them safely. This is how you achieve a level of perfection that’s nearly impossible with off-the-shelf products, ultimately preserving your car's long-term value.
Applying Long-Term Protection
Another time to bring in the pros is for a professional-grade ceramic coating. While you can find plenty of consumer versions online, the truly durable, high-solid coatings that offer multi-year protection are a different beast entirely. They need a perfectly clean, sterile environment and very specific application methods to bond correctly with your paint.
A professional detailer will perform a full decontamination and paint correction before applying the coating, which is the only way to guarantee it performs as advertised.
The professional car wash service market is expanding, and a big reason is the demand for these advanced services. Projections show the market is expected to hit $54.48 billion by 2033 as more owners look for lasting, high-tech protection. For instance, a professionally installed coating can repel over 95% of water and dirt for 5+ years, saving busy families countless hours of washing. You can find more on these trends in the latest car wash service market research.
Ultimately, hiring a professional isn't giving up; it's making a smart call. It saves you time, helps you avoid expensive mistakes, and delivers results that protect your vehicle’s look and resale value. If you’re dealing with serious paint damage or want the best protection available, it’s worth exploring options with a professional car wash near you to see what they can do for your car.
Common Questions About Scratch-Free Washing
Even when you have a solid plan, a few questions always come up. We hear them all the time from car owners who are trying to get that perfect, swirl-free shine. Let's tackle some of the most common ones and get you washing with total confidence.
How Often Should I Wash My Car to Prevent Damage?
For the average driver, giving your car a good wash every one to two weeks is the sweet spot. This schedule stops aggressive contaminants like bird droppings, bug splatter, and road grime from getting a serious grip on your paint.
When you let that stuff sit for too long, it can actually eat into the clear coat. This is called chemical etching, and it creates permanent damage that requires a lot more than just a wash to fix. Think of regular washing as preventative care—it makes each wash easier and drastically lowers the risk of scratching the paint.
Are Touchless Automatic Car Washes a Safe Alternative?
The word "touchless" sounds great, but the reality is a little different. To get a car clean without any brushes, these automatic washes blast your car with extremely harsh, high-pH chemical detergents. While they avoid the swirls caused by dirty brushes, these powerful chemicals pose their own threat.
Over time, the aggressive detergents used in many touchless automatic washes can strip away your car's protective wax or sealant. This leaves the clear coat exposed, dulls the finish, and makes it more susceptible to damage from the elements.
There's just no substitute for a proper hand wash. Using a pH-neutral shampoo and safe techniques is always the best way to wash a car without scratching and keep its finish looking great for years.
Does the Two-Bucket Method Really Make a Difference?
Yes, absolutely. If you only adopt one new habit from this guide, make it the two-bucket method. It is the single most effective way to stop yourself from grinding dirt back into your own paintwork.
The logic is simple, but the impact is huge:
- It isolates the dirt. You get a dedicated bucket just for rinsing your mitt after touching the car.
- It stops cross-contamination. This keeps you from dipping a now-dirty mitt back into your clean, soapy water.
- It prevents scratches. You're only ever touching the paint with a clean, lubricated mitt, not one loaded with sharp grit you just pulled off the rocker panel.
This simple setup acts like a filtration system, trapping the damaging particles at the bottom of the rinse bucket, far away from your car's delicate finish.
Is It Okay to Wash My Car in Direct Sunlight?
You really want to avoid washing your car in direct sun or when the panels are hot to the touch. The heat causes both your water and your car shampoo to dry way too fast.
When soap dries on the paint before you can rinse it, it leaves behind a stubborn film. Worse, those little beads of water act like tiny magnifying glasses, focusing the sun's rays and causing water spots that can etch right into your clear coat. Always try to wash in a shady spot or during the cooler hours of the day, like early in the morning or later in the evening.
Ready to skip the guesswork and get a professional-level clean without the effort? The team at GP Mobile Car Wash & Detail brings the expertise and tools directly to you, ensuring a perfect, scratch-free finish every time. Book your mobile or in-shop appointment today at https://www.gpmobilecarwash.com.