If you drive in Lincoln through a real winter, you already know the pattern. The roads get treated, the slush turns gray, your rocker panels collect grime, and by spring the car still looks mostly fine from ten feet away. Then you notice bubbling on a wheel arch, orange staining around a chip, or a crusty spot underneath that wasn't there before.
That's how rust usually starts. Subtly, low on the vehicle, inside seams, behind trim, and underneath, in areas few typically inspect.
Knowing how to keep a car from rusting in Nebraska comes down to a simple idea. Remove corrosive material fast, keep water from sitting where it shouldn't, and protect the surfaces that take the worst abuse. Some of that is easy to do yourself. Some of it is worth paying for, especially if you want the underbody, seams, and paint protection handled correctly before another salt season arrives.
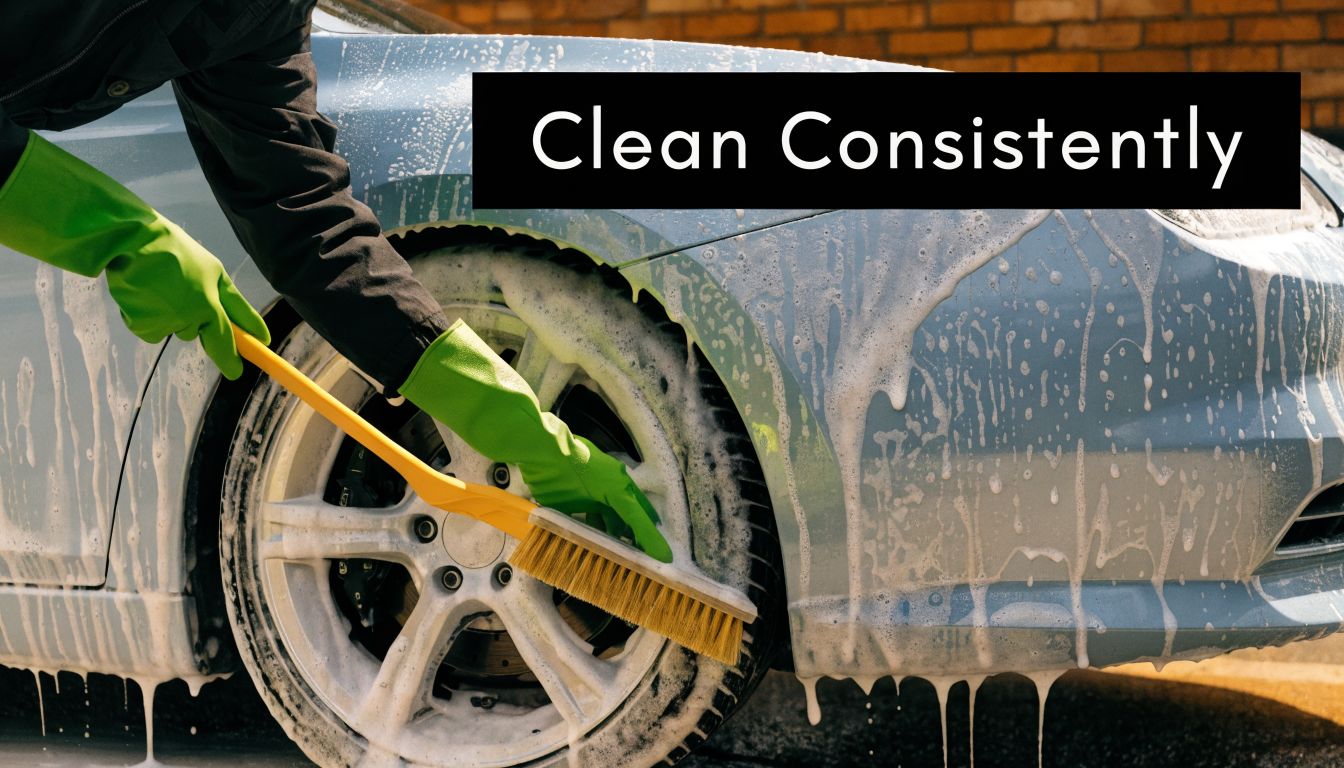
The Foundation of Rust Prevention Is Consistent Cleaning
Rust is a chemical process. Metal, oxygen, moisture, and contamination meet, and corrosion gets a foothold. In Nebraska, that contamination often includes winter salt, road film, and dirty slush that sticks to lower panels for days.
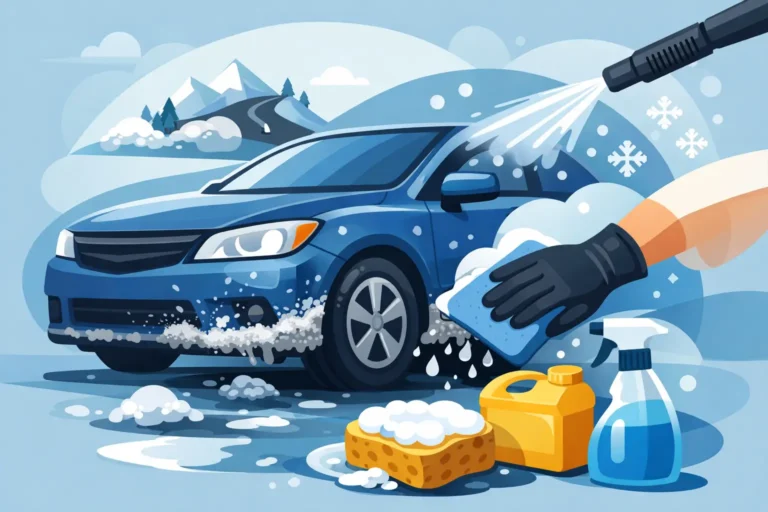
A lot of drivers think washing is mainly about appearance. It isn't. A proper wash is your first line of rust prevention because it removes what sits on the paint, in the wheel wells, around trim edges, and inside the creases that stay damp longest.
Wash for corrosion control, not just shine
The safest basic routine is still a hand wash with simple tools used the right way. I'd rather see a vehicle washed carefully with a wash mitt, soft wheel brushes, microfiber drying towels, and pH-balanced soap than blasted quickly and put away wet.
The two-bucket wash method matters because it cuts down on wash-induced scratches. One bucket holds clean soapy water. The other is your rinse bucket for the mitt. That keeps grit from getting rubbed back into the paint, and that matters because every scratch and paint chip gives moisture and contamination another opening.
Areas people skip all the time:
- Wheel wells: Salt and mud cake up here first.
- Door edges and jambs: Dirt stays trapped in seams. If you want a better sense of where grime builds, this guide on what a door jamb is on a car is worth a look.
- Behind badges and moldings: These spots stay damp longer than open painted surfaces.
- Lower rocker panels: Nebraska slush hammers these all winter.
- Fuel door area: Easy to miss, easy to trap grime.
Practical rule: If a part of the vehicle stays dirty after the rest is clean, it's probably also staying wet longer.
Drying matters more than most people think
A rushed wash can leave the vehicle cleaner but still vulnerable. Water that sits in mirror housings, around emblems, inside jambs, or along trim can keep seams damp long after the body looks dry.
Use microfiber drying towels, compressed air, or a blower if you have one. Focus on creases, trim edges, door bottoms, and around the trunk and hood seams. If you wash the car and then park it without drying those areas, you've only done half the job.
That's also why timing matters. Washing on a mild day is better than washing right before a hard freeze if you can't dry the vehicle thoroughly.
Clear the places that hold water
One of the least glamorous rust-prevention jobs is checking drain holes. It works.
Blocked drain holes in doors and rocker panels contribute to 40 to 50% of hidden frame rust cases, according to Carfax guidance on inspecting rusted cars. When those passages clog, water gets trapped and corrosion starts from the inside out.
A few times a year, inspect the bottom edges of the doors and rocker areas. If you see packed dirt, leaf debris, or hardened road film, clear it gently with a soft plastic trim tool or careful rinsing. Don't jam metal picks into painted openings and create a new problem.
What works and what doesn't
Cleaning works when it's consistent and thorough. It doesn't work when it's occasional, rushed, or focused only on the obvious surfaces.
Good rust-prevention washing usually looks like this:
- Pre-rinse first: Knock loose grit off before touching paint.
- Wash top to bottom: Save the dirtiest lower sections for last.
- Use dedicated tools for wheels: Don't carry brake dust onto paint.
- Open the doors, trunk, and fuel flap: Clean and dry the hidden edges.
- Finish dry, not damp: Water left in seams becomes tomorrow's problem.
If you're busy, professional washing makes a real difference. Not because the car gets shinier, but because the details that prevent rust usually take more time than people want to spend on a Saturday.
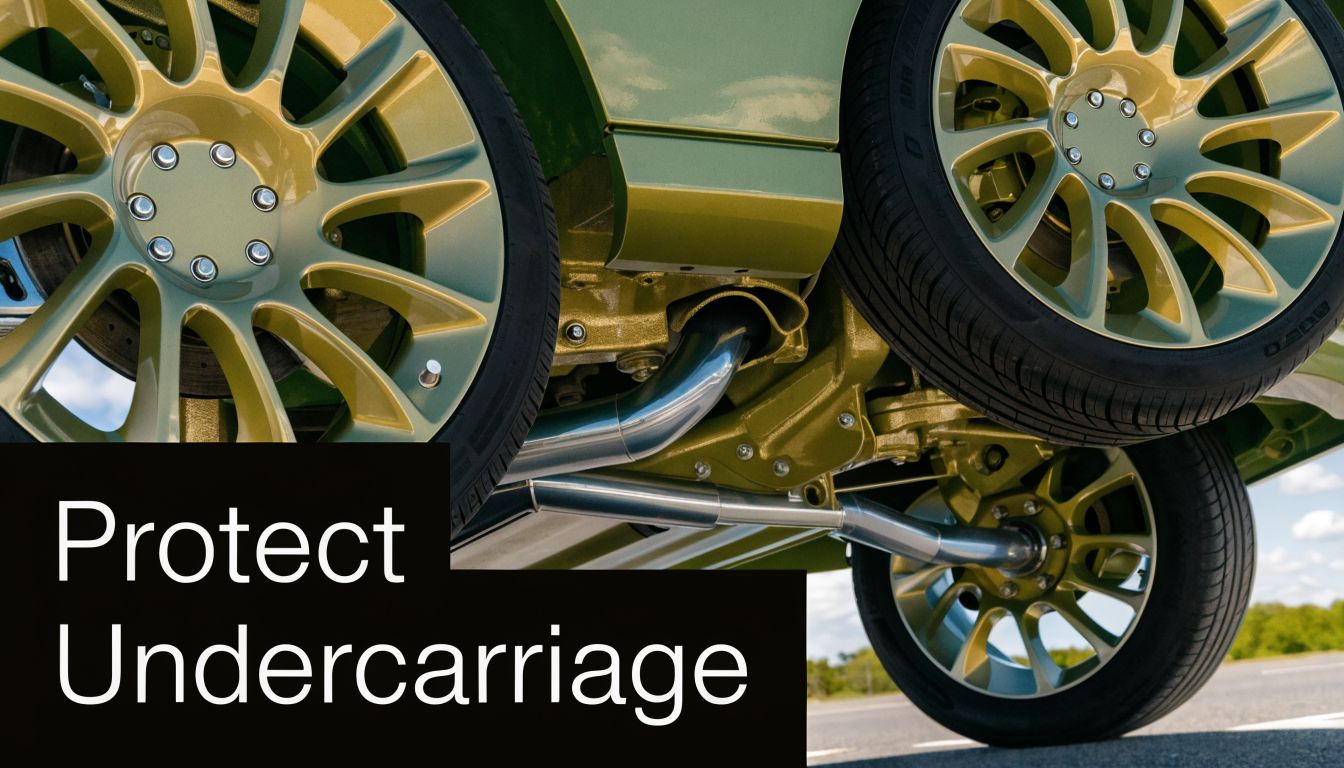
Defending Your Undercarriage From Salt and Grime
If the paint is the skin of your car, the undercarriage is the part that takes the beating. It gets blasted by salt brine, sand, slush, and road grime every time you drive after a Nebraska storm. You can have a glossy hood and spotless glass and still have corrosion building underneath.
That's why I tell people not to judge rust risk by what they can see from the driveway.
Salt doesn't just make a car dirty
Road salt and de-icers speed up corrosion because they help create the wet, conductive environment metal hates. That's why underbody cleaning in winter isn't optional in the Midwest. It's maintenance.
The financial side of this is larger than commonly anticipated. AAA reported that rust damage caused by road salt and de-icers cost U.S. drivers an estimated $15.4 billion in repairs over a five-year period, with the average repair bill at $500, according to the AAA road de-icers and rust damage fact sheet.
That number isn't hard to believe if you've ever seen brake lines, subframes, suspension hardware, heat shields, or fuel tank straps after several winters of neglect.
When to wash the underbody in Nebraska
National advice is usually too vague for our climate. In Lincoln, the right schedule depends on what just happened outside.
Use this framework instead:
- After a salt application or storm event: Rinse the undercarriage as soon as roads are clear enough and temperatures let you do it safely.
- During active winter driving: Don't wait for the vehicle to look filthy. The worst corrosion often starts before the exterior looks bad.
- When slush packs into wheel wells: Get it out. Packed grime holds moisture against metal and liners.
- At winter's end: Do a deeper underbody wash to remove what built up over the season.
The undercarriage should be cleaned based on exposure, not appearance.
DIY can work, but only if you reach the right places
If you want to handle it yourself, an undercarriage attachment for a pressure washer helps. So does using ramps carefully or choosing a wash setup that can flush inside wheel wells, suspension pockets, and the back sides of lower panels.
What doesn't work well is a quick spray from the side of the vehicle while standing in the driveway. That usually misses crossmembers, pinch welds, brake and fuel line areas, and the corners where slush cakes up.
A basic DIY checklist:
- Use a dedicated undercarriage wand: It reaches farther than a standard nozzle.
- Flush wheel wells thoroughly: Front and rear.
- Rinse after the vehicle cools: Don't shock hot exhaust parts.
- Choose a day above freezing if possible: Water needs a chance to drain.
Later in the season, a visual guide can help if you're not used to looking underneath:
Where professional help earns its keep
Undercarriage cleaning is one of those jobs that sounds simple until you try to do it thoroughly. Access is limited, runoff is messy, and the dirtiest sections are the hardest to reach.
Professional service makes the biggest difference when:
- You drive daily through treated roads
- You own a truck, SUV, van, fleet vehicle, or RV
- You don't have a garage setup for winter washing
- You want someone to spot early rust, packed debris, or failed coatings while cleaning
That's the trade-off. DIY is cheaper if you already have the tools and the time. Professional underbody cleaning is more consistent, especially in the middle of a Nebraska winter when few would crawl around on wet pavement to do the job right.
Choosing Your Shield Waxes Sealants and Ceramic Coatings
Cleaning removes contamination. Protection slows the next round of damage. Both matter, but they don't do the same job.
A lot of owners lump wax, sealants, and ceramic coatings into one category. They shouldn't. Each one asks for a different level of cost, prep, maintenance, and patience. If you choose the wrong one for how you use the car, you'll either overspend or end up with less protection than you thought you bought.
What each option is actually good at
Traditional wax is the simplest starting point. It can improve gloss and help water bead, but it's the shortest-term option and the easiest one to wear down through weather, washing, and winter road film. It's fine for someone who enjoys regular upkeep and doesn't mind reapplying often.
Paint sealants sit in the middle. They usually last longer than wax and make more sense for owners who want a practical barrier but don't want to commit to coating prep and installation.
Ceramic coatings are the premium route. They demand the most prep, and that prep is where many people get into trouble. If the paint still has bonded contaminants, water spots, or defects when a coating goes on, the coating can lock those issues underneath.
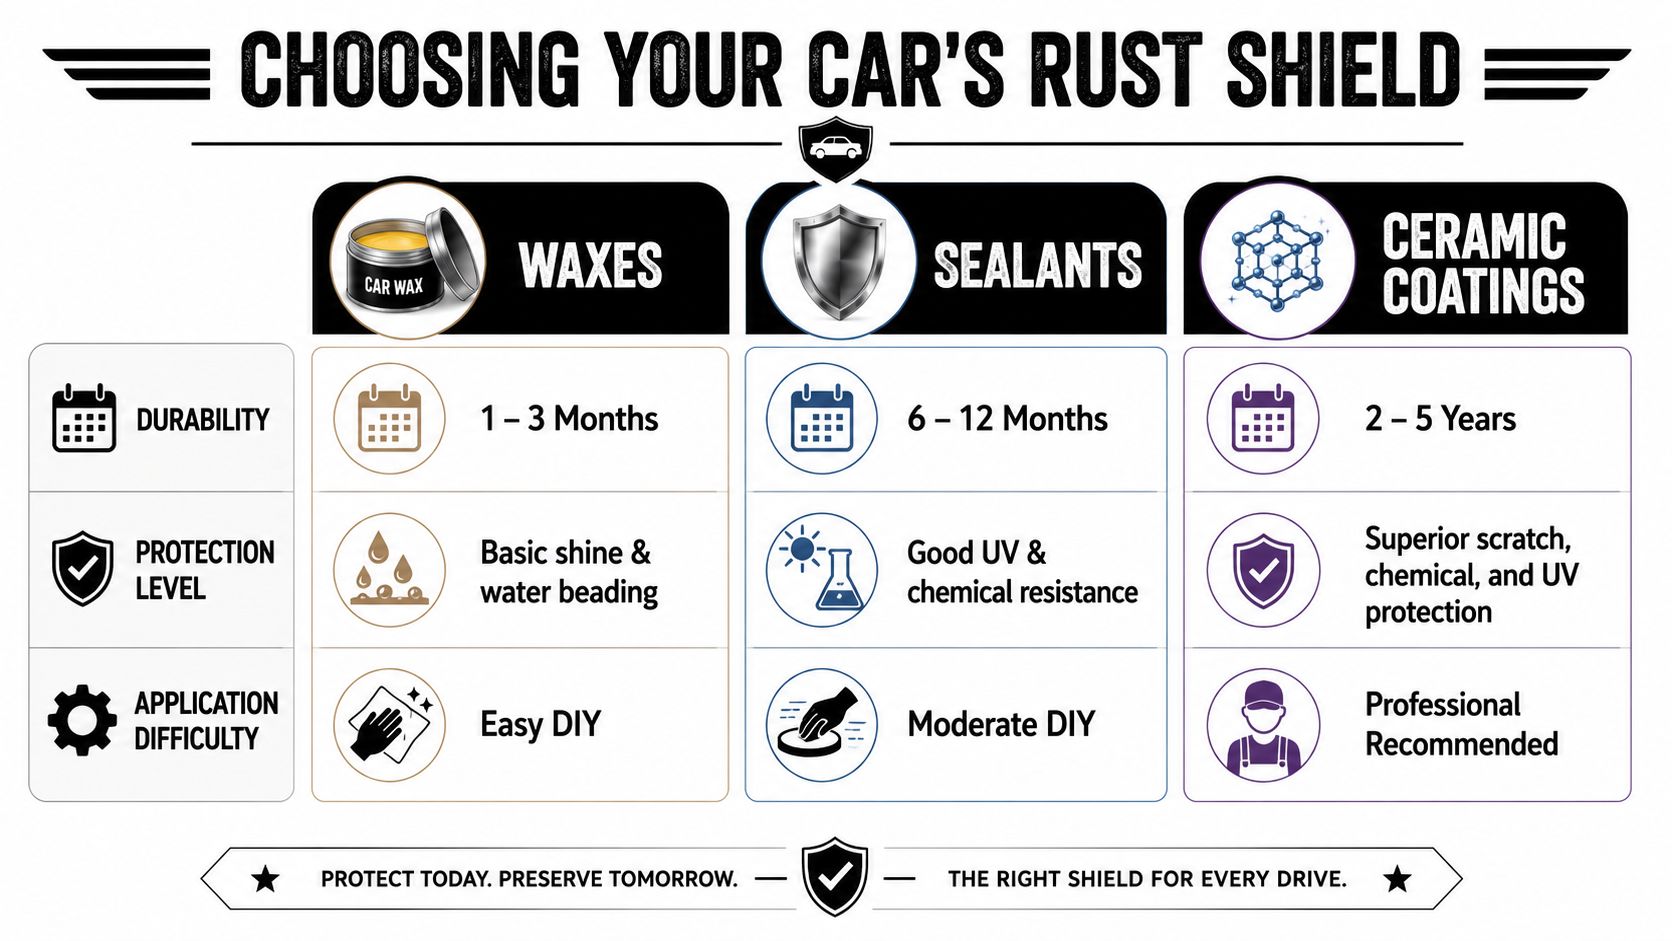
Paint Protection Comparison Wax vs. Sealant vs. Ceramic Coating
| Feature | Traditional Wax | Paint Sealant | Ceramic Coating |
|---|---|---|---|
| Durability | Short-term | Medium-term | Long-term |
| Protection style | Basic sacrificial layer | Stronger synthetic barrier | Bonded protective layer |
| Best for | Owners who like frequent upkeep | Daily drivers needing practical protection | Owners wanting the most durable option |
| DIY difficulty | Easy | Moderate | Prep-heavy, professional application usually makes more sense |
| Winter performance | Limited | Better than wax | Best choice for harsh exposure |
| Main drawback | Wears off quickly | Still needs regular upkeep | Higher upfront cost and more prep |
Why ceramic stands apart
The advantage of a professional ceramic coating isn't magic. It's chemistry and prep.
Professional SiO2-based ceramic coatings create a barrier with a water contact angle of 110 to 120 degrees, repelling salt and grime with 98% contaminant shedding efficiency, compared to 60% for traditional wax, based on the RAC rust guide.
That matters in Nebraska because winter grime doesn't just sit on horizontal surfaces. It sticks low on the doors, around wheel arches, on the rear hatch, and in all the spots where salty spray keeps landing.
A coating doesn't make a car maintenance-free. It makes maintenance easier and more effective.
The trade-offs people should be honest about
Wax is affordable and forgiving. If you miss a spot or apply it less than perfectly, it's not a disaster. The downside is simple. You have to stay on top of it.
Sealants are a good middle ground for many daily drivers. They're more durable than wax and still realistic for capable DIY owners.
Ceramic is the best fit when you want long-term protection and easier cleanup, but it's also the least forgiving if rushed. The surface needs decontamination, correction when needed, and careful application conditions. A consumer bottle applied to unprepared paint often leads to disappointment, streaking, or premature failure.
How to decide
Choose based on how you use the vehicle, not on social media hype.
- Go with wax if you enjoy regular hands-on maintenance and want a simple protective layer.
- Choose a sealant if the vehicle is a commuter and you want stronger protection without going all-in.
- Invest in ceramic coating if the vehicle sees hard weather, you plan to keep it, and you want the strongest defense against salt, grime, UV exposure, and repetitive washing.
For Lincoln drivers, ceramic makes the most sense on newer vehicles, black vehicles that show everything, trucks and SUVs that see winter duty, and fleet or RV units where easier cleanup saves time over the long run.
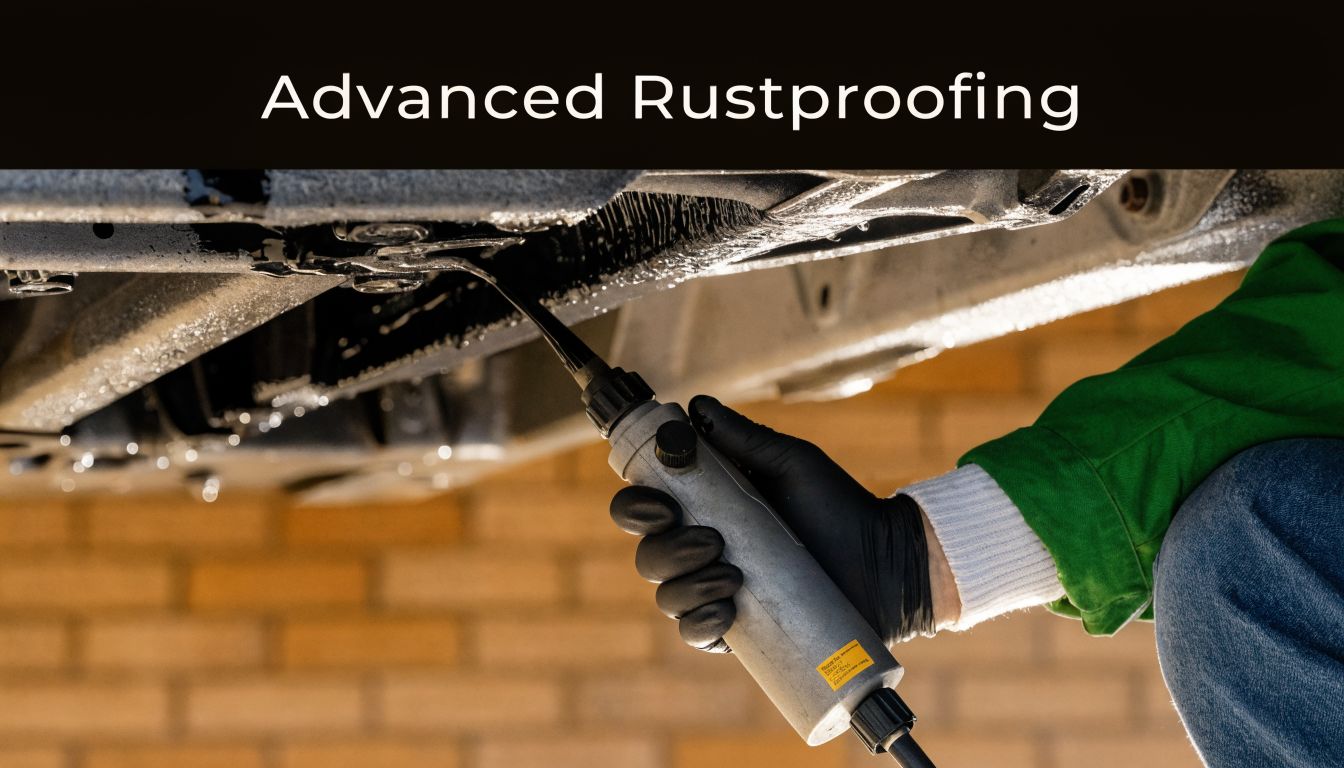
Advanced Rustproofing Undercoating and Cavity Wax
Paint protection helps on exposed surfaces. Rustproofing goes after places you can't easily see or wash. That's a different category of defense, and it matters most on vehicles that live through repeated winter exposure.
Factory galvanization gives modern vehicles a head start, but it doesn't make them immune. Stone chips, seam wear, and trapped moisture still create openings, especially underneath and inside body cavities.
Undercoating and cavity wax are not the same thing
People use these terms interchangeably, but they do different jobs.
Undercoating is applied to the underside of the vehicle. Depending on the product, it creates a barrier against moisture, road spray, and impact from grit and small debris. It's about shielding exposed lower surfaces.
Cavity wax is for enclosed sections such as sills, box sections, and internal seams where moisture can sit out of sight. Good cavity products creep into gaps, displace water, and protect metal that a normal wash can't touch.
If you're comparing services, this matters. A vehicle can have one without the other, and in Nebraska a complete rustproofing strategy often needs both. If you want a better sense of what dedicated chassis protection involves, review a local frame undercoating service overview.
Where cavity wax makes a real difference
Internal rust is frustrating because you often don't spot it until it has progressed. Door bottoms, rocker cavities, seams, and boxed frame sections are all common trouble areas.
According to the expert methodology referenced in this cavity wax application walkthrough, applying cavity wax with an injection gun into sills and box sections can achieve a 95% void fill rate, reducing moisture ingress by over 90%.
That's the kind of protection DIY aerosol spraying rarely matches. The right tools, access points, pressure control, and product coverage matter.
Surface shine won't save a vehicle if moisture is working inside the seams.
Who should consider professional rustproofing
Not every car needs aggressive aftermarket rustproofing right away. But some owners should think about it sooner rather than later.
Consider it if:
- You keep vehicles for many years
- Your truck or SUV sees winter road treatment every season
- You've already noticed surface corrosion underneath
- You own an older vehicle with exposed seams or underbody wear
- You manage work vehicles that can't afford downtime from corrosion-related repairs
The biggest mistake with undercoating is applying it over dirt, loose rust, or trapped moisture. That can seal in the problem instead of slowing it down. DIY kits can help in limited cases, but this is one area where sloppy prep creates expensive consequences later.
Your Year-Round Rust Prevention Schedule
The best rust-prevention plan is the one you can follow. Most owners don't need a complicated system. They need a repeatable schedule that matches the Nebraska calendar.
Lincoln weather is hard on vehicles because conditions keep changing. A cold stretch gets followed by thawing slush. Roads dry, then get treated again. Moisture works into seams, and then the cycle repeats. A good schedule keeps you from reacting too late.
Weekly habits during winter driving
When the roads are being treated, think in short intervals.
- Rinse after exposure: If you drove through slush, salt spray, or recently treated roads, get the underbody and lower panels rinsed as soon as conditions allow.
- Check wheel wells: Packed grime around liners and mud flaps holds moisture longer than people realize.
- Watch for new paint chips: Touch-up work is cheaper than letting bare metal sit.
If you're not sure how often your driving pattern calls for washing, this guide on how often to wash your car gives a practical baseline you can adjust for Nebraska winters.
Monthly checks that prevent hidden problems
A monthly reset catches the issues quick rinses miss.
Do these once a month, or more often in heavy winter use:
Full hand wash and dry
Clean the body, jambs, fuel door area, and lower panels. Dry all seams and trim edges.
Drain hole inspection
Check the bottoms of doors and rocker areas for debris. If water can't escape, rust gets time to start.
Undercarriage visual check
Look for stuck mud, peeling coatings, orange staining on hardware, and areas where grime is staying wet.
Protection check
If you use wax or sealant, make sure water behavior hasn't fallen off completely. If it has, refresh protection before the next weather swing.
Seasonal timing for Nebraska owners
The timing of rust prevention matters almost as much as the products.
Fall prep before salt season
Early fall is the easiest time to get ahead. The vehicle is usually cleaner, temperatures are better for washing and protection work, and you're not trying to fix neglect in freezing weather.
Good fall jobs include:
- Deep exterior wash
- Thorough underbody cleaning
- Paint decontamination if needed
- Wax, sealant, or ceramic protection
- Inspection of chips, seam wear, and lower-body damage
If you're considering undercoating or cavity wax, this is the time. Applying protection before winter exposure is smarter than waiting until corrosion is already active.
The best time to protect a Midwest vehicle is before the roads turn white with salt residue.
Spring recovery after the worst weather
Spring is cleanup season, not the end of maintenance.
Once the freeze-thaw cycle eases up, do a more thorough recovery wash. Focus on the underbody, wheel wells, jambs, rocker panels, and anywhere winter grime sat for months. This is also the best time to inspect for small rust spots, bubbling paint, or worn coatings before summer heat bakes contamination into neglected areas.
Summer and garage habits
Summer is easier on the vehicle, but it's still the time to stay disciplined. Wash off bug residue, bird droppings, and industrial fallout before they sit too long. Keep an eye on chips from gravel roads and highway driving.
If you park in a garage, don't assume indoor storage solves everything. A damp garage can hold moisture against a vehicle, especially after snowy or rainy drives. Let the car drain, avoid storing piles of wet floor mats or snow around it, and pay attention to airflow instead of treating the garage like an automatic rust shield.
DIY versus professional service
A simple rule works well here.
DIY is enough when you're consistent, have the right tools, and will clean the hidden areas. Professional help makes sense when you want underbody cleaning done thoroughly, paint protection applied correctly, or rustproofing handled in seams and cavities that are tough to reach at home.
Most rust problems don't come from one missed wash. They come from a pattern of “I'll get to it later.”
If you want help staying ahead of Nebraska rust without spending your weekends crawling around a cold driveway, GP Mobile Car Wash & Detail provides mobile and shop-based detailing in Lincoln with thorough exterior washing, underbody-focused care, and long-term paint protection options like ceramic coating. It's a practical fit for busy drivers, families, fleet vehicles, RVs, and anyone who wants rust prevention handled the right way before another salt season does damage.